
March 30th, 2021
SPRING REFRESH WITH DIGBY PAINTS

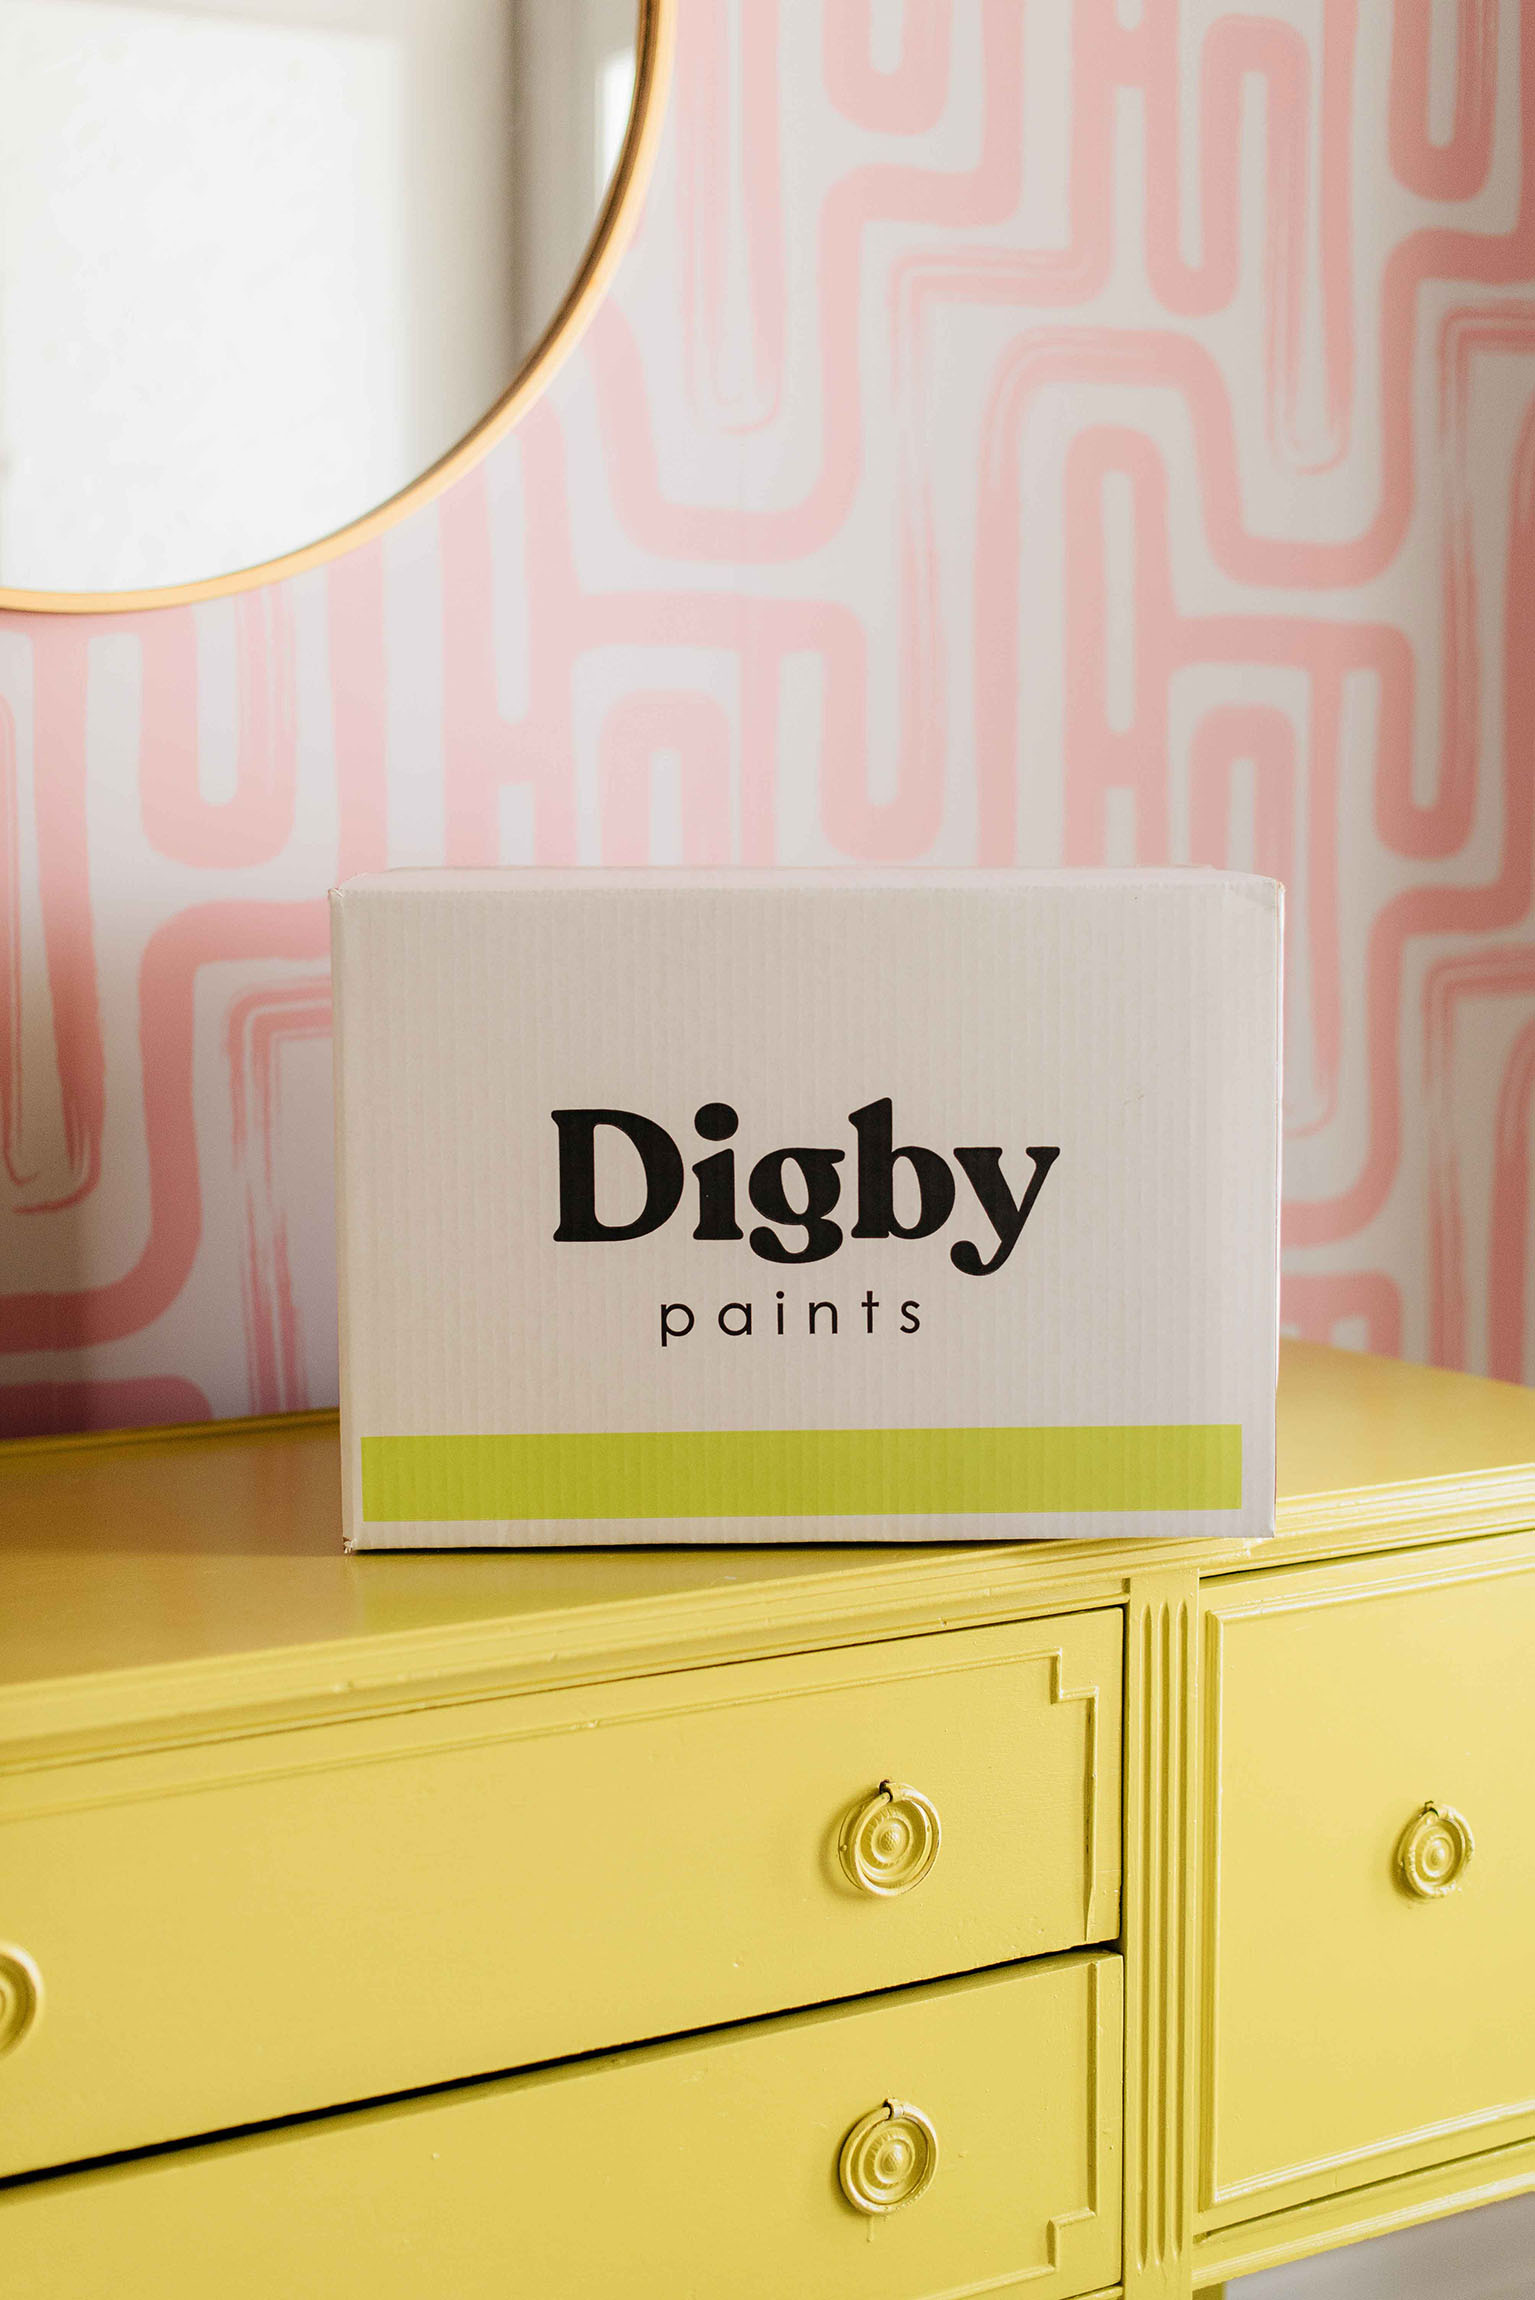
 What better way to bring new life to a space this Spring than with a fresh coat of paint! And when that paint gets delivered directly to your front door – without the hassle of visiting a paint store, sorting through thousands of colour samples, or having to run that last minute errand to grab the supplies you thought you had but didn’t – it’s a whole new experience that you’ll want to repeat over and over again.
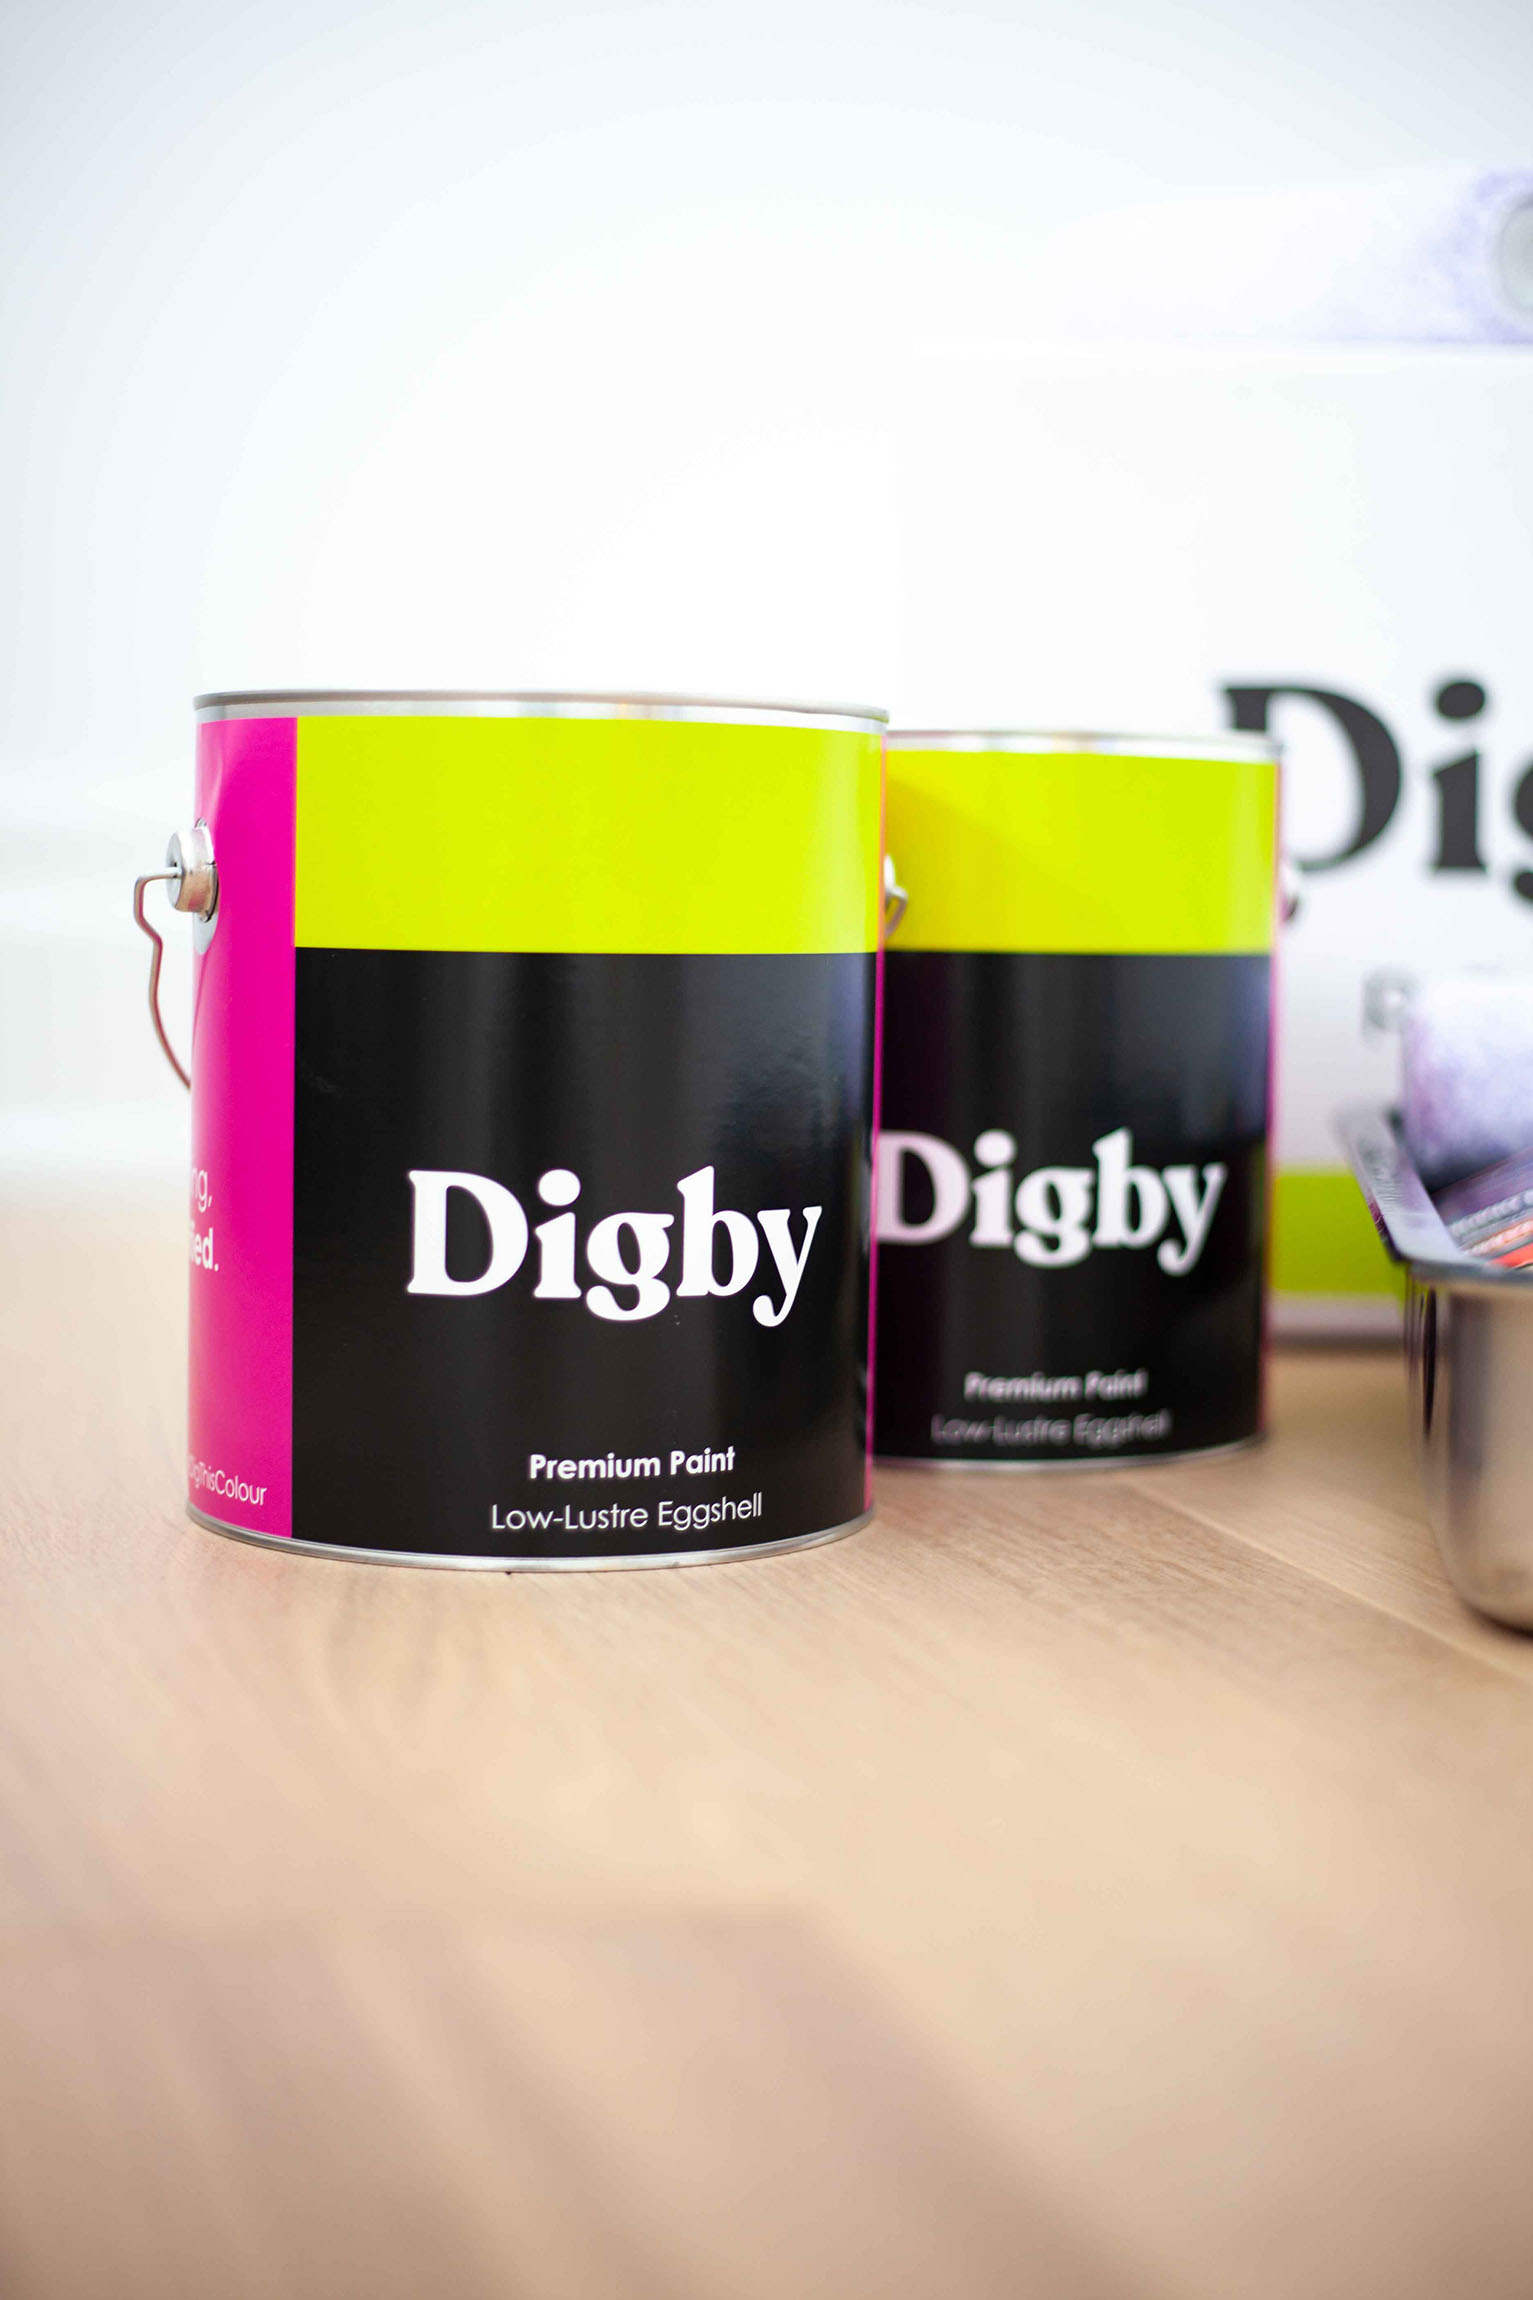
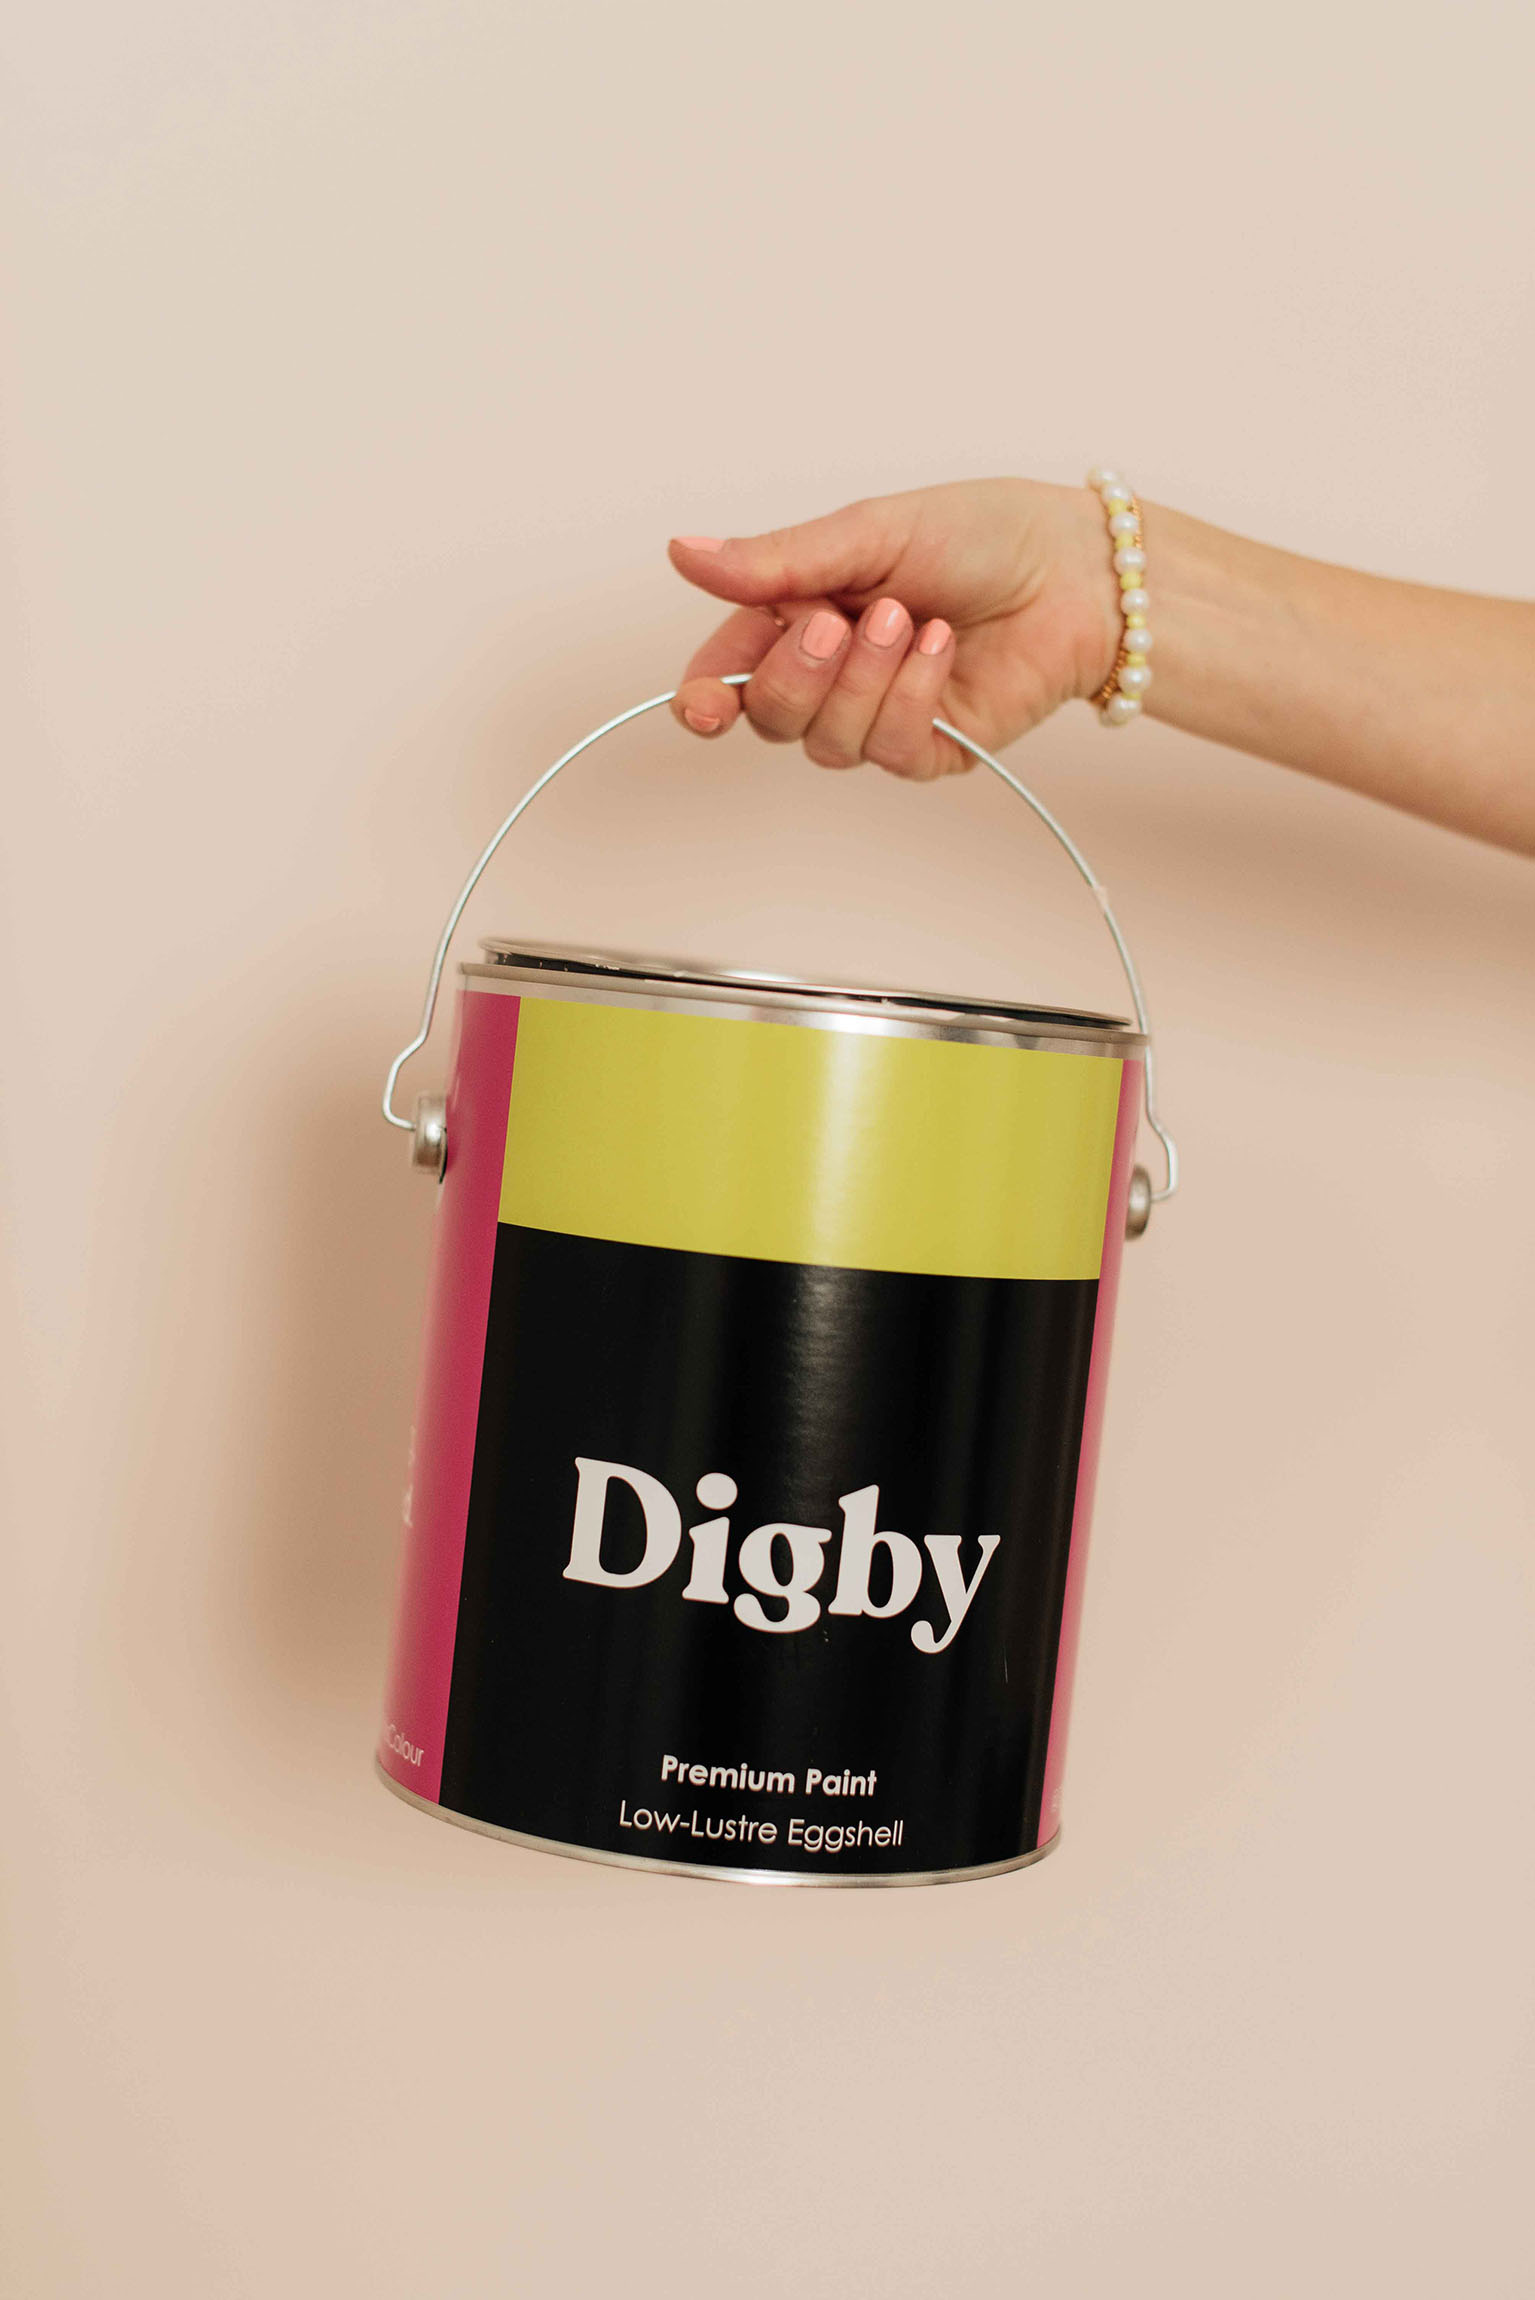
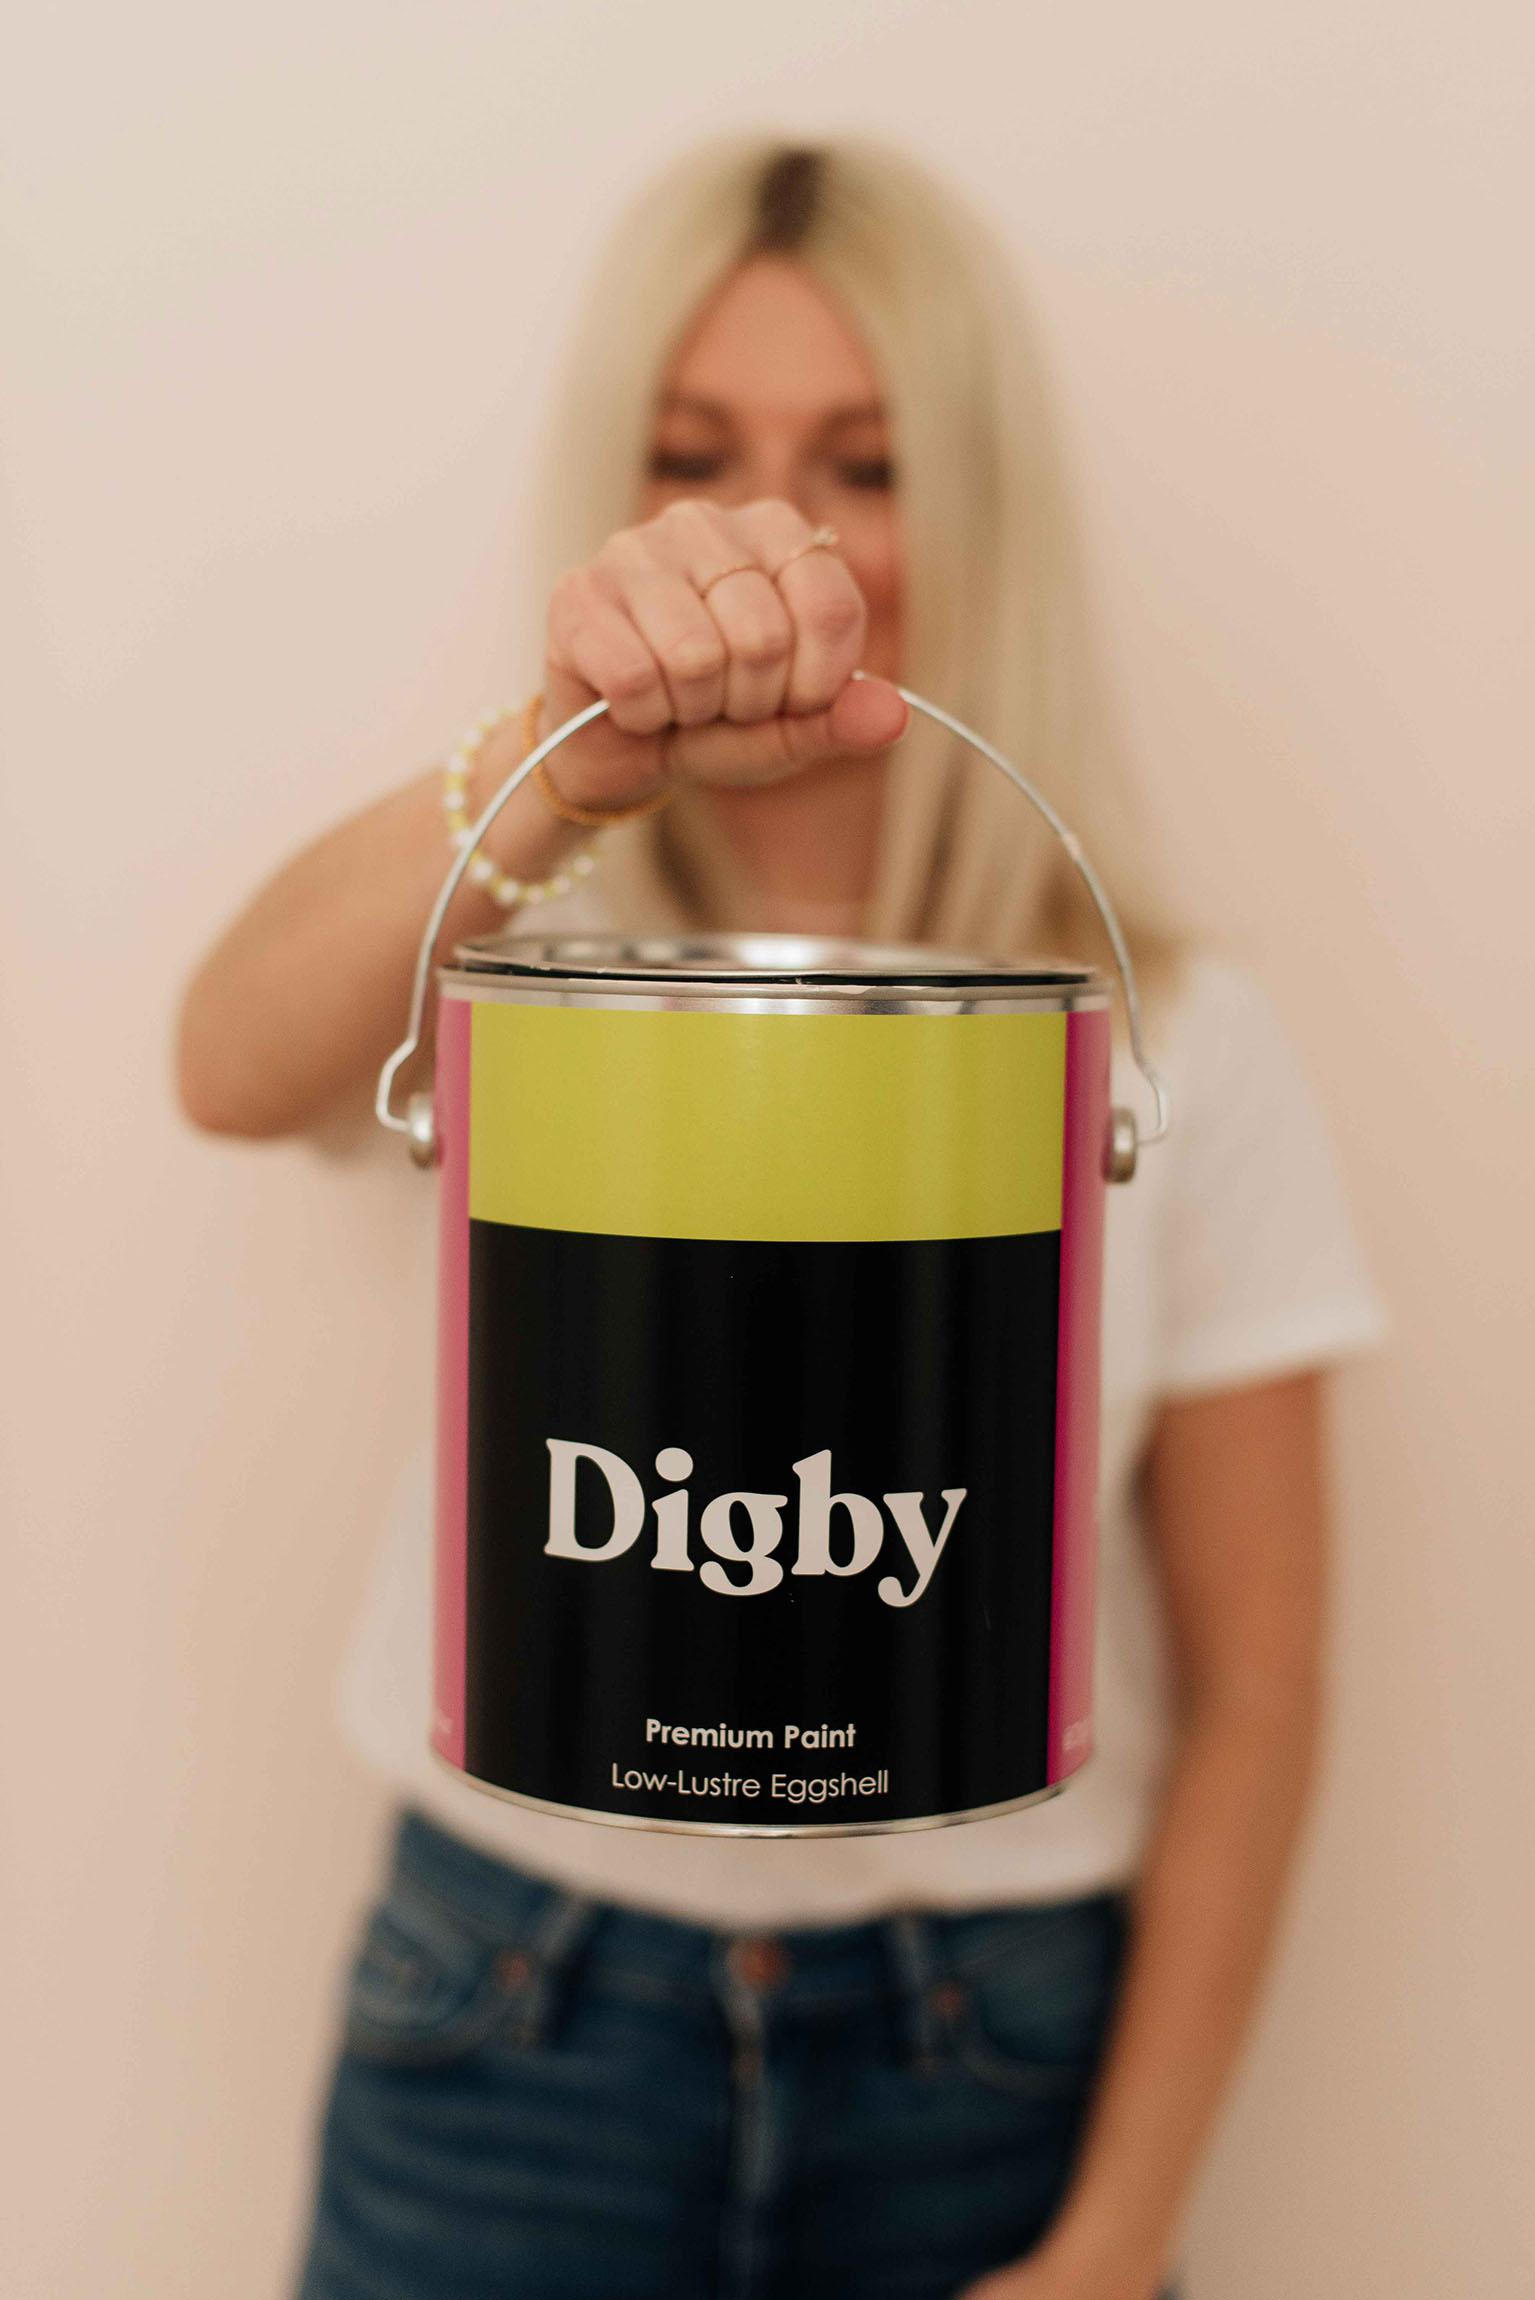
This is exactly what my experience with ordering paint and paint supplies from Canada’s first online paint store was like. Hamilton, Ontario-based Digby Paints is revolutionizing the way we think of purchasing paint and I’m totally here for the no-hassle, simplified system of ordering the perfect colour of premium-quality paint (made in Canada) shipped directly to you.
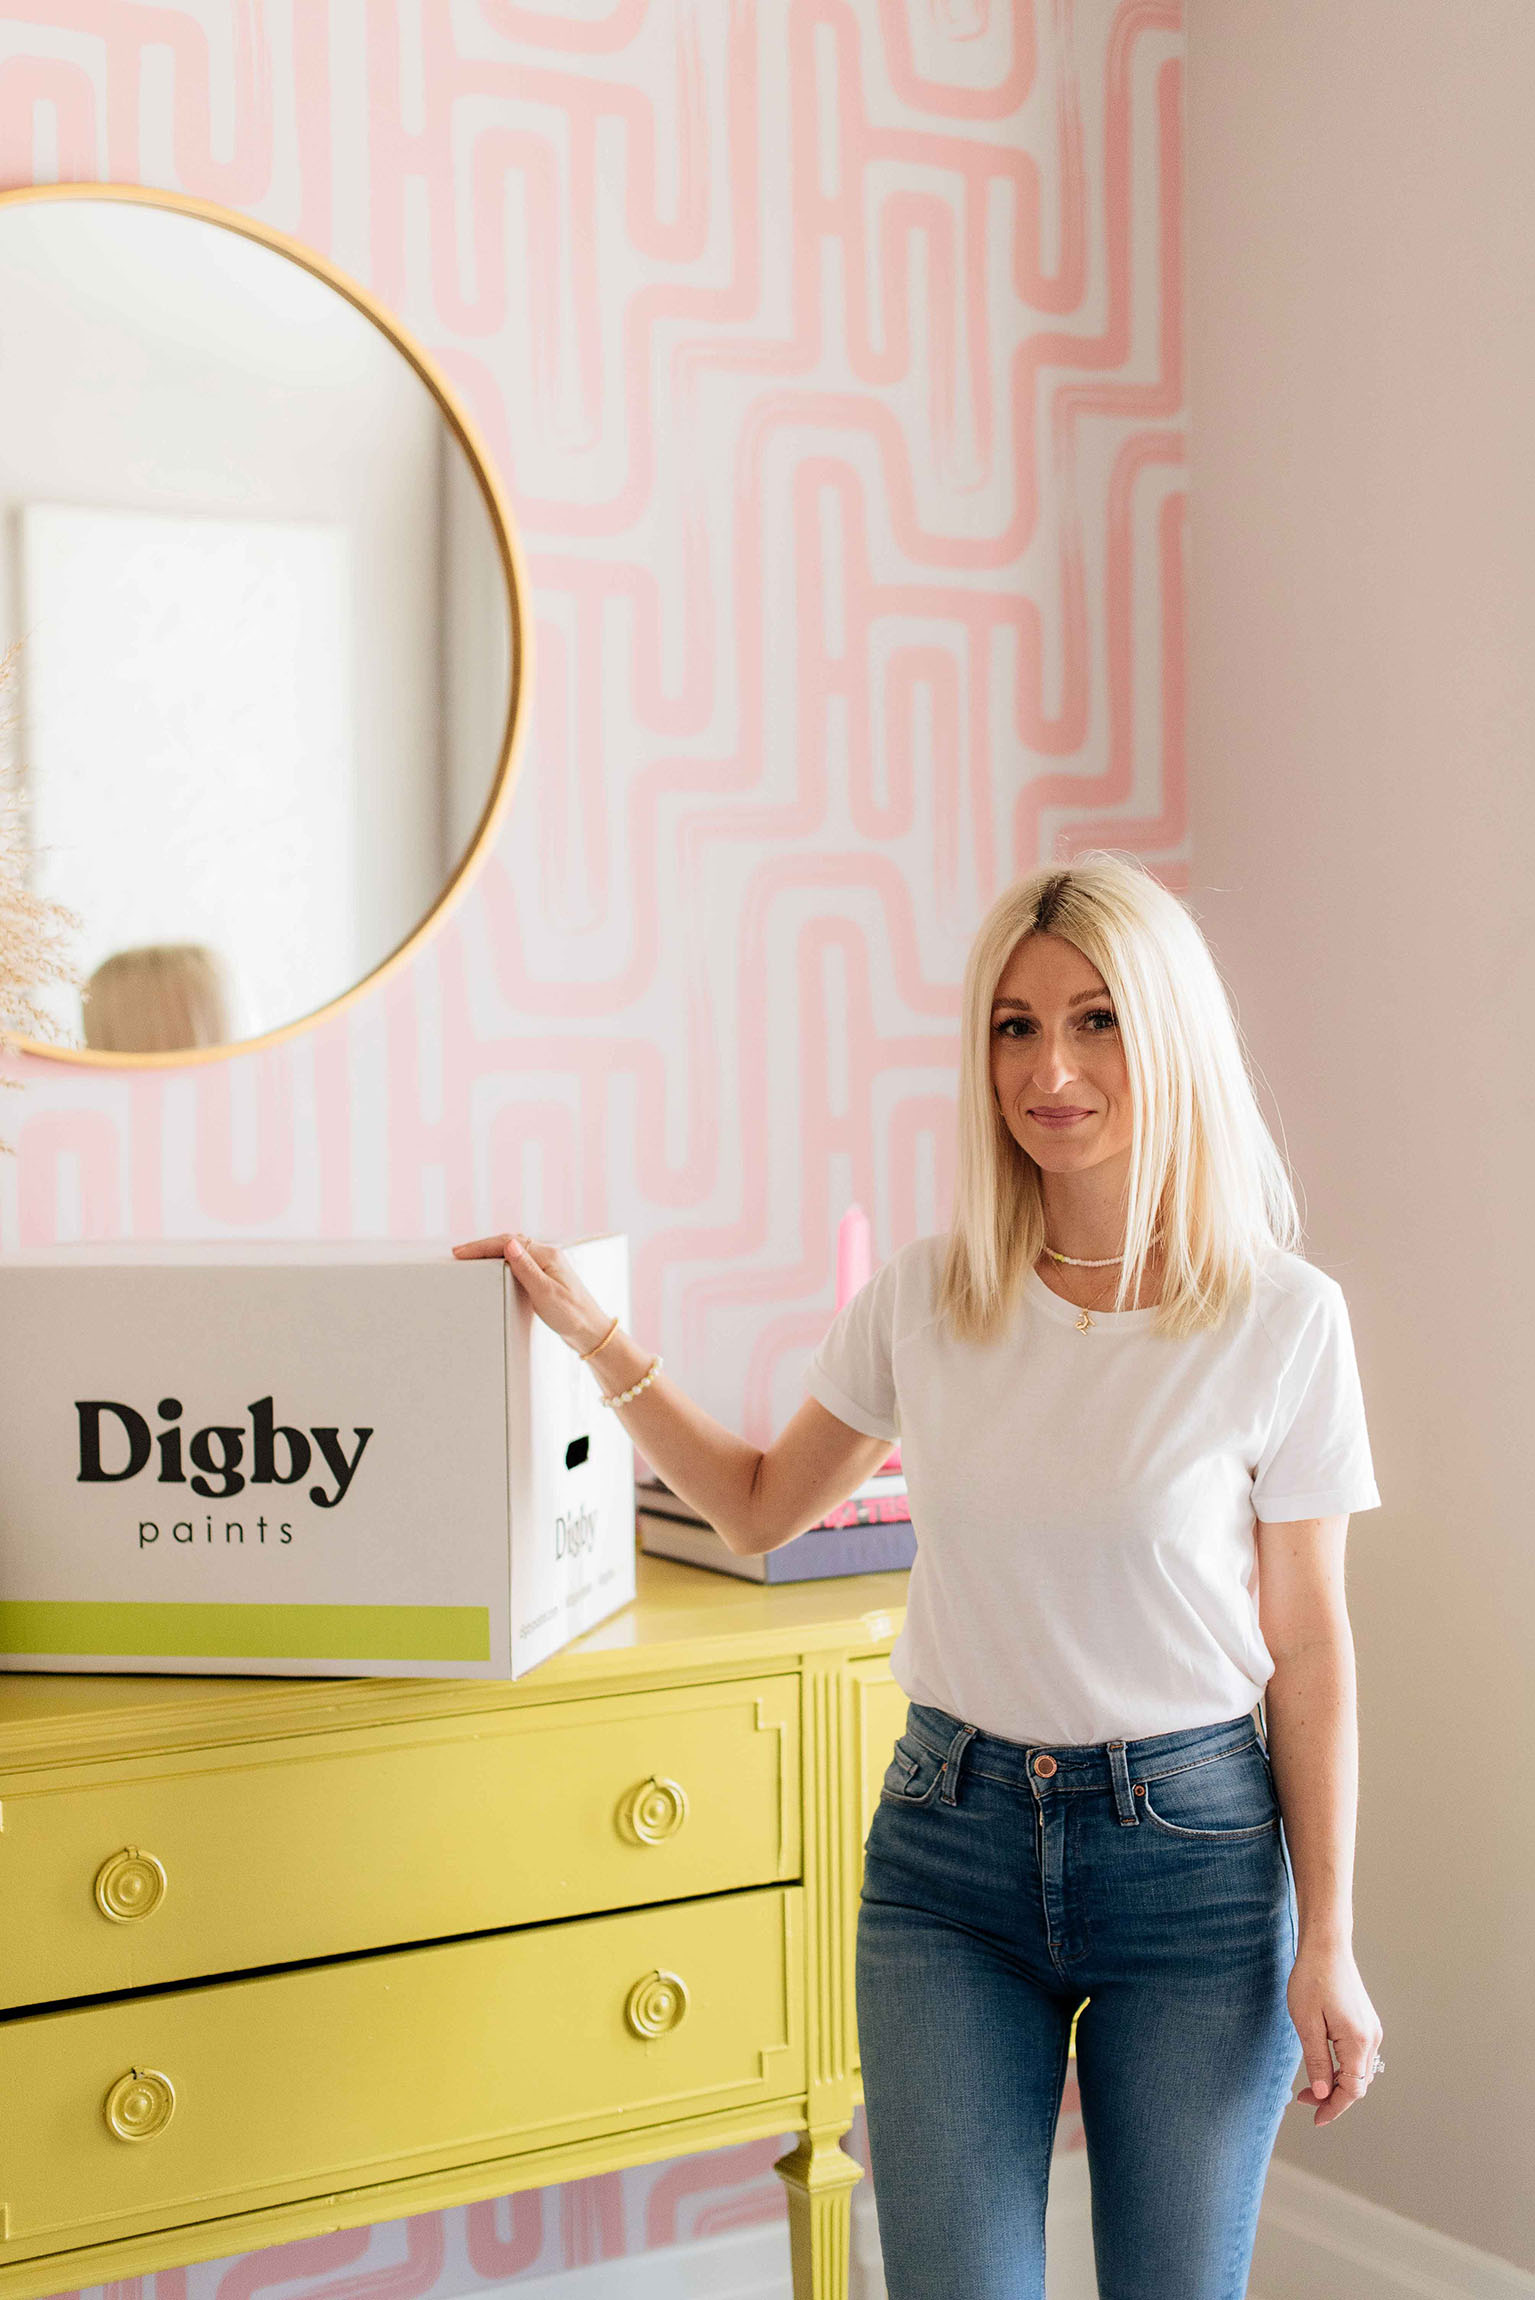
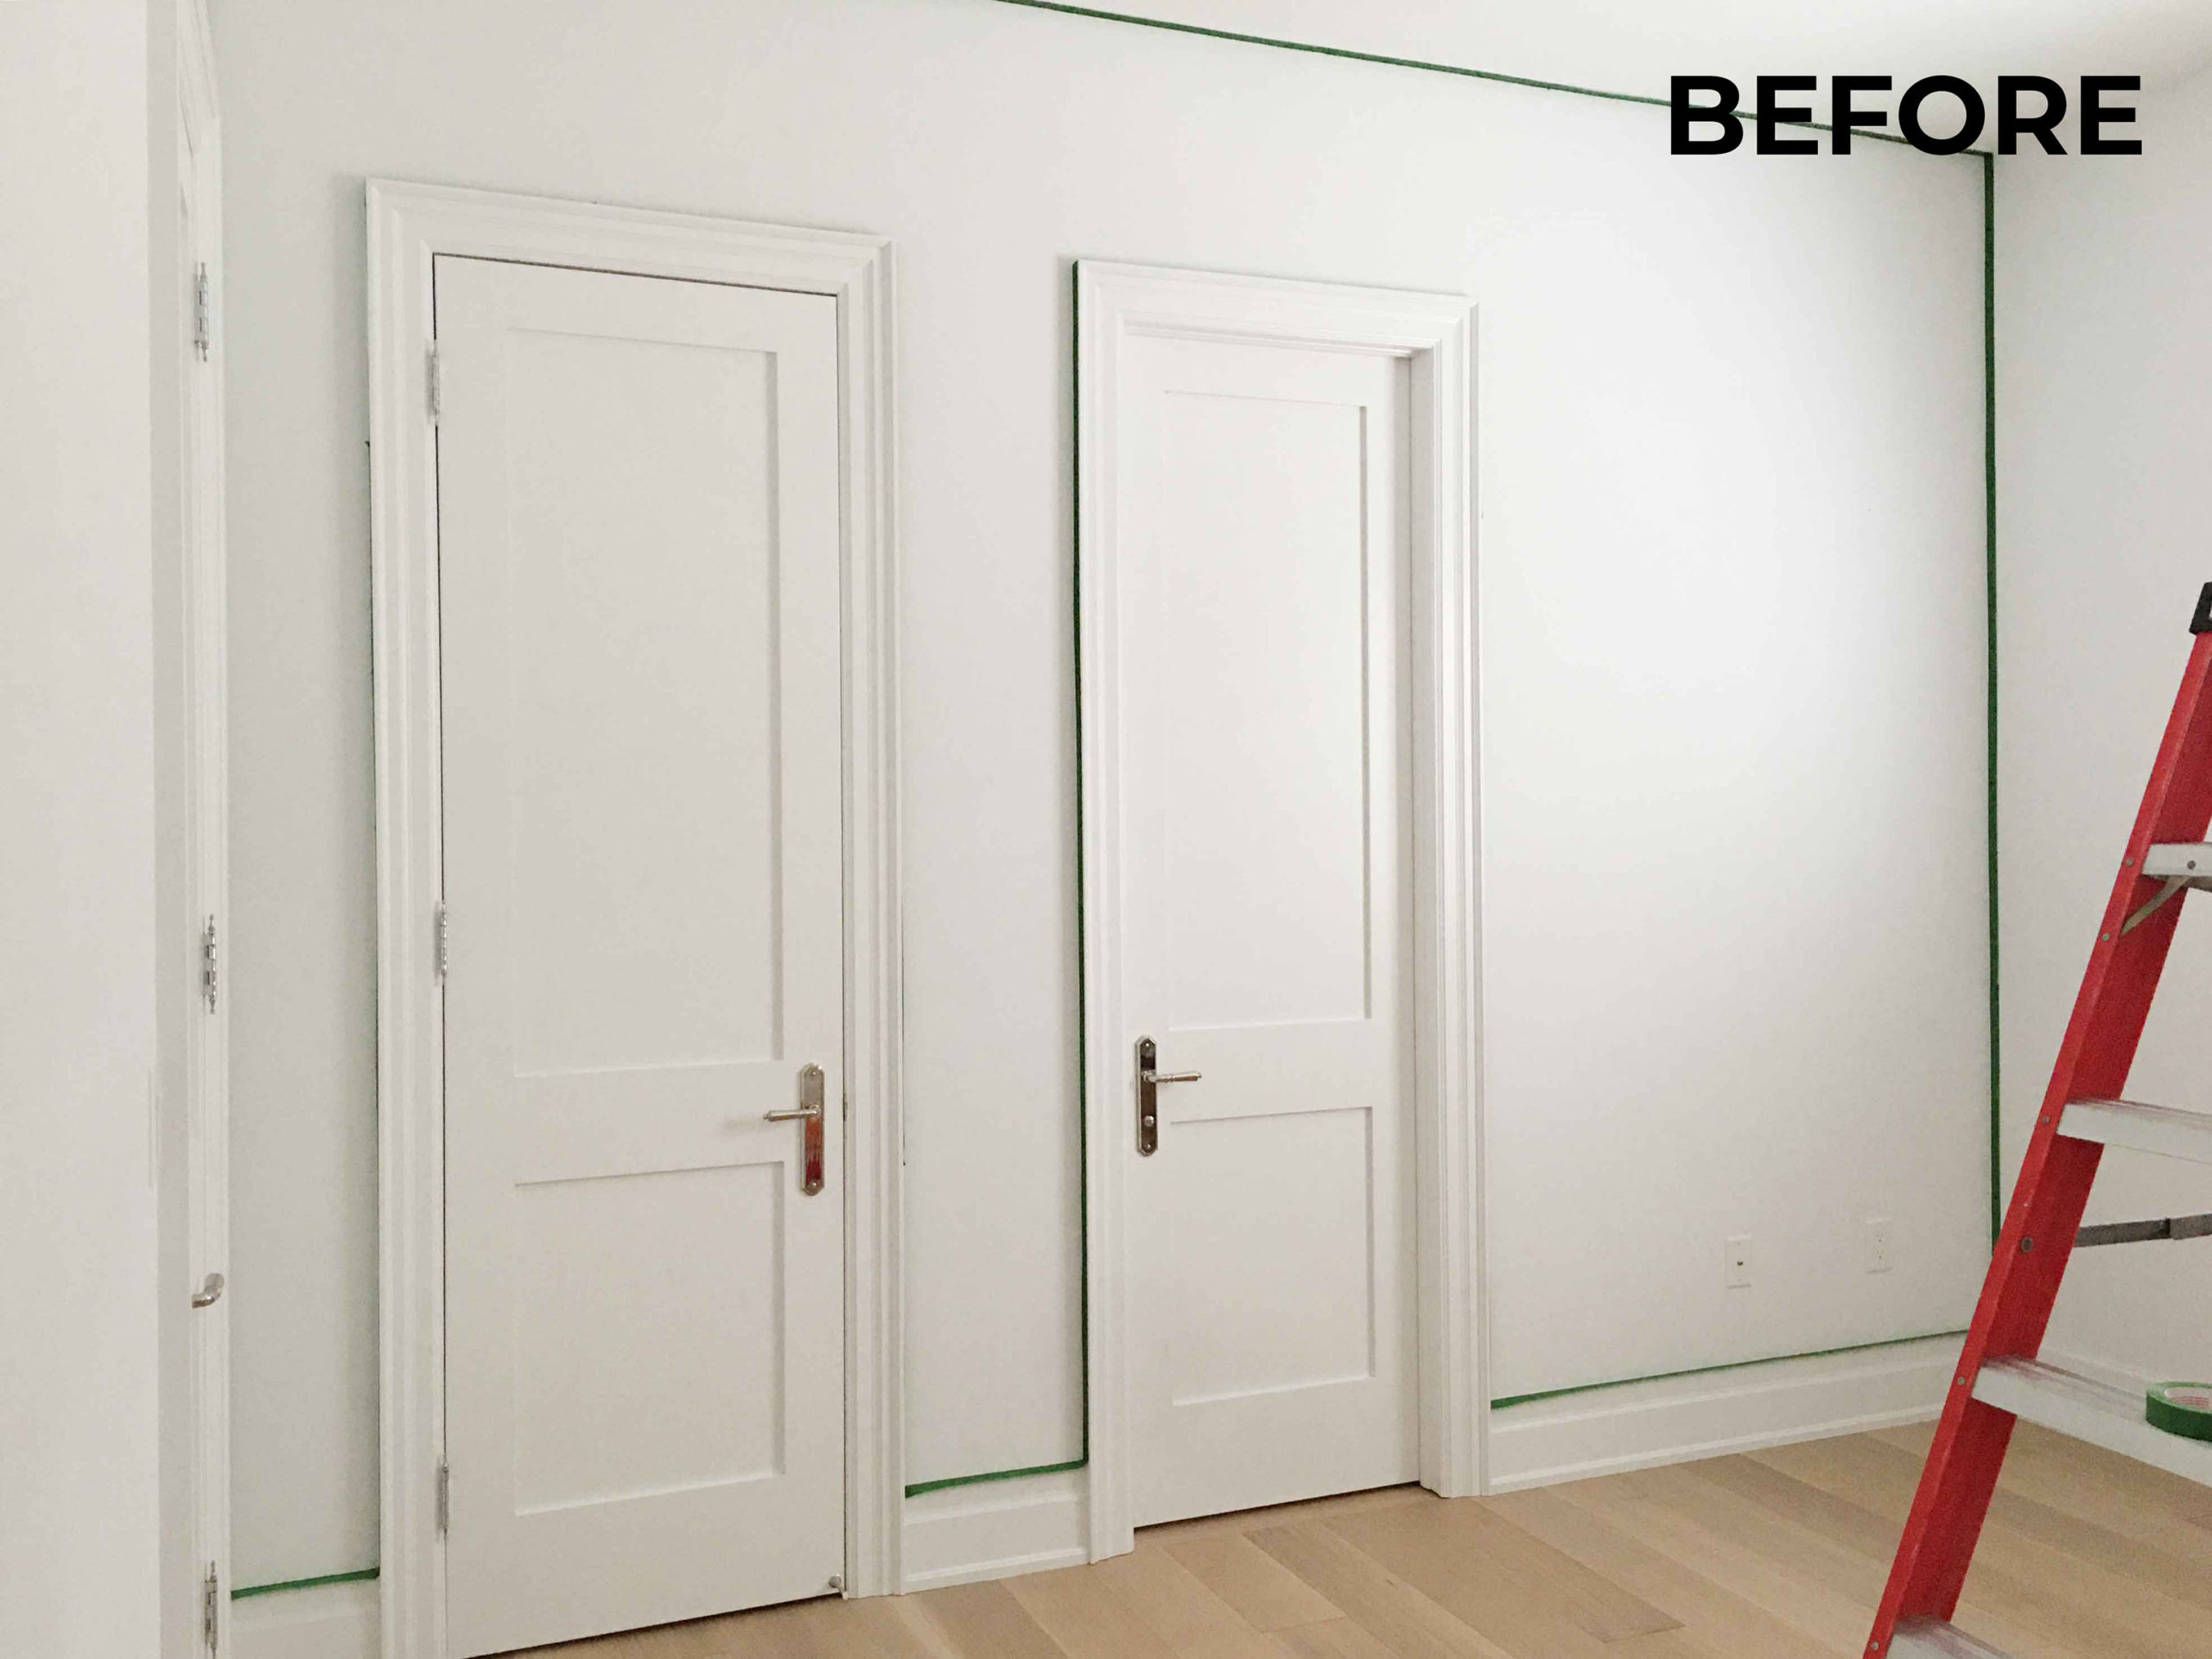 I recently began transforming our guest bedroom into a bright and colourful retreat for when guests can return and visit us again – and it all started with the walls! These four blank walls were practically begging for an infusion of colour and life.
To be perfectly honest, I haven’t painted that many walls in my lifetime. The first time – about ten years ago – was a complete disaster as I attempted to surprise my husband with a home office makeover in a high-gloss navy paint. Moral of the story – never attempt high-gloss paint on 10 foot walls if you’re not a pro, and definitely don’t use just a paintbrush. My second attempt in our entryway a few months ago had a much better outcome, and gave me the confidence that I could definitely do this more often with a much higher success rate than that first failed attempt.
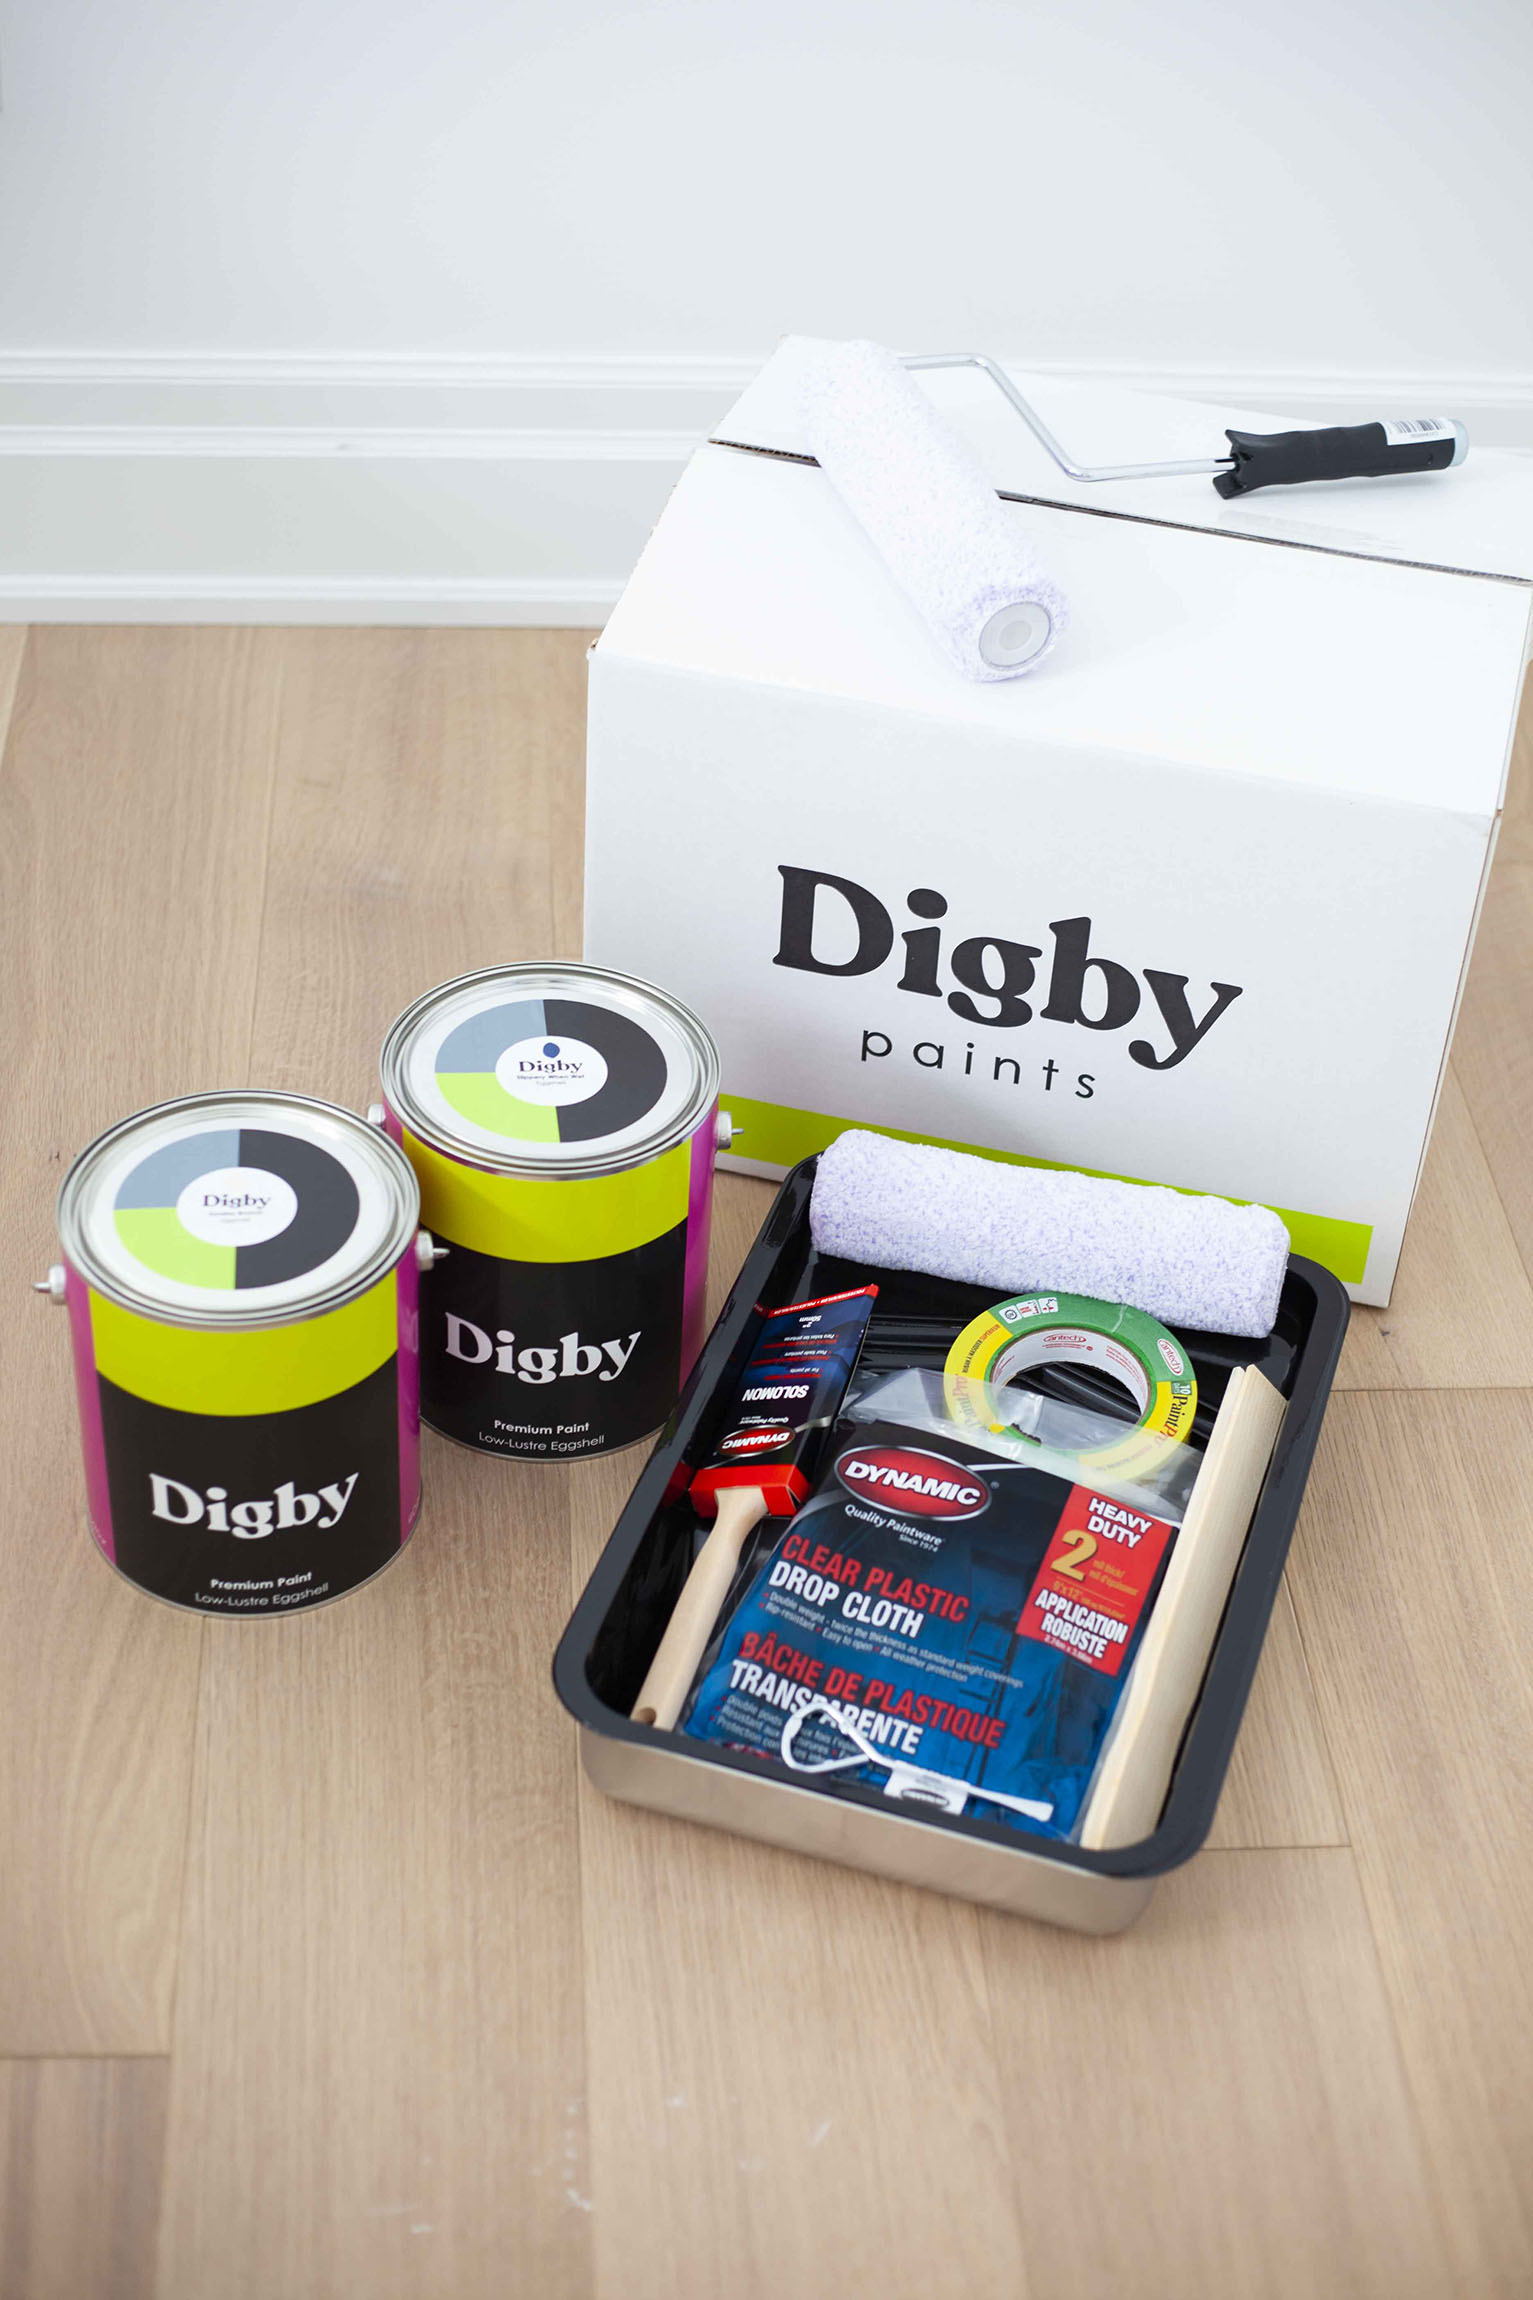
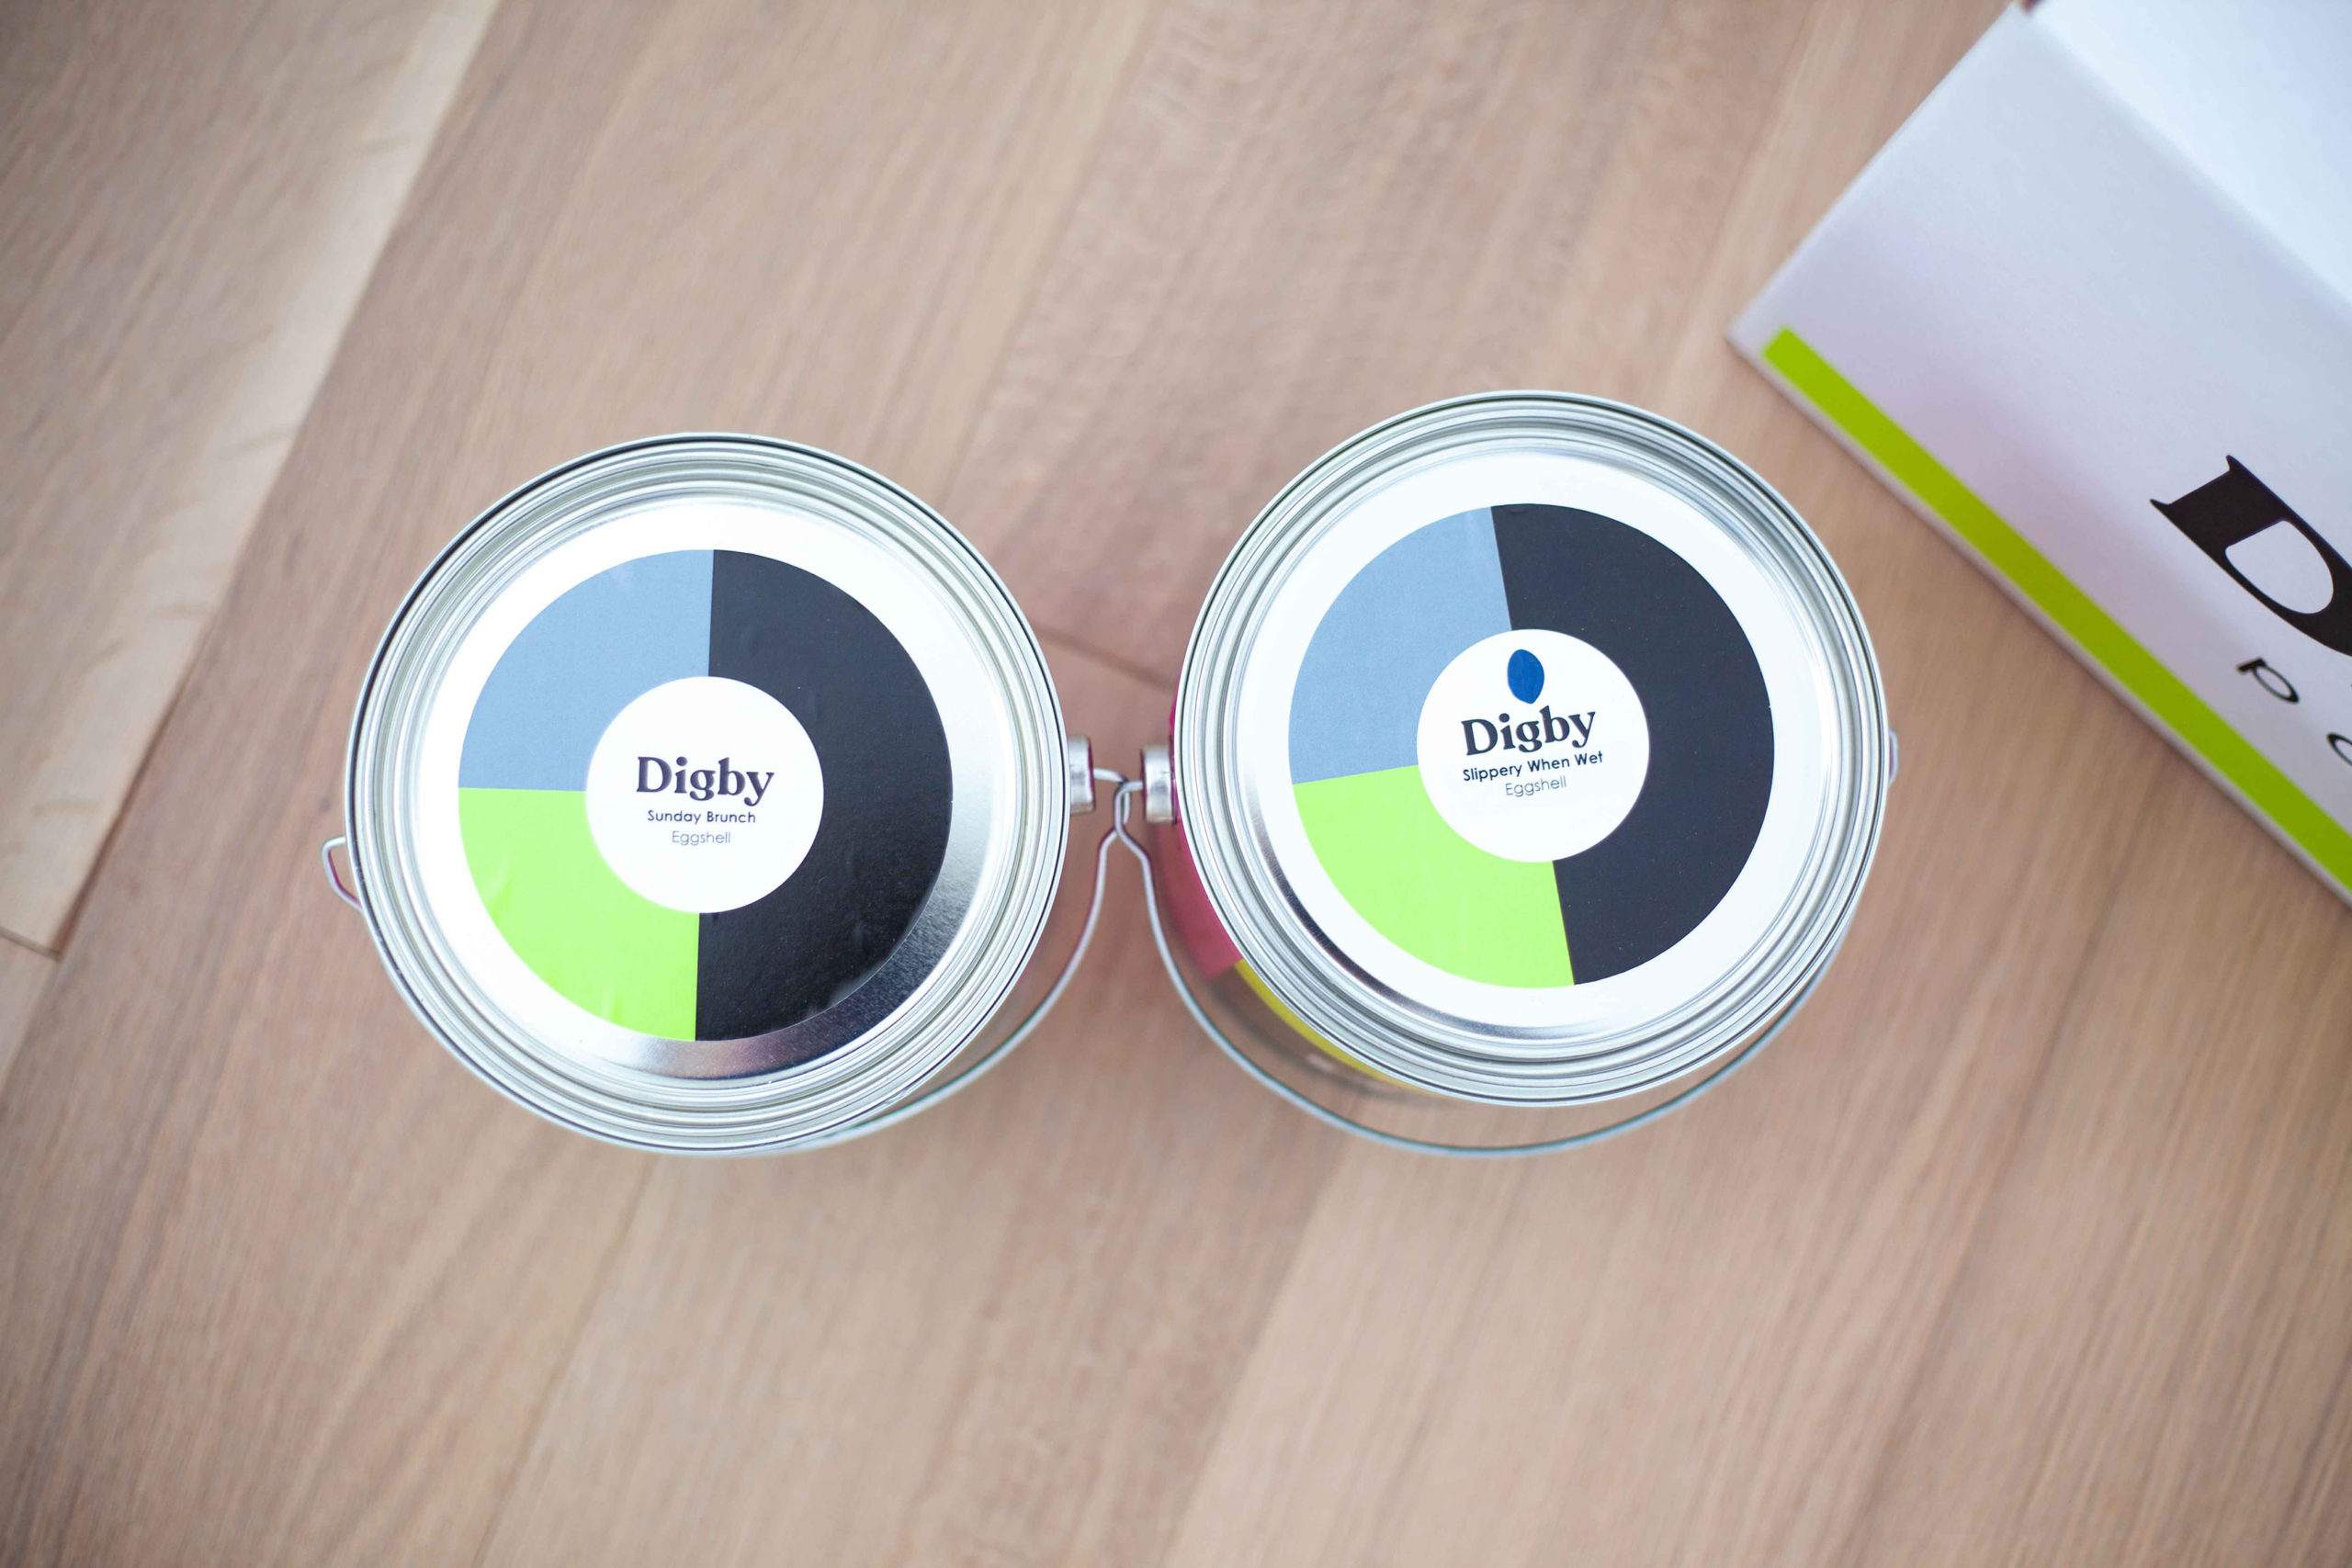
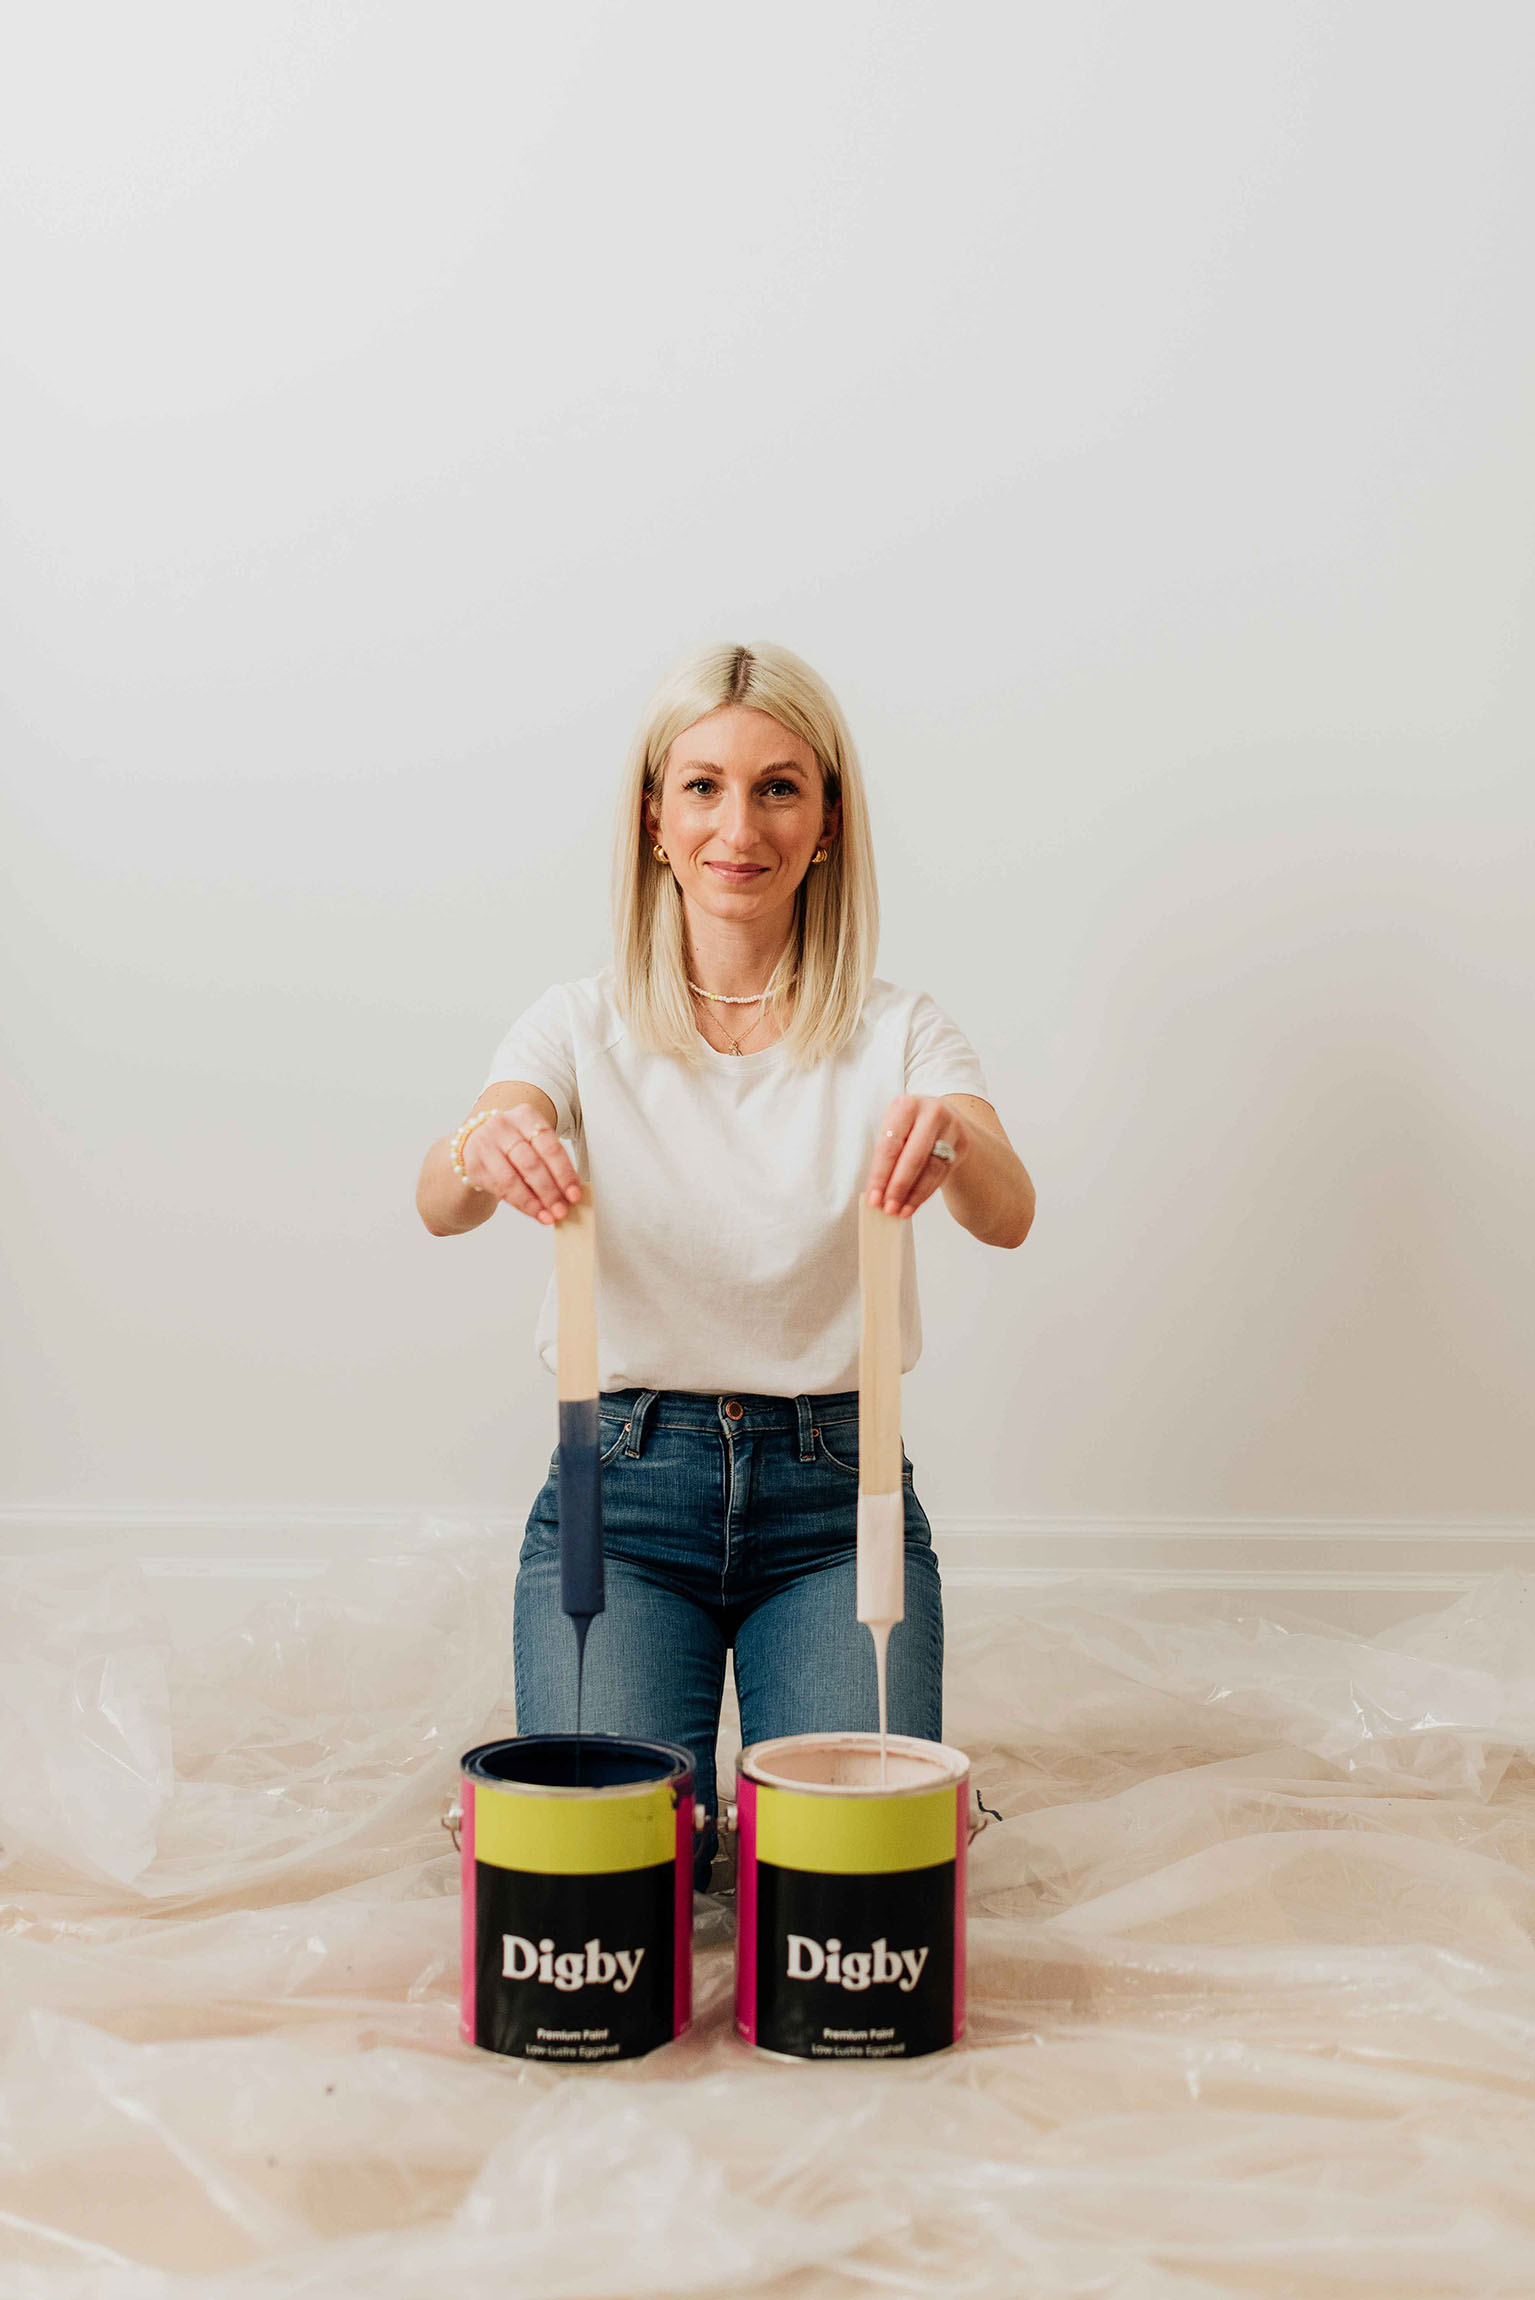
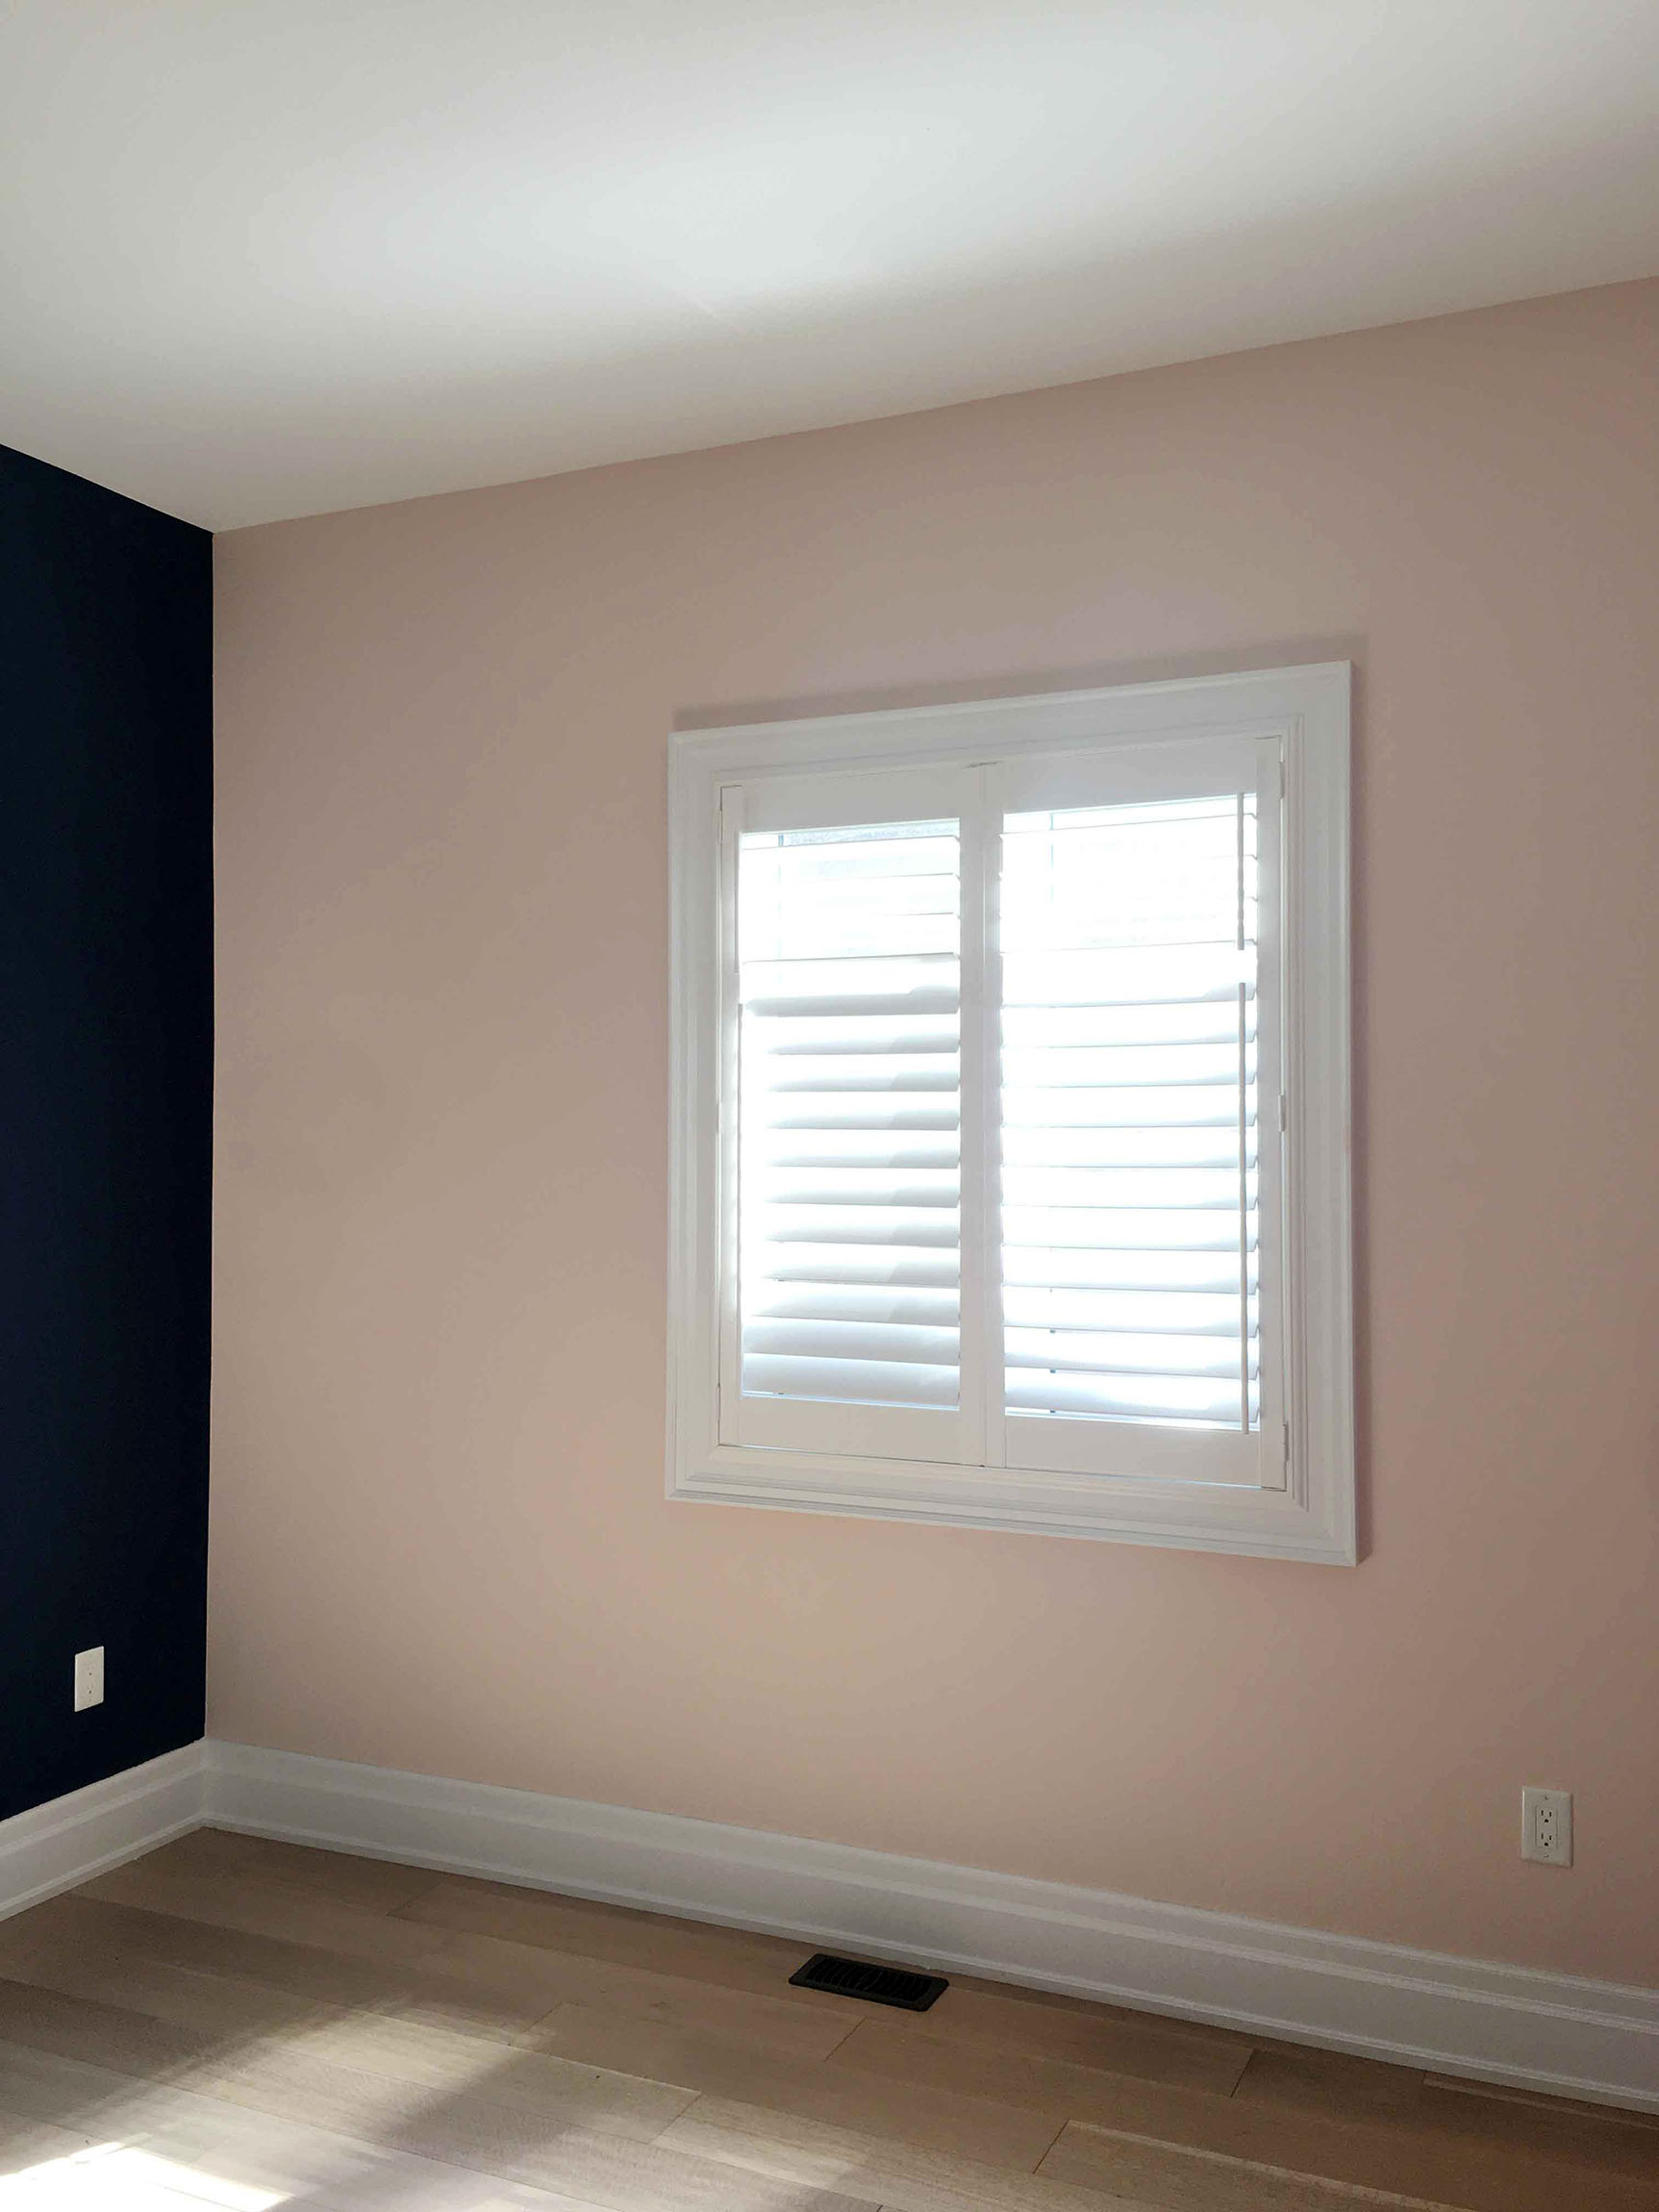
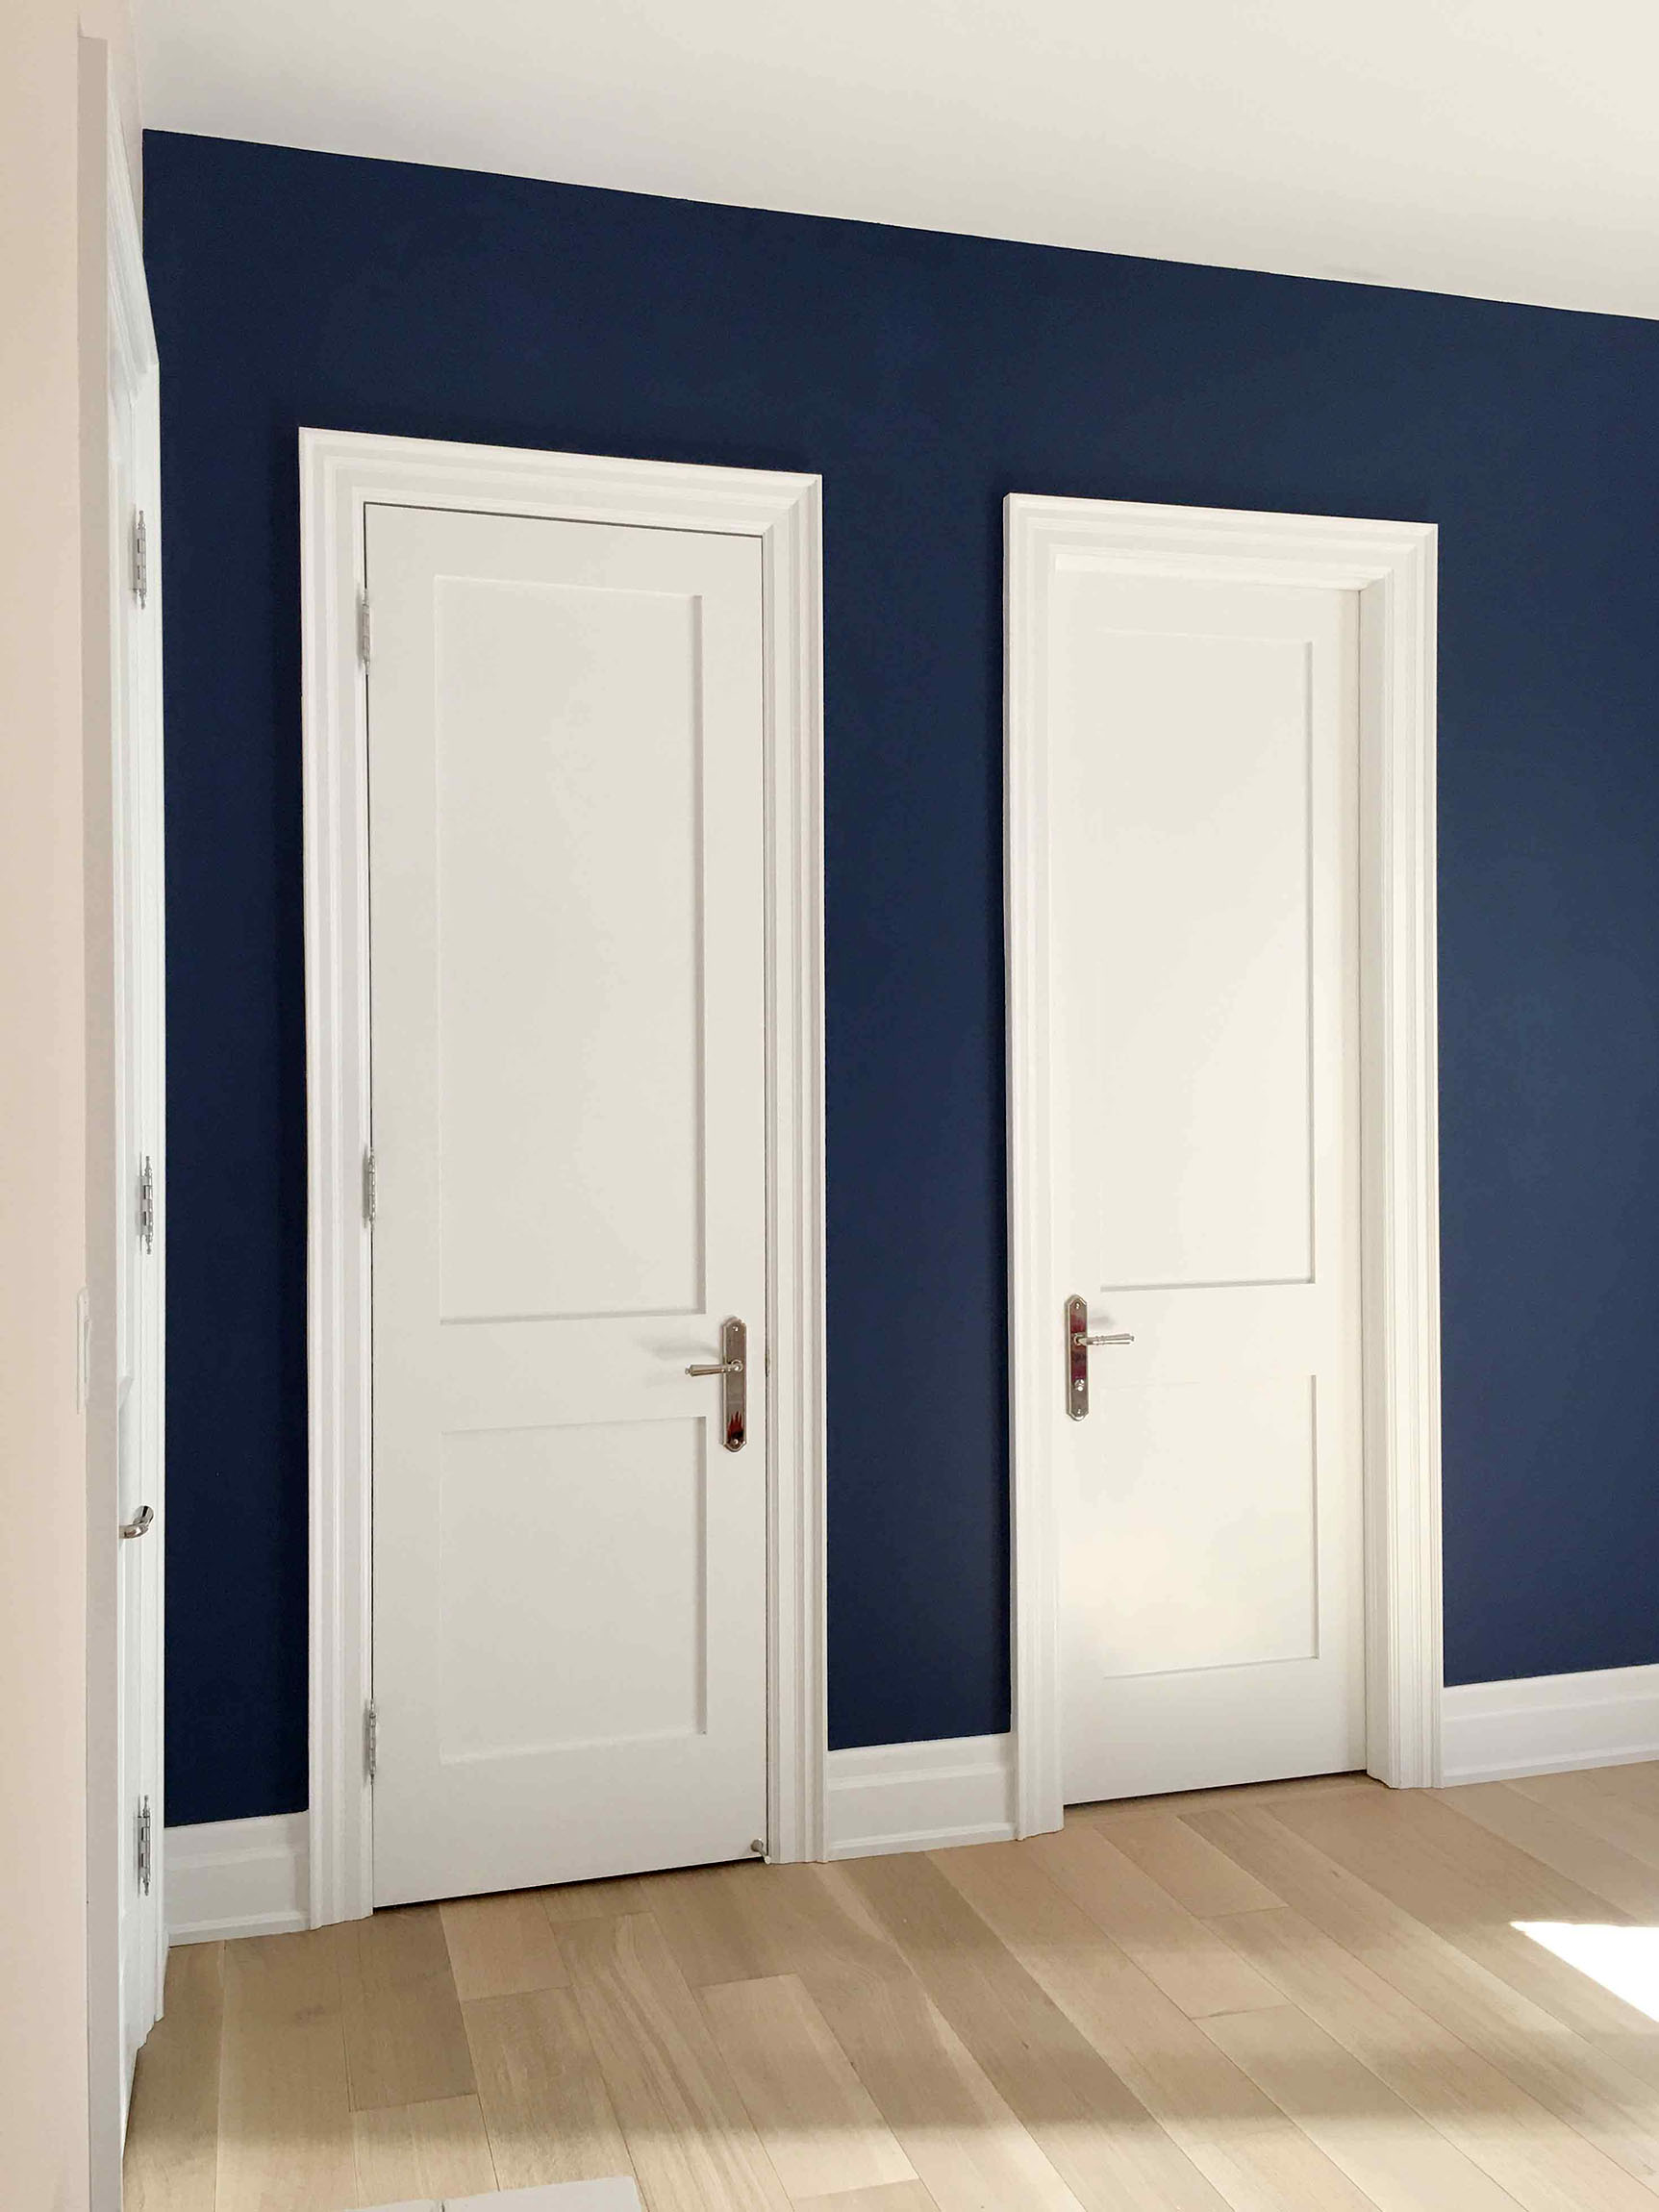
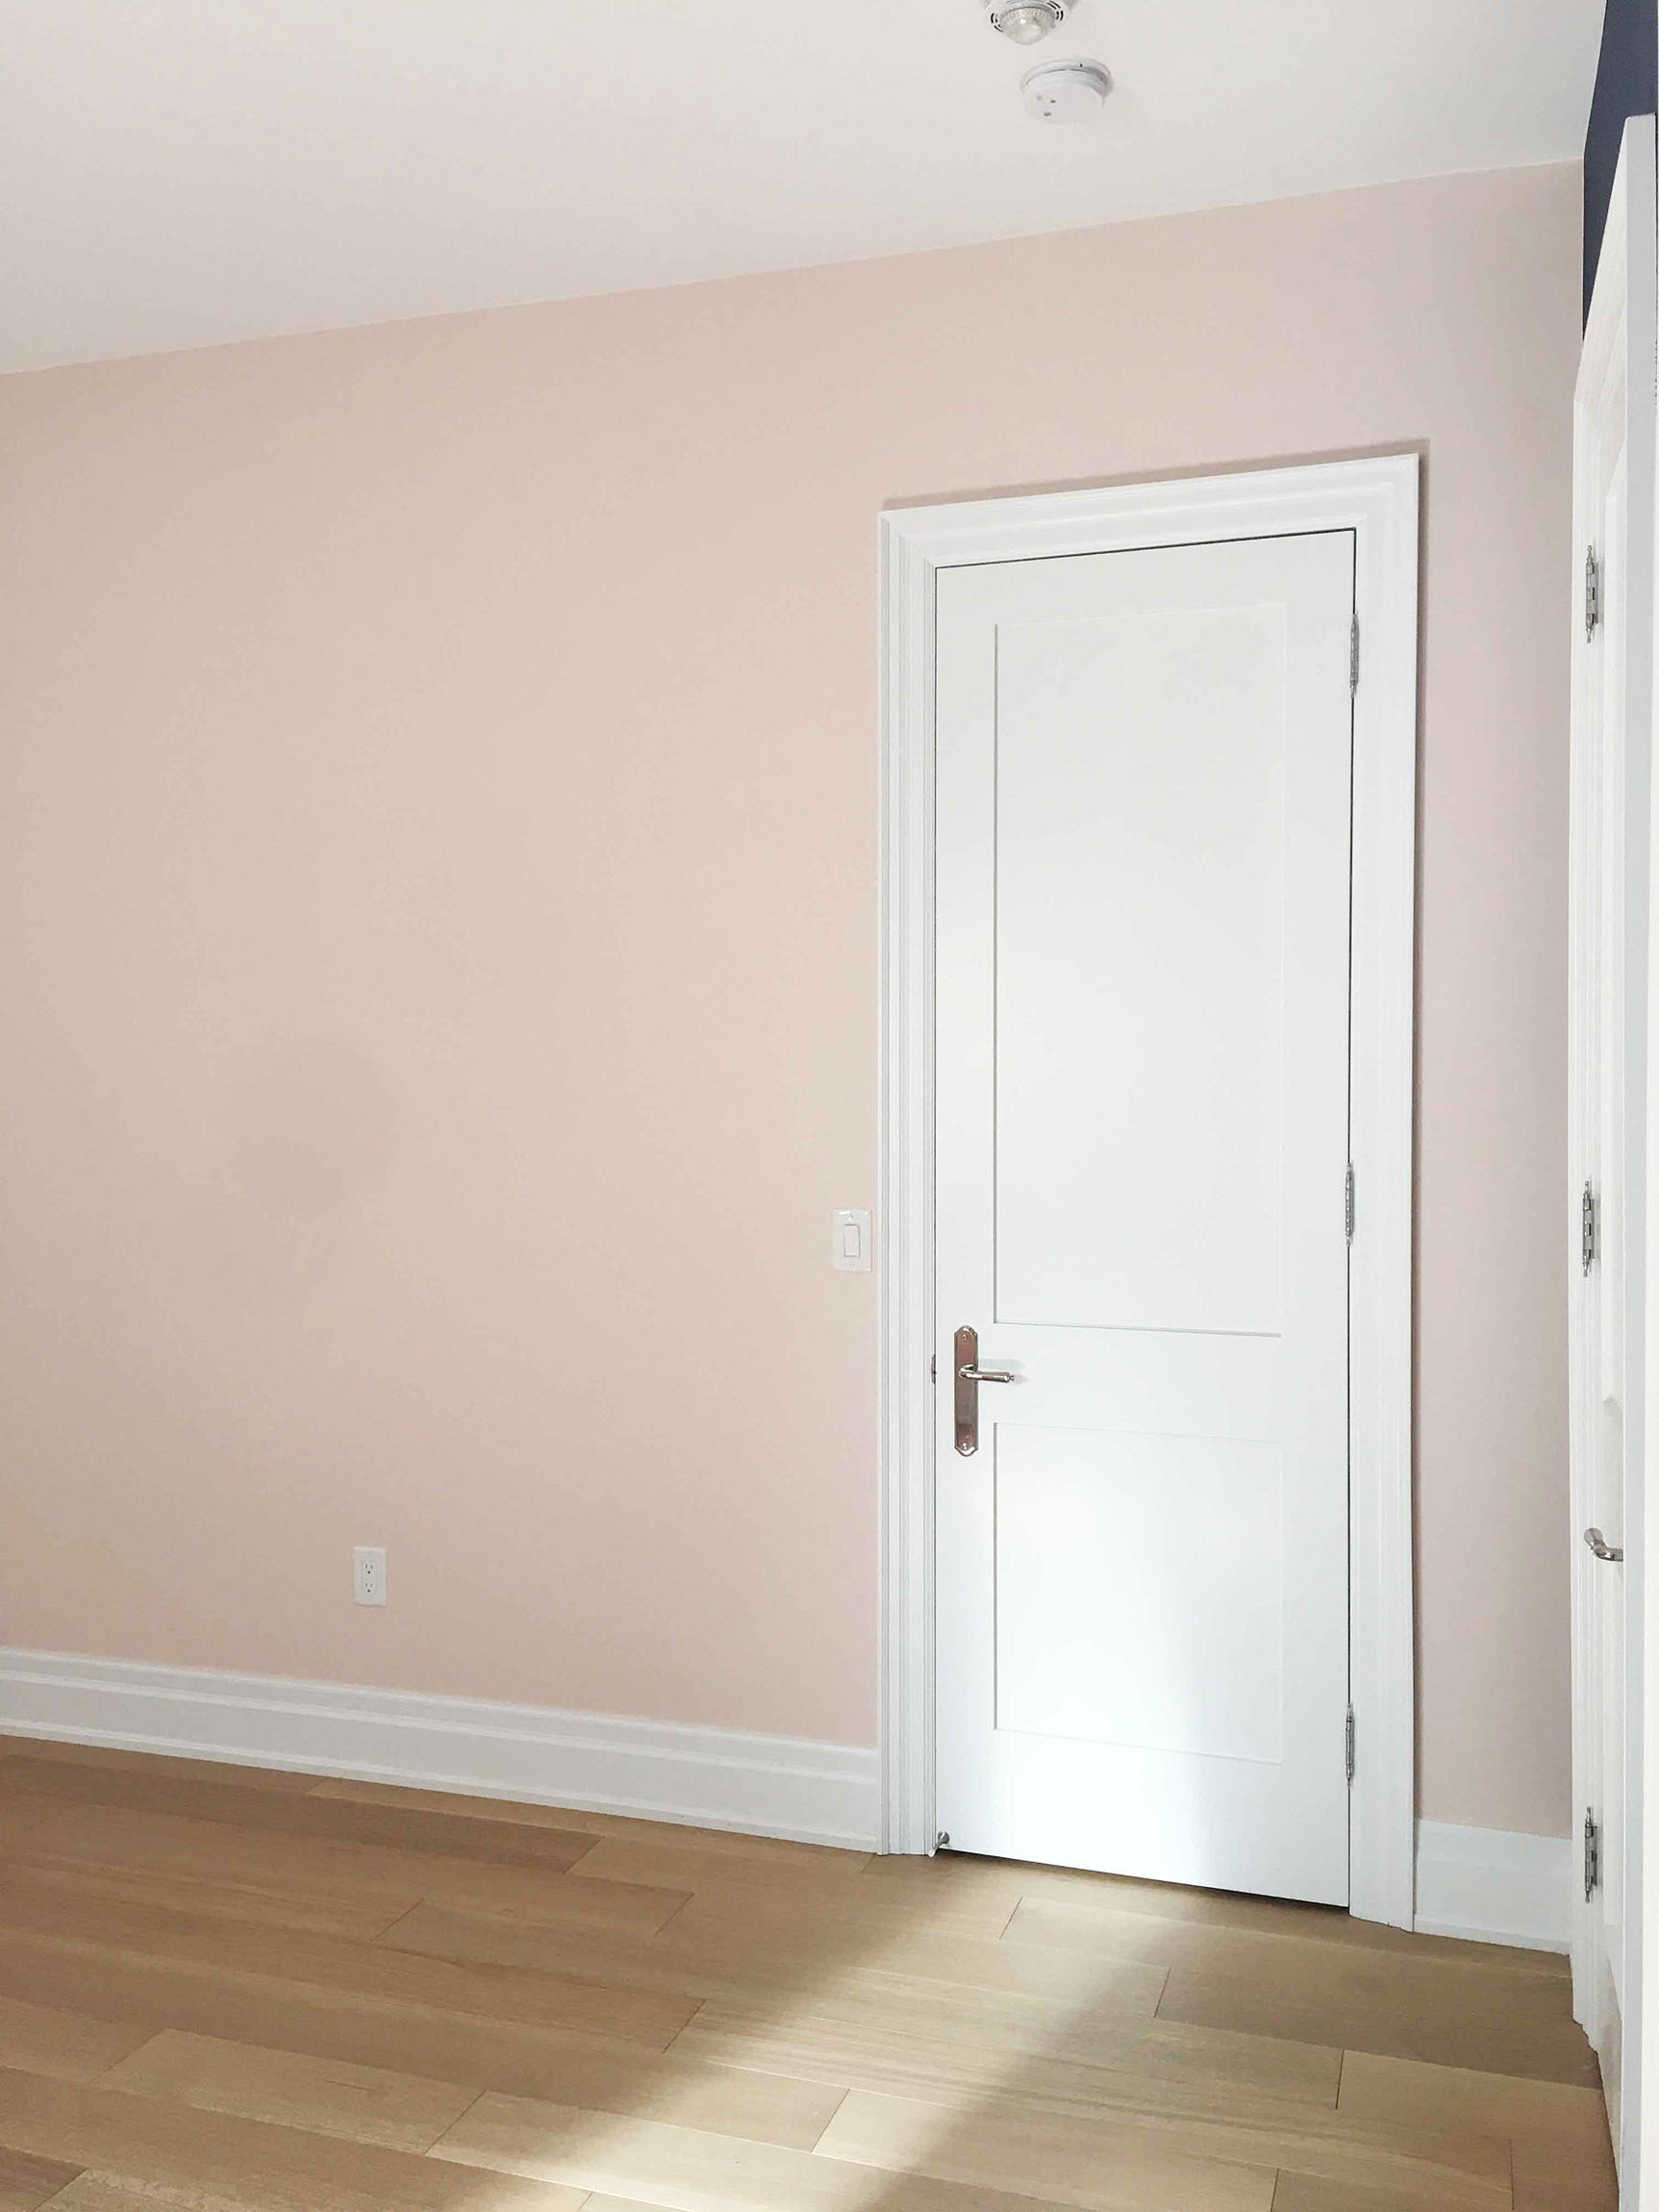
 This brings us to my guest bedroom project and I have to say – Digby Paints have been such a pleasure to use. The paint is quality and went on the walls so beautifully. I chose two colours from their curated options – Sunday Brunch and Slippery When Wet – and they were an exact match to the colours in the wallpaper that I’ll be installing on one feature wall in the space.
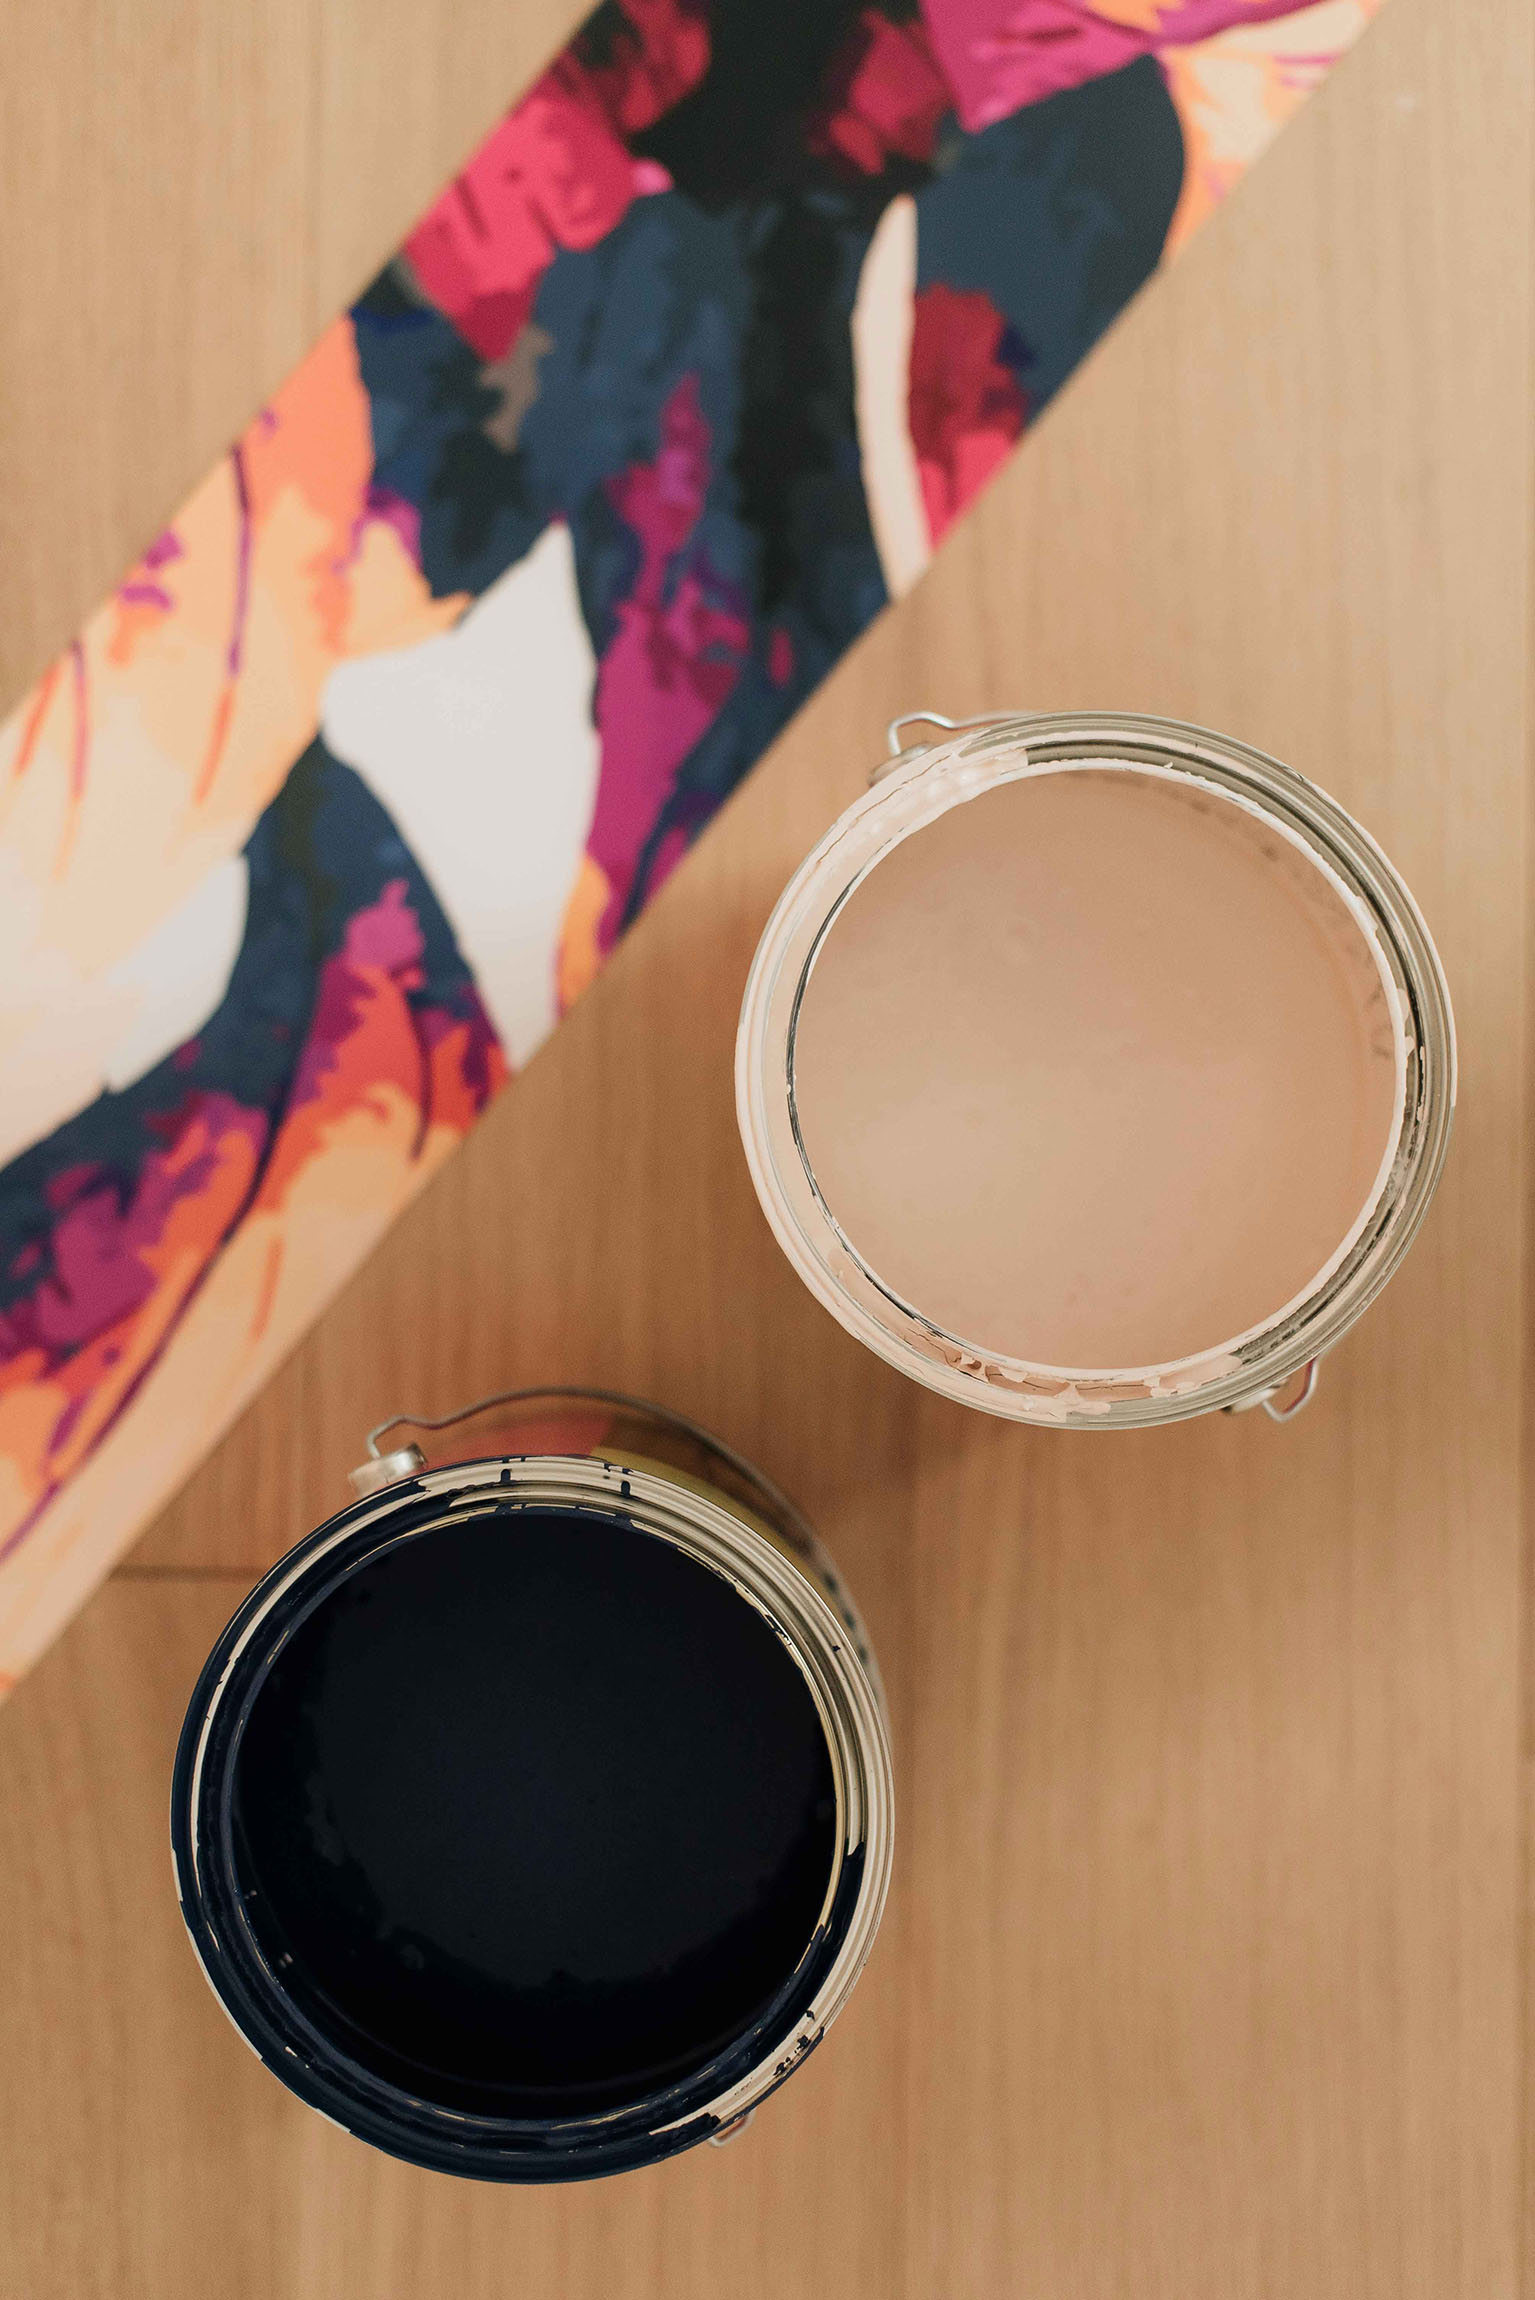
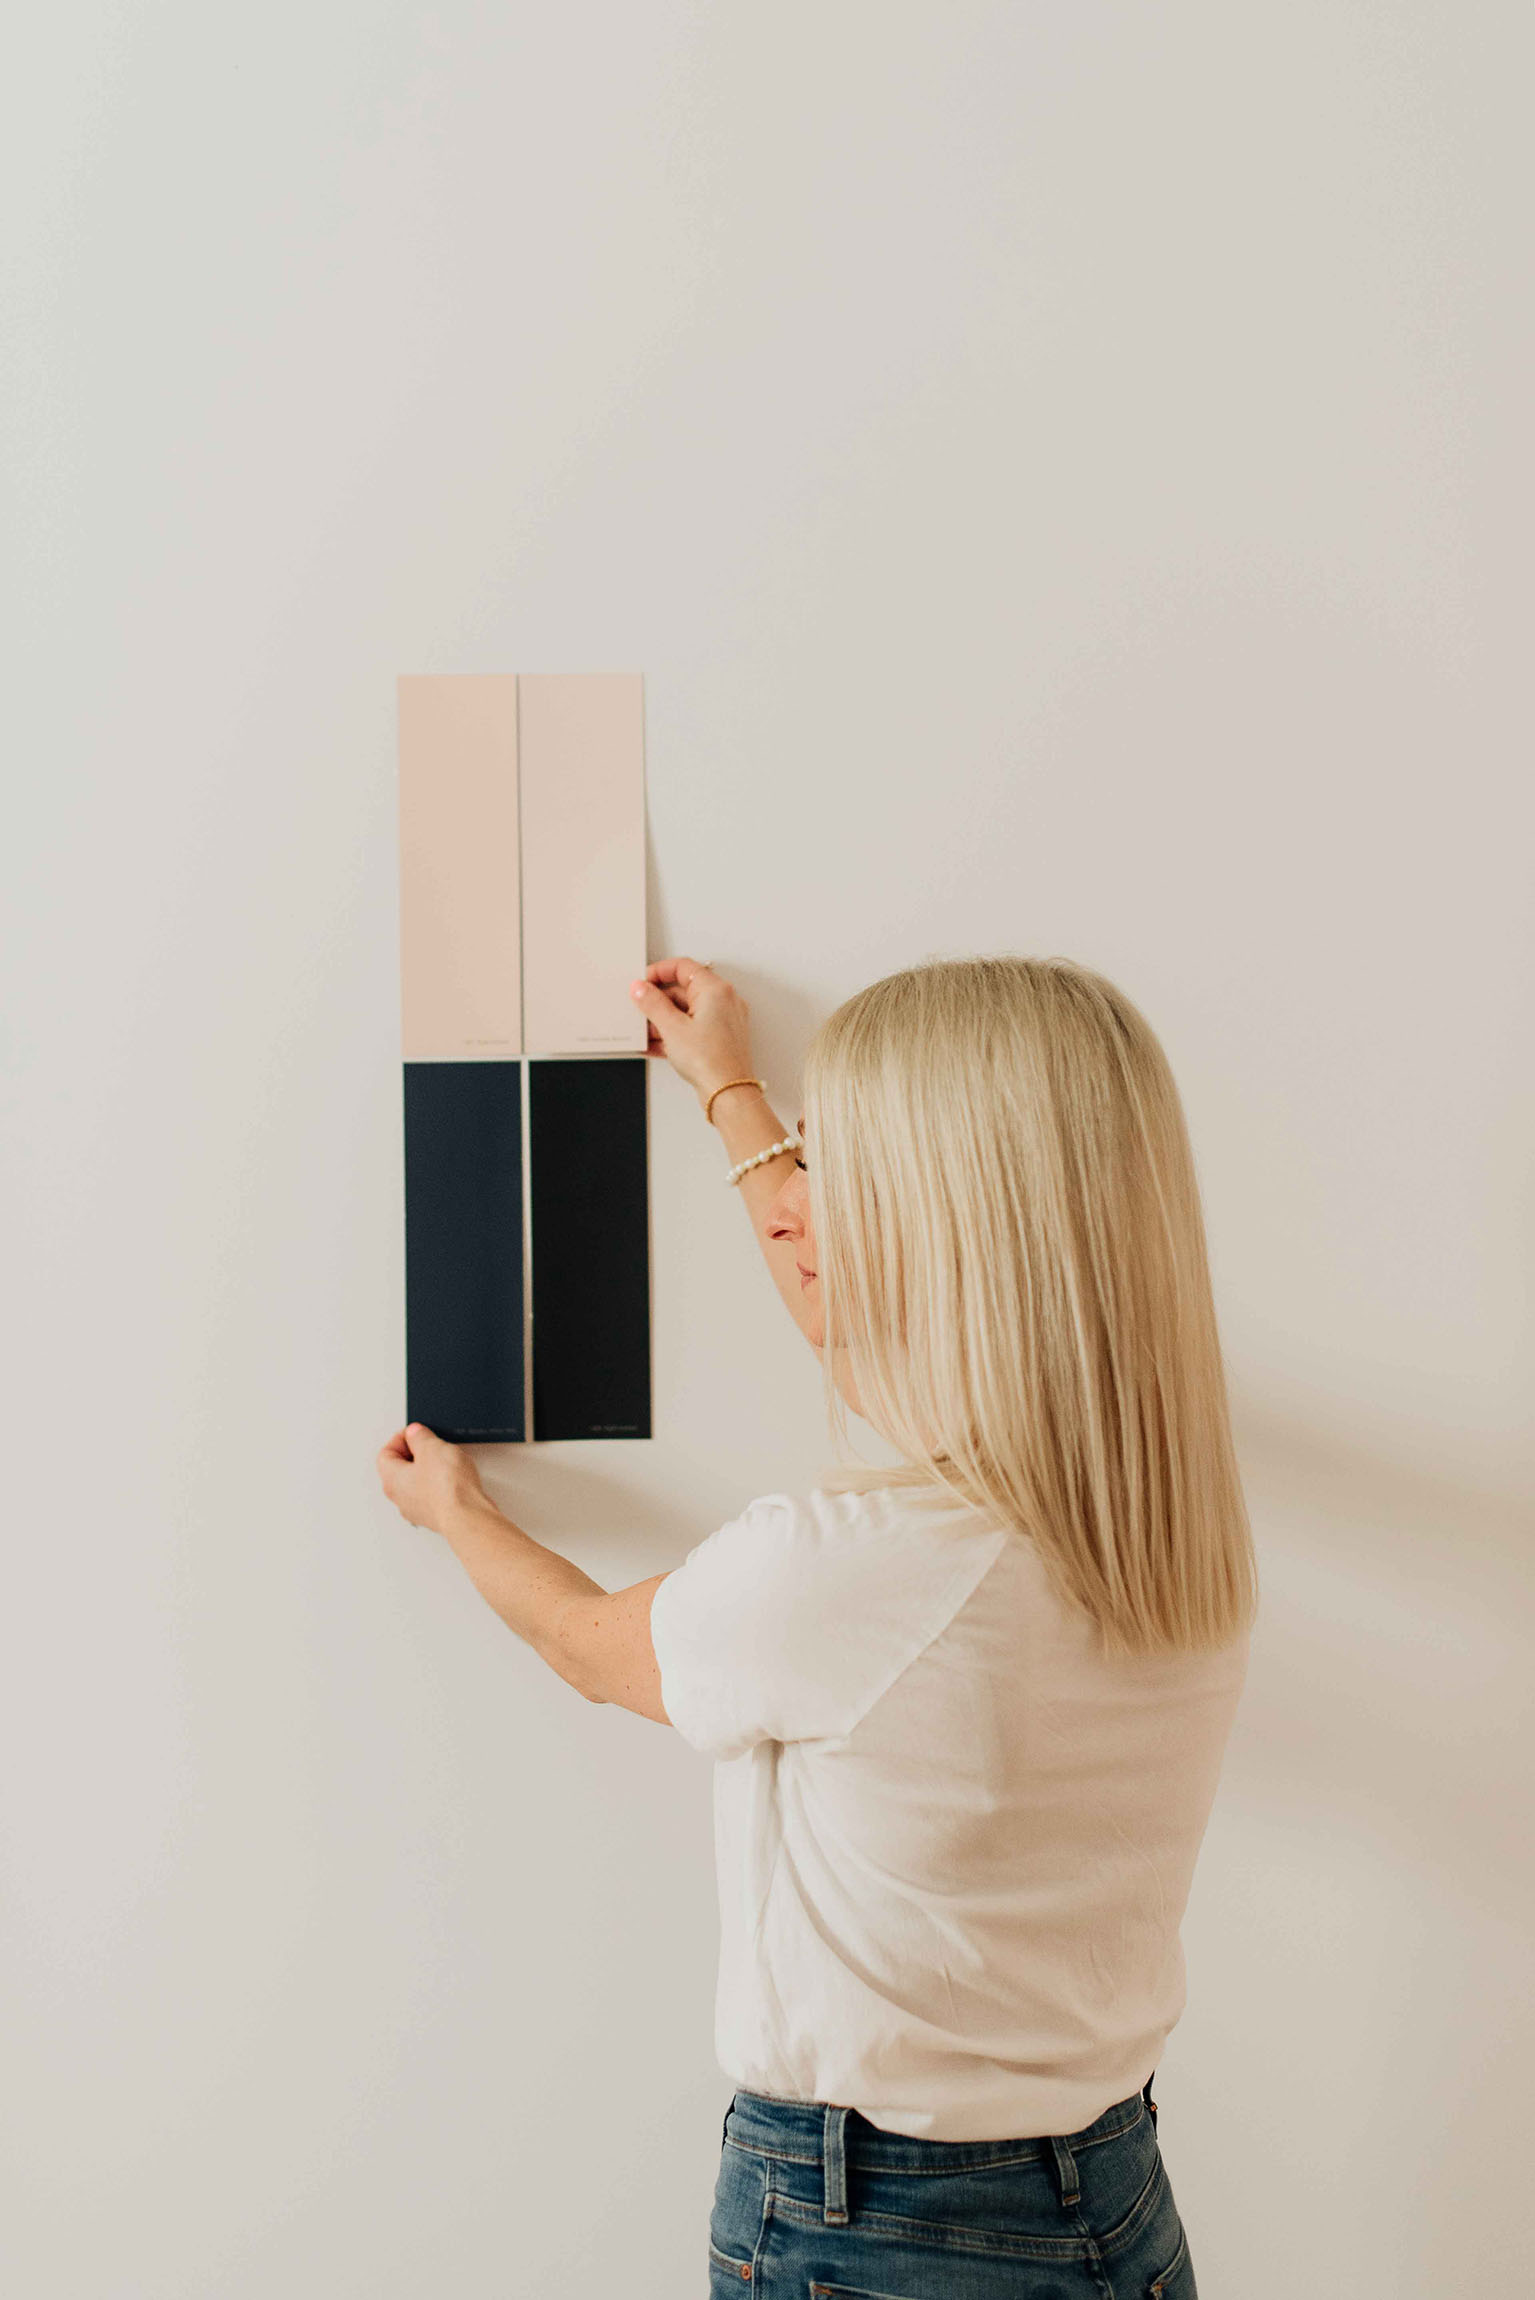
 Prior to making my selections, I ordered Digby’s entire lineup of large colour swatches which come with adhesive tabs so you can place them right on your wall and test out the colour in different lighting and from different angles. I was a bit worried I wouldn’t find exactly what I wanted (they do also offer colour matching if needed), but I was thrilled to immediately find what I had been looking for. In the past, I would have spent hours searching through every shade of navy or peach to find the perfect one – but with Digby I found just what I wanted within minutes and saved so much time!
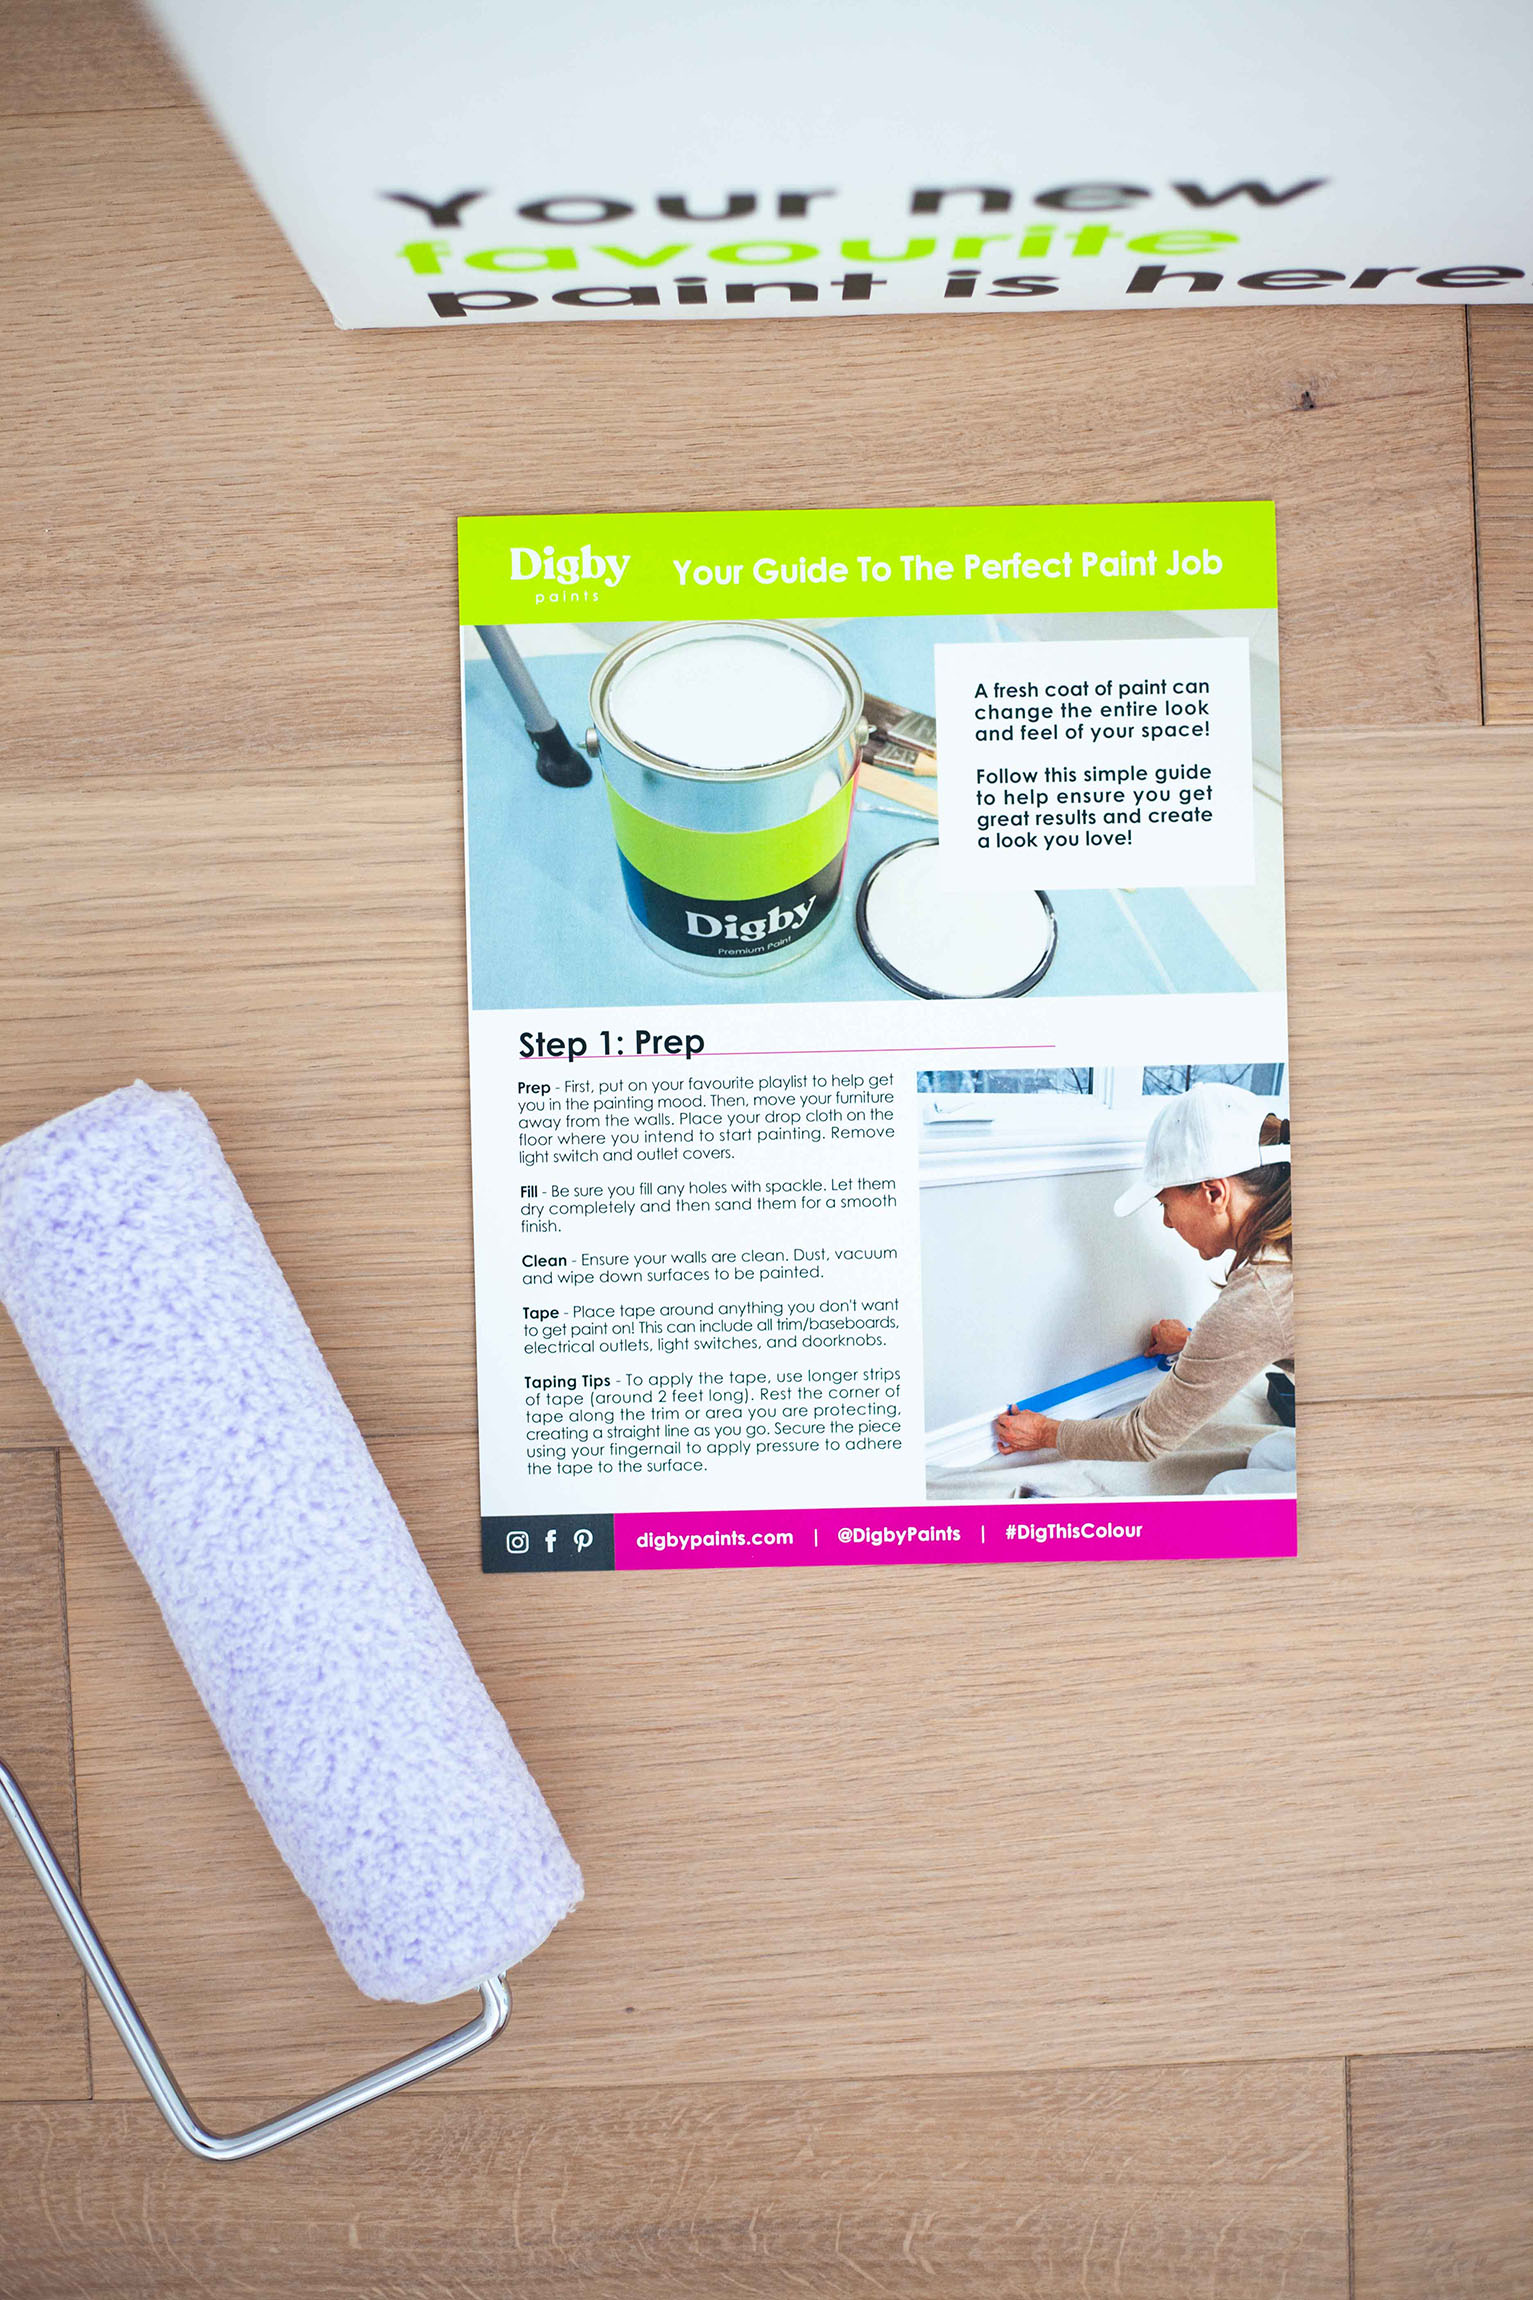
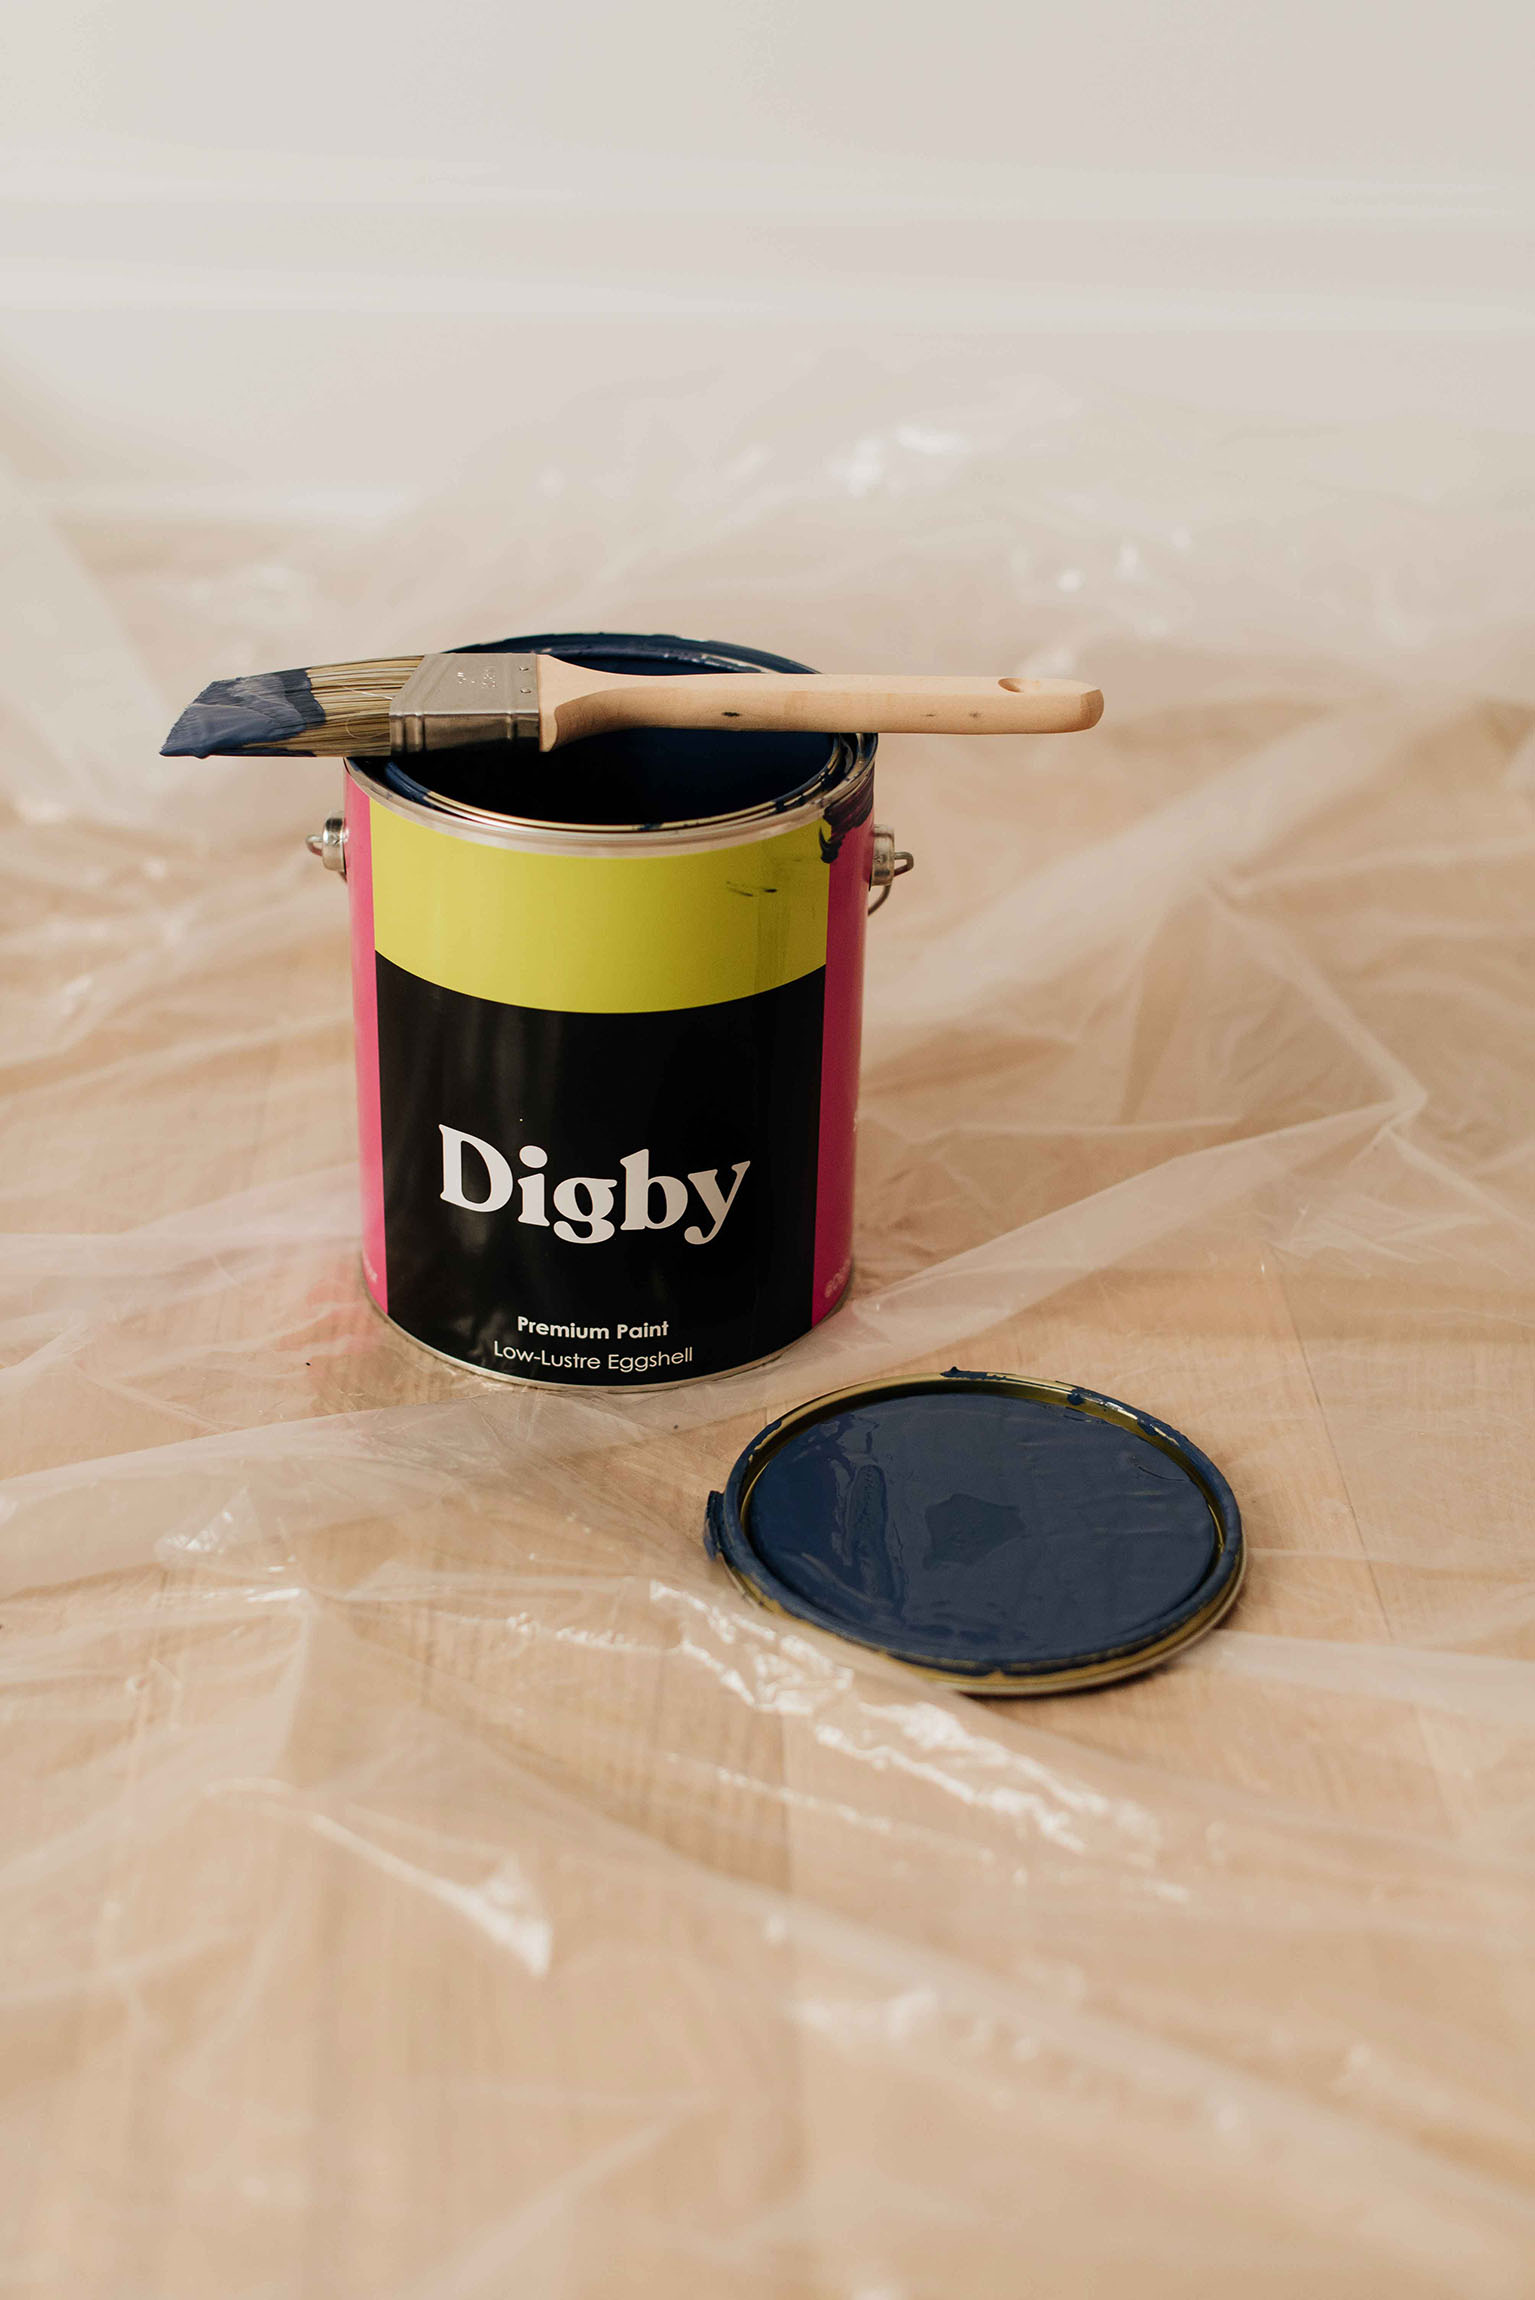
In addition to the two gallons of paint, I also ordered all of my painting supplies directly from Digby. This saved an unnecessary trip out of the house, and of course, saved lots of time as well. The quality of supplies was second to none! I have to say that their painter’s tape was the best I have ever used – creating clean, sharp lines (with no bleed) to really make the project look as professional as possible. Digby also included handy instructions on how to complete the perfect paint project, and I found these super helpful for a novice painter like myself.
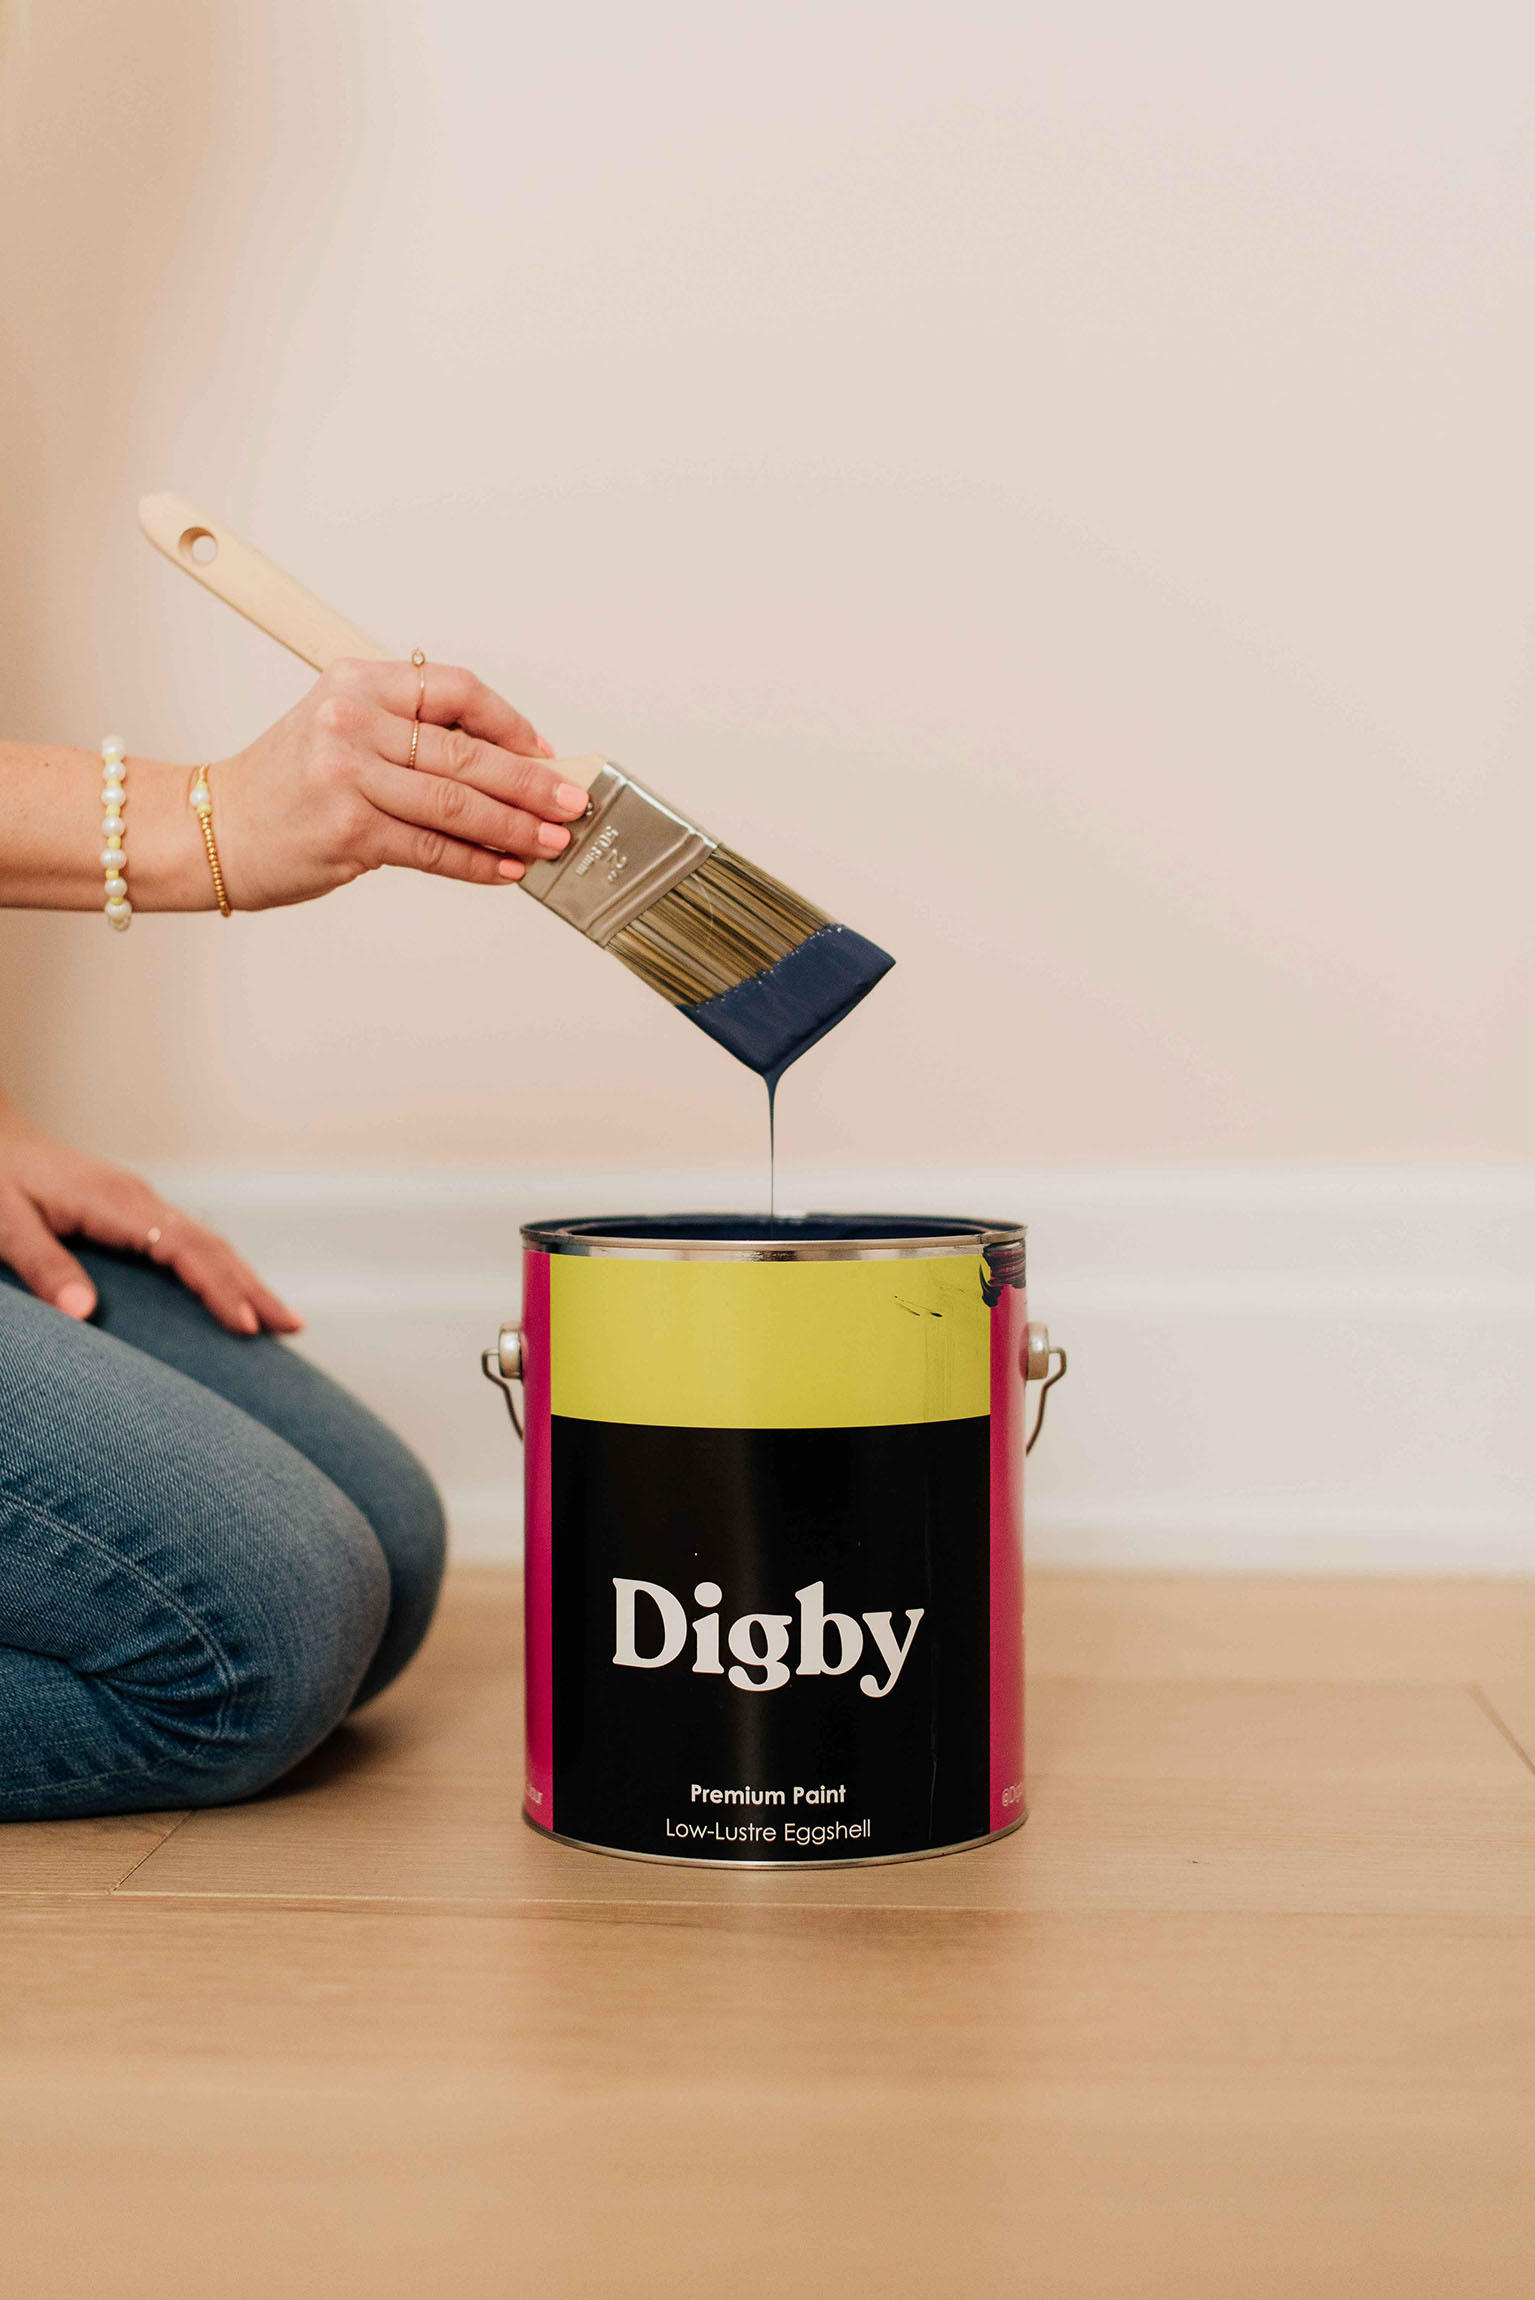
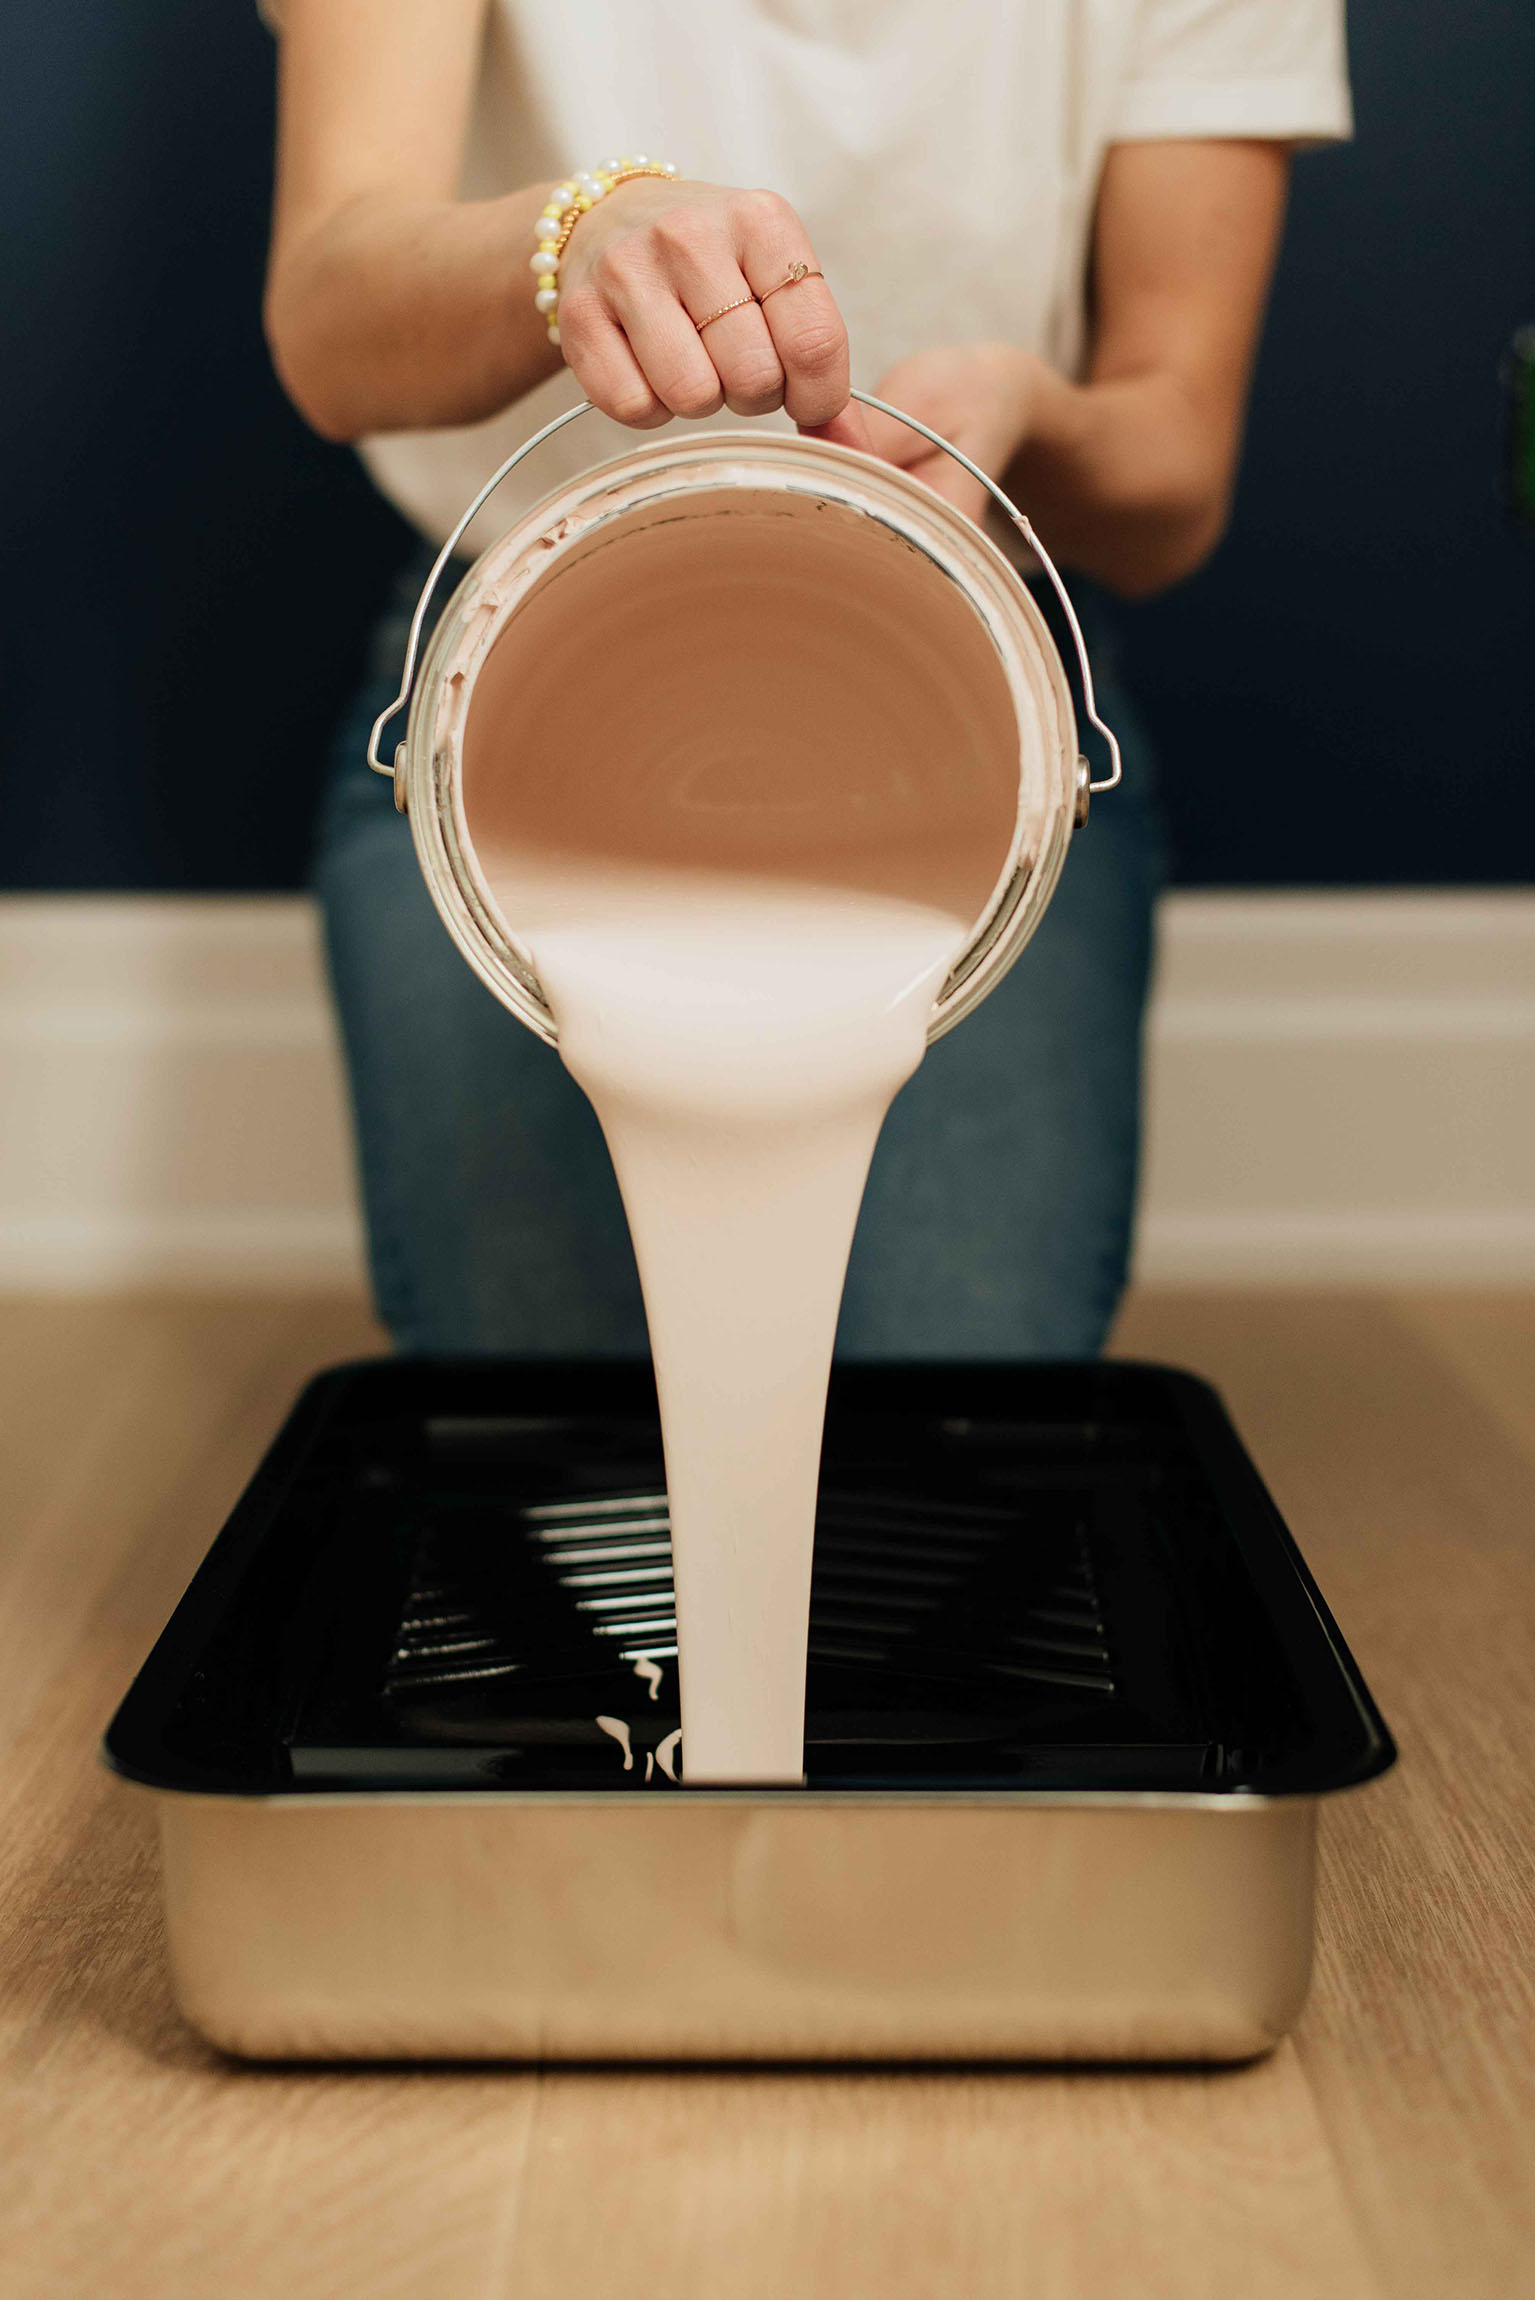
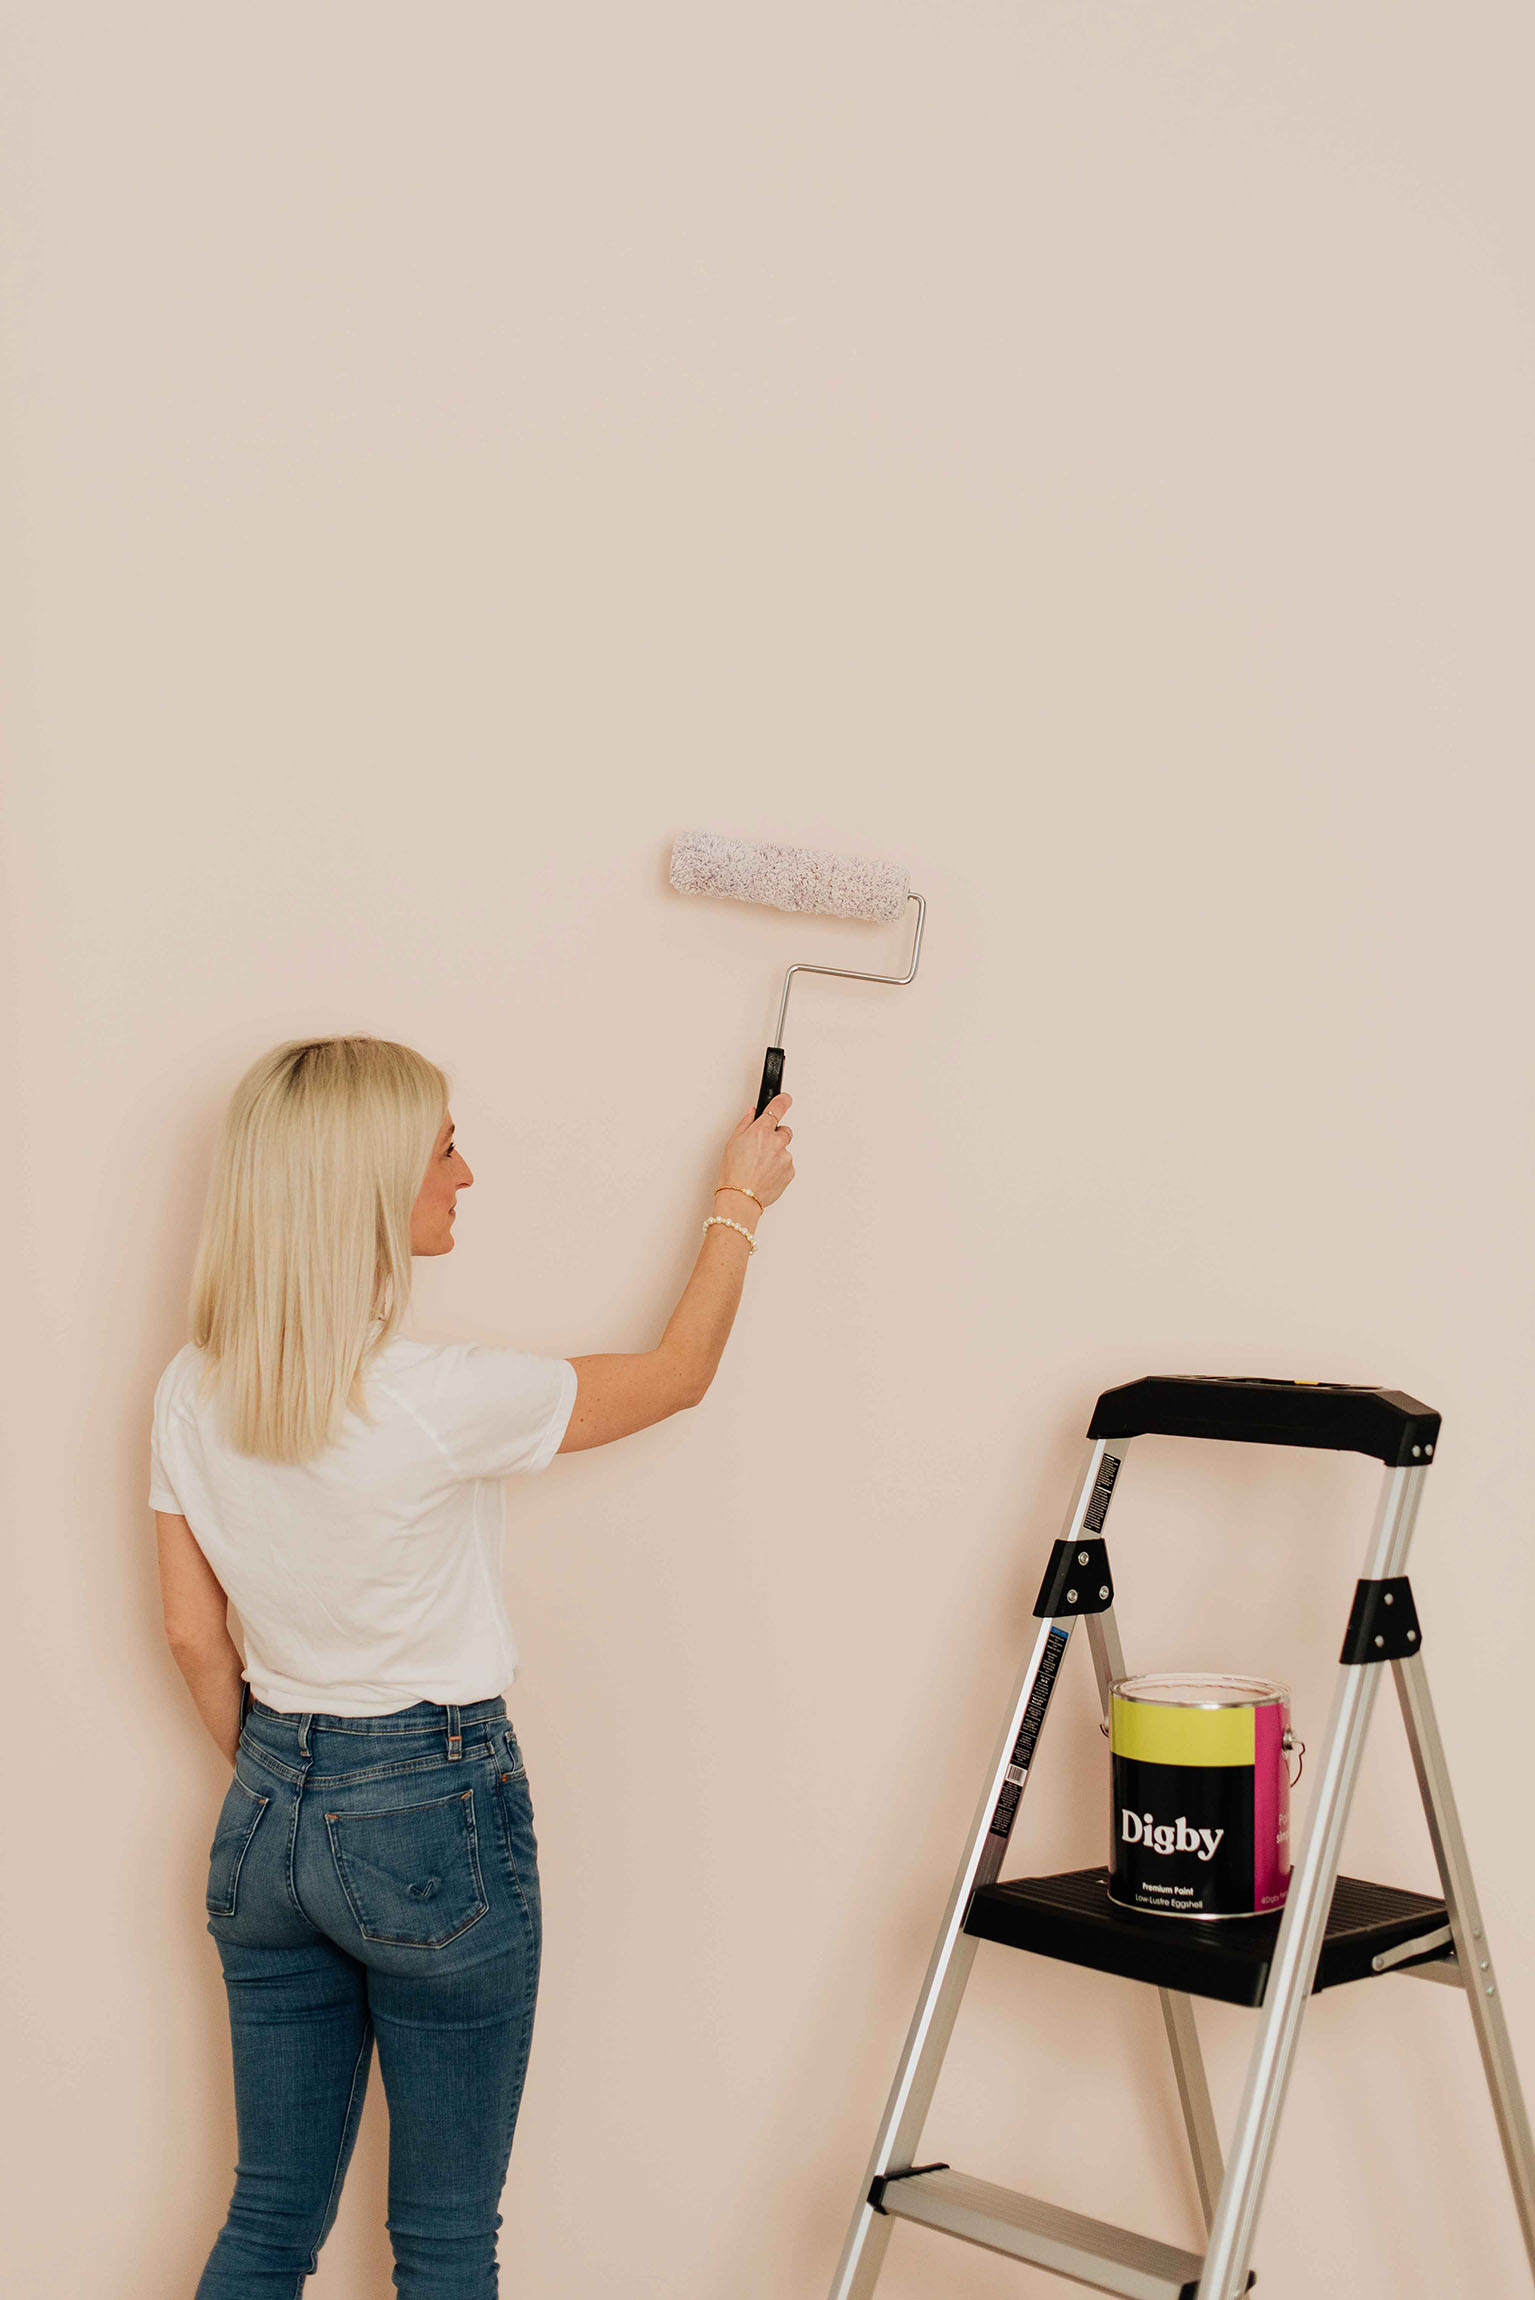
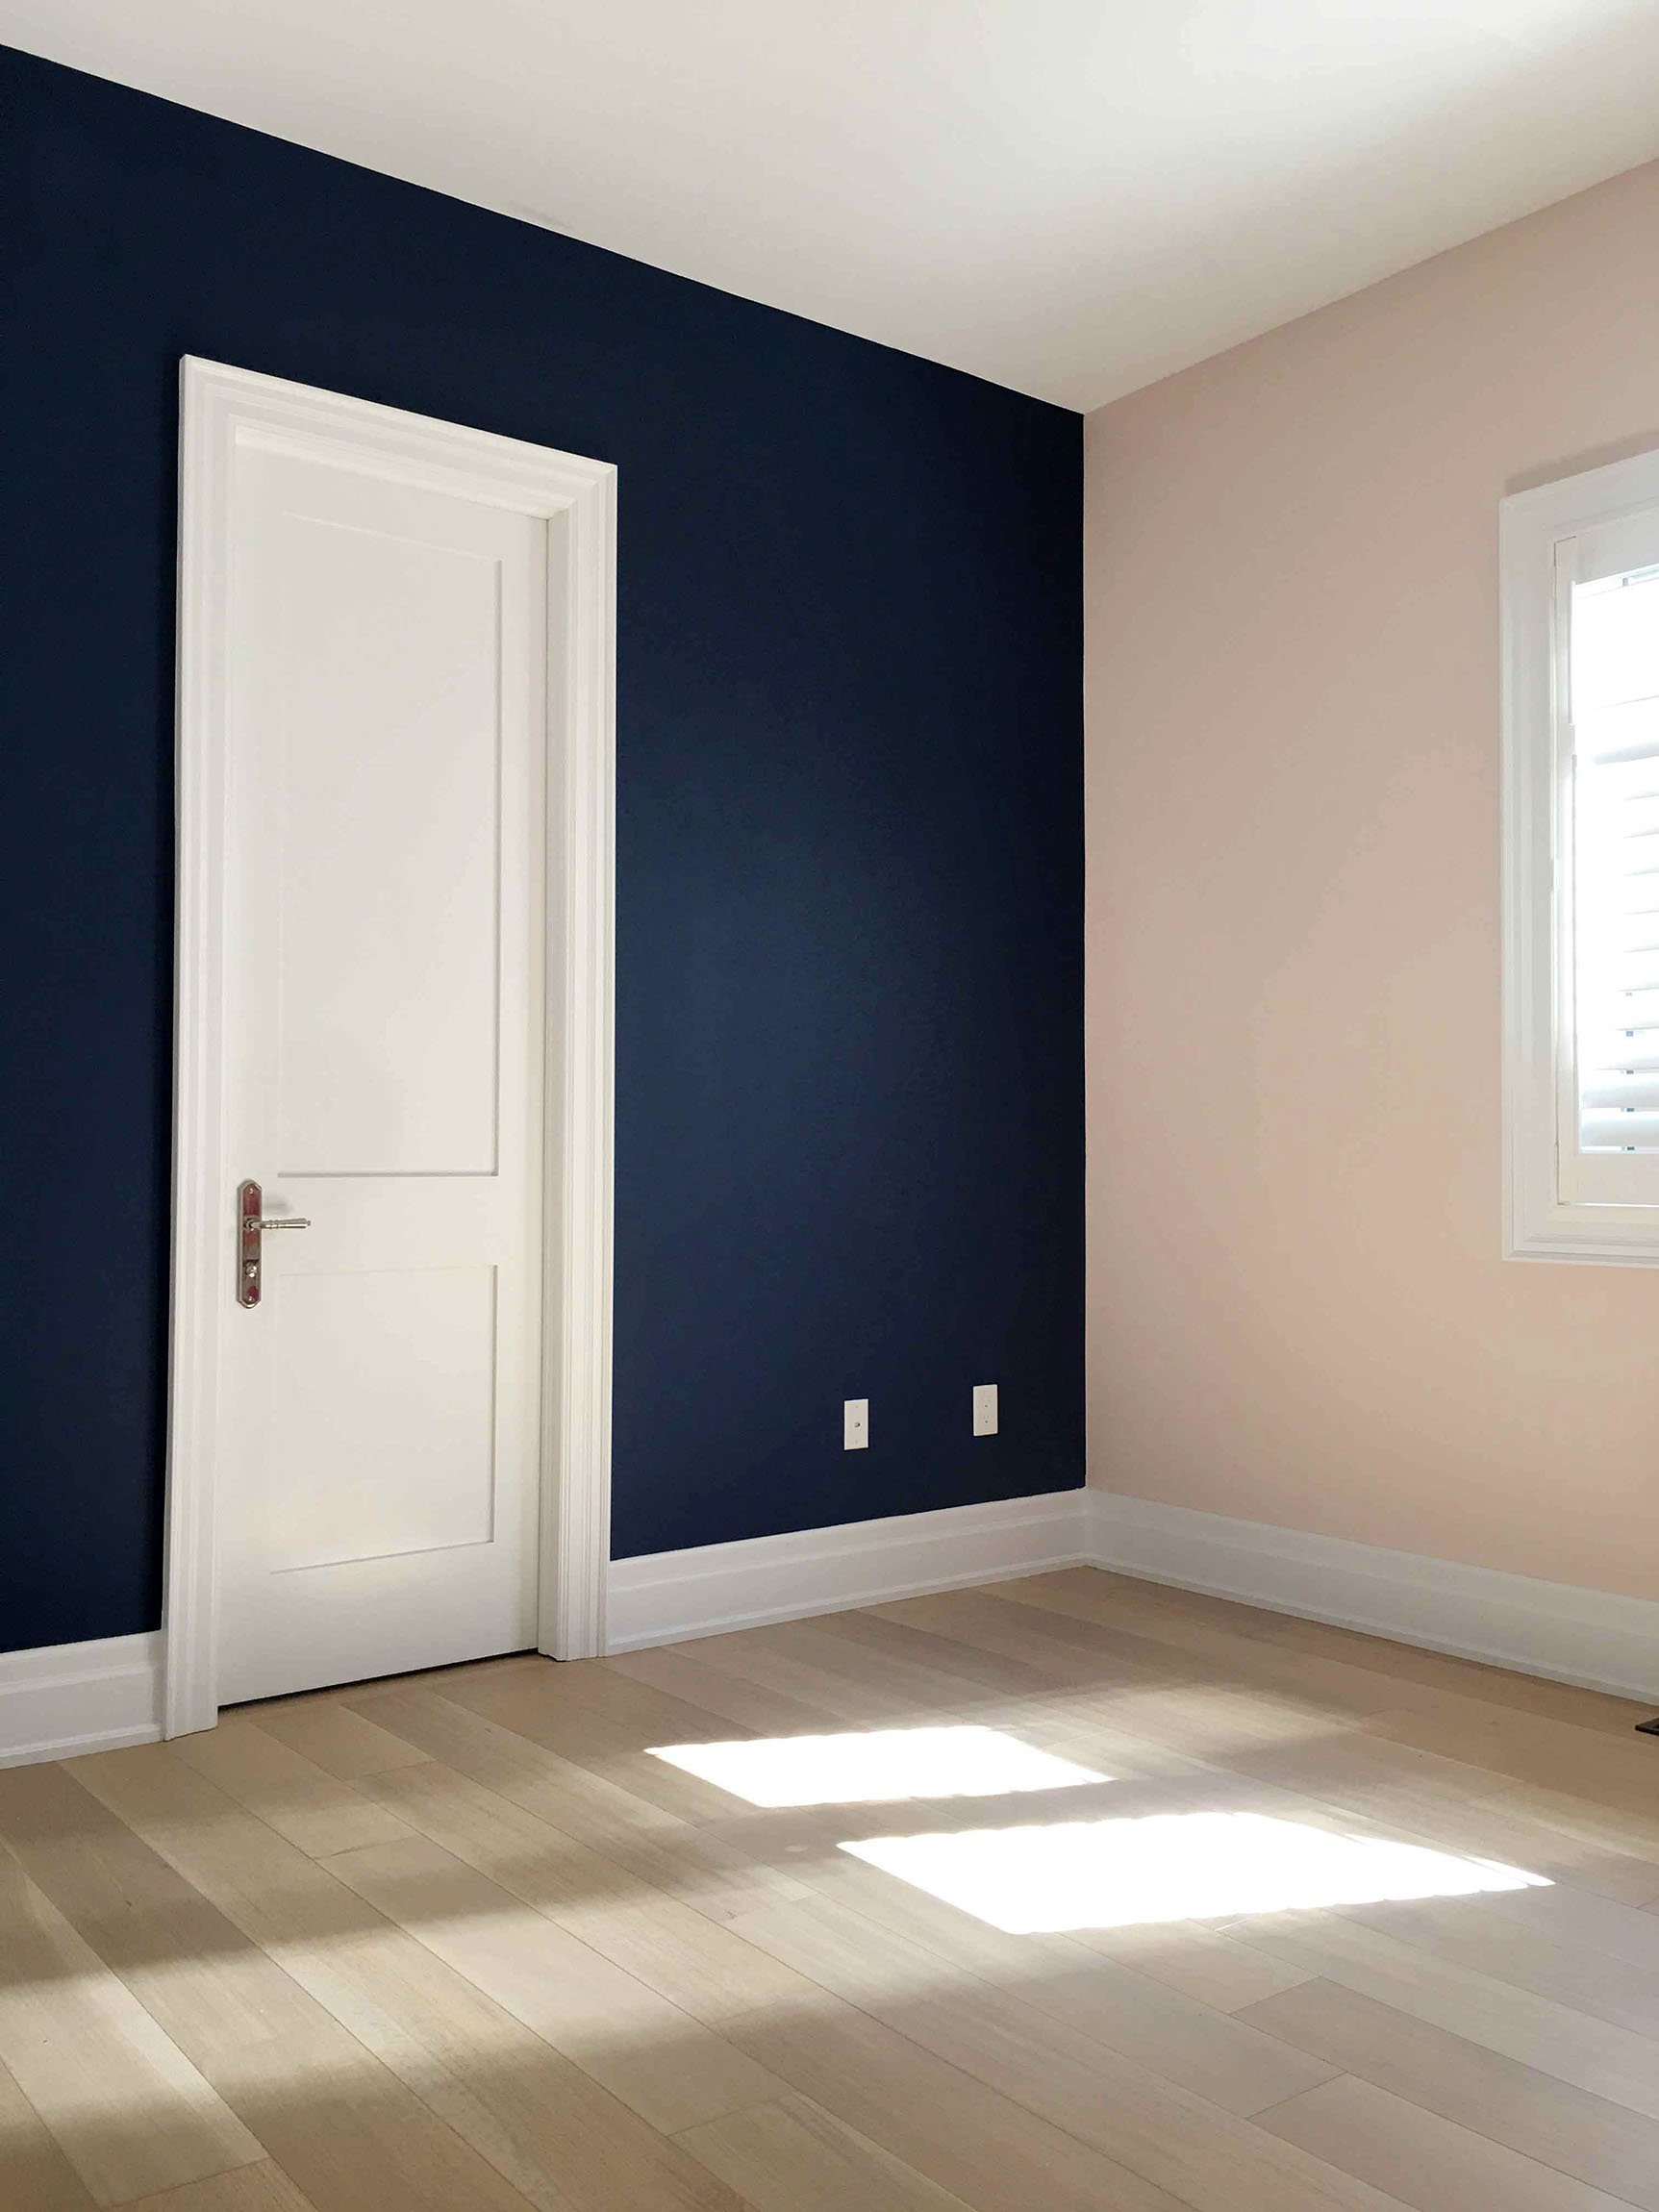 For the actual painting of the walls – I completed the work on my own and only required a couple of coats of paint for each colour. The ceilings in this bedroom are 10 feet tall, but I taped up all the edges and corners, did two coats of cutting, and then used the roller to evenly spread the paint on the walls. I did one extra touch up on the walls I used the Slippery When Wet colour because it was very dark and at a certain time of the day you could see a few patches I had missed, but overall the paint covered extremely well, the colours were very saturated, and the results are absolutely stunning! I will definitely be using Digby Paints again for future projects!


 As already stated – I am not a professional painter – however, I’ve learned a few tricks along the way that I thought might be helpful to share for your next project:
1. Always remember to remove your painter’s tape BEFORE the second coat completely dries. This prevents the tape from peeling back dry paint and gives you those sharp, professional lines.
2. If you are using two different colours on joining walls (like I did), paint the lighter wall first and don’t worry about getting the light colour on the adjoining wall. Then once it has dried, tape the corner over the light coloured wall and paint your dark colour. This saves you from taping up the corner twice and trying to match up a straight line.
3. In between coats, wrap your brushes, rollers, and paint tray with cling wrap to avoid them from drying out.

 These walls are just the first step in an exciting guest bedroom makeover I’m currently working on. Stay tuned for a full room reveal in the coming months!
* This post is sponsored by Digby Paints, however, all opinions are always my own.
* Photos by Darby Mitchell Photography