
May 7th, 2015
PINK VANILLA MARSHMALLOWS RECIPE
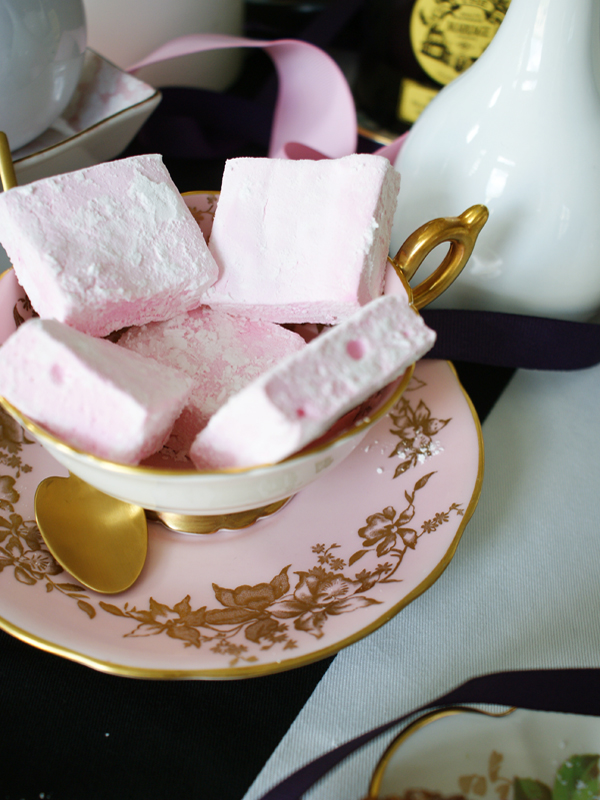
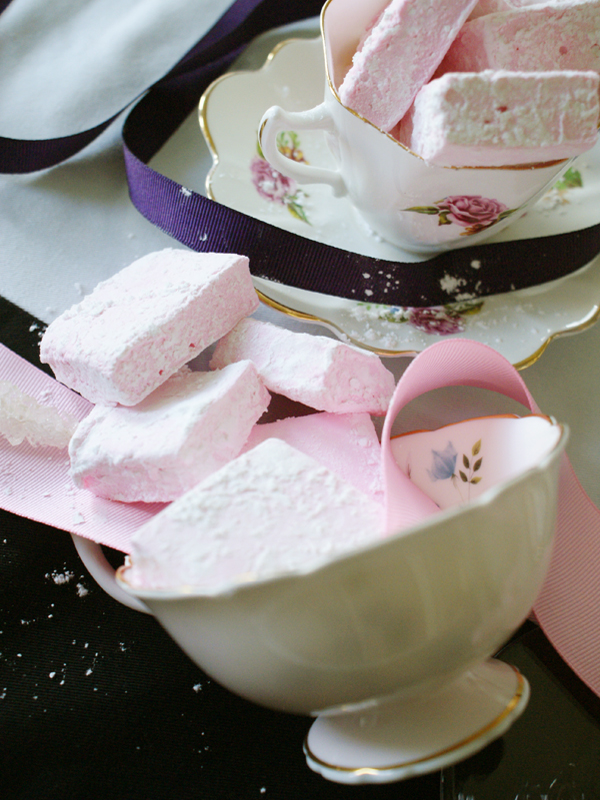
If you’re like me, marshmallows are one of those treats that always came out of a package and the thought of making them myself never crossed my mind. In fact, I didn’t even know they could be made. Sounds ridiculous I know, but it’s true. That was…until I first discovered gourmet marshmallows at my local Whole Foods Market a few years ago – then everything changed. I am proud to say I have not purchased packaged, store-bought marshmallows, (with all of their preservatives) since that day. Don’t get me wrong, I’m not claiming that these pretty little “pink clouds” (as my niece would say) are anything close to being healthy, but at least they have less than ten ingredients, and I know how to pronounce each one of them.
This is my go-to Basic Vanilla Marshmallow recipe, adapted from the original recipe found in the Holiday 2012 Issue of FOOD & DRINK MAGAZINE. With lots of room to improvise flavours and colors, this simple recipe is perfect on its own, or can be dressed up with a few variations. Below you will find the basic recipe that is simple, no-hassle (sans candy thermometer), and always the perfect sweet treat. I hope you enoy them!!
- 1 cup Powdered Sugar
- 1/3 cup Cool Water
- 2 tbsp Unflavoured Gelatine
- 1/2 cup Water
- 1/2 cup White Corn Syrup
- 1 1/3 cup Sugar
- 1/4 tsp Salt
- 1 tsp Vanilla Extract
- Food Coloring, Optional
- Grease an 8″ square baking pan with vegetable oil and lightly dust all sides with 1/4 cup powdered sugar.
- Pour the cool water into the bowl of a stand-mixer and sprinkle gelatine over it, allowing to soften for 15 minutes.
- In a medium, heavy-bottomed sauce pan, combine water, white corn syrup, sugar, and salt. Stir.
- Bring to a rolling bowl and then allow to cook for exactly 4 minutes without stirring. Remove immediately from the heat.
- Fitted with the whisk attachment and splash guard, turn on stand-mixer to low speed, and slowly pour the hot syrup into the gelatine.
- Gradually increase speed to high and allow mixture to combine for 6 minutes. It should be thick and glossy.
- Add vanilla extract and food coloring, if desired, and continue to mix for 15 more seconds.
- Using a wet spatula, scrape mixture into greased baking pan. This will be extremely sticky!
- Wet the spatula again, and evenly level the poured mixture as best you can. You may have to wet the spatula a few times to get it totally smooth.
- Allow to rest, uncovered on counter for 1 hour.
- After it has rested, sift 1/4 powdered sugar over the top, covering completely.
- Allow to set overnight at room temperature.
- Place remaining 1/2 cup powdered sugar into a bowl.
- With a spatula, carefully scrape all sides of pan to release marshmallow from sides.
- Unmould marshmallow square slowly with your hands and place on a cutting board.
- Using a lightly greased, sharp knife, cut marshmallow in 2″ squares.
- Roll each piece in the powdered sugar to coat.
- Marshmallows will stay fresh for one week.
NOTES:
* These must set overnight, so they cannot be made in one day
* Adapted from Basic Marshmallows Recipe in FOOD & DRINK MAGAZINE, Holiday 2012 Issue

so cool. I’m going to try this the next time I host a dinner.
You’ll have to let me know how they turn out!!