
May 7th, 2019
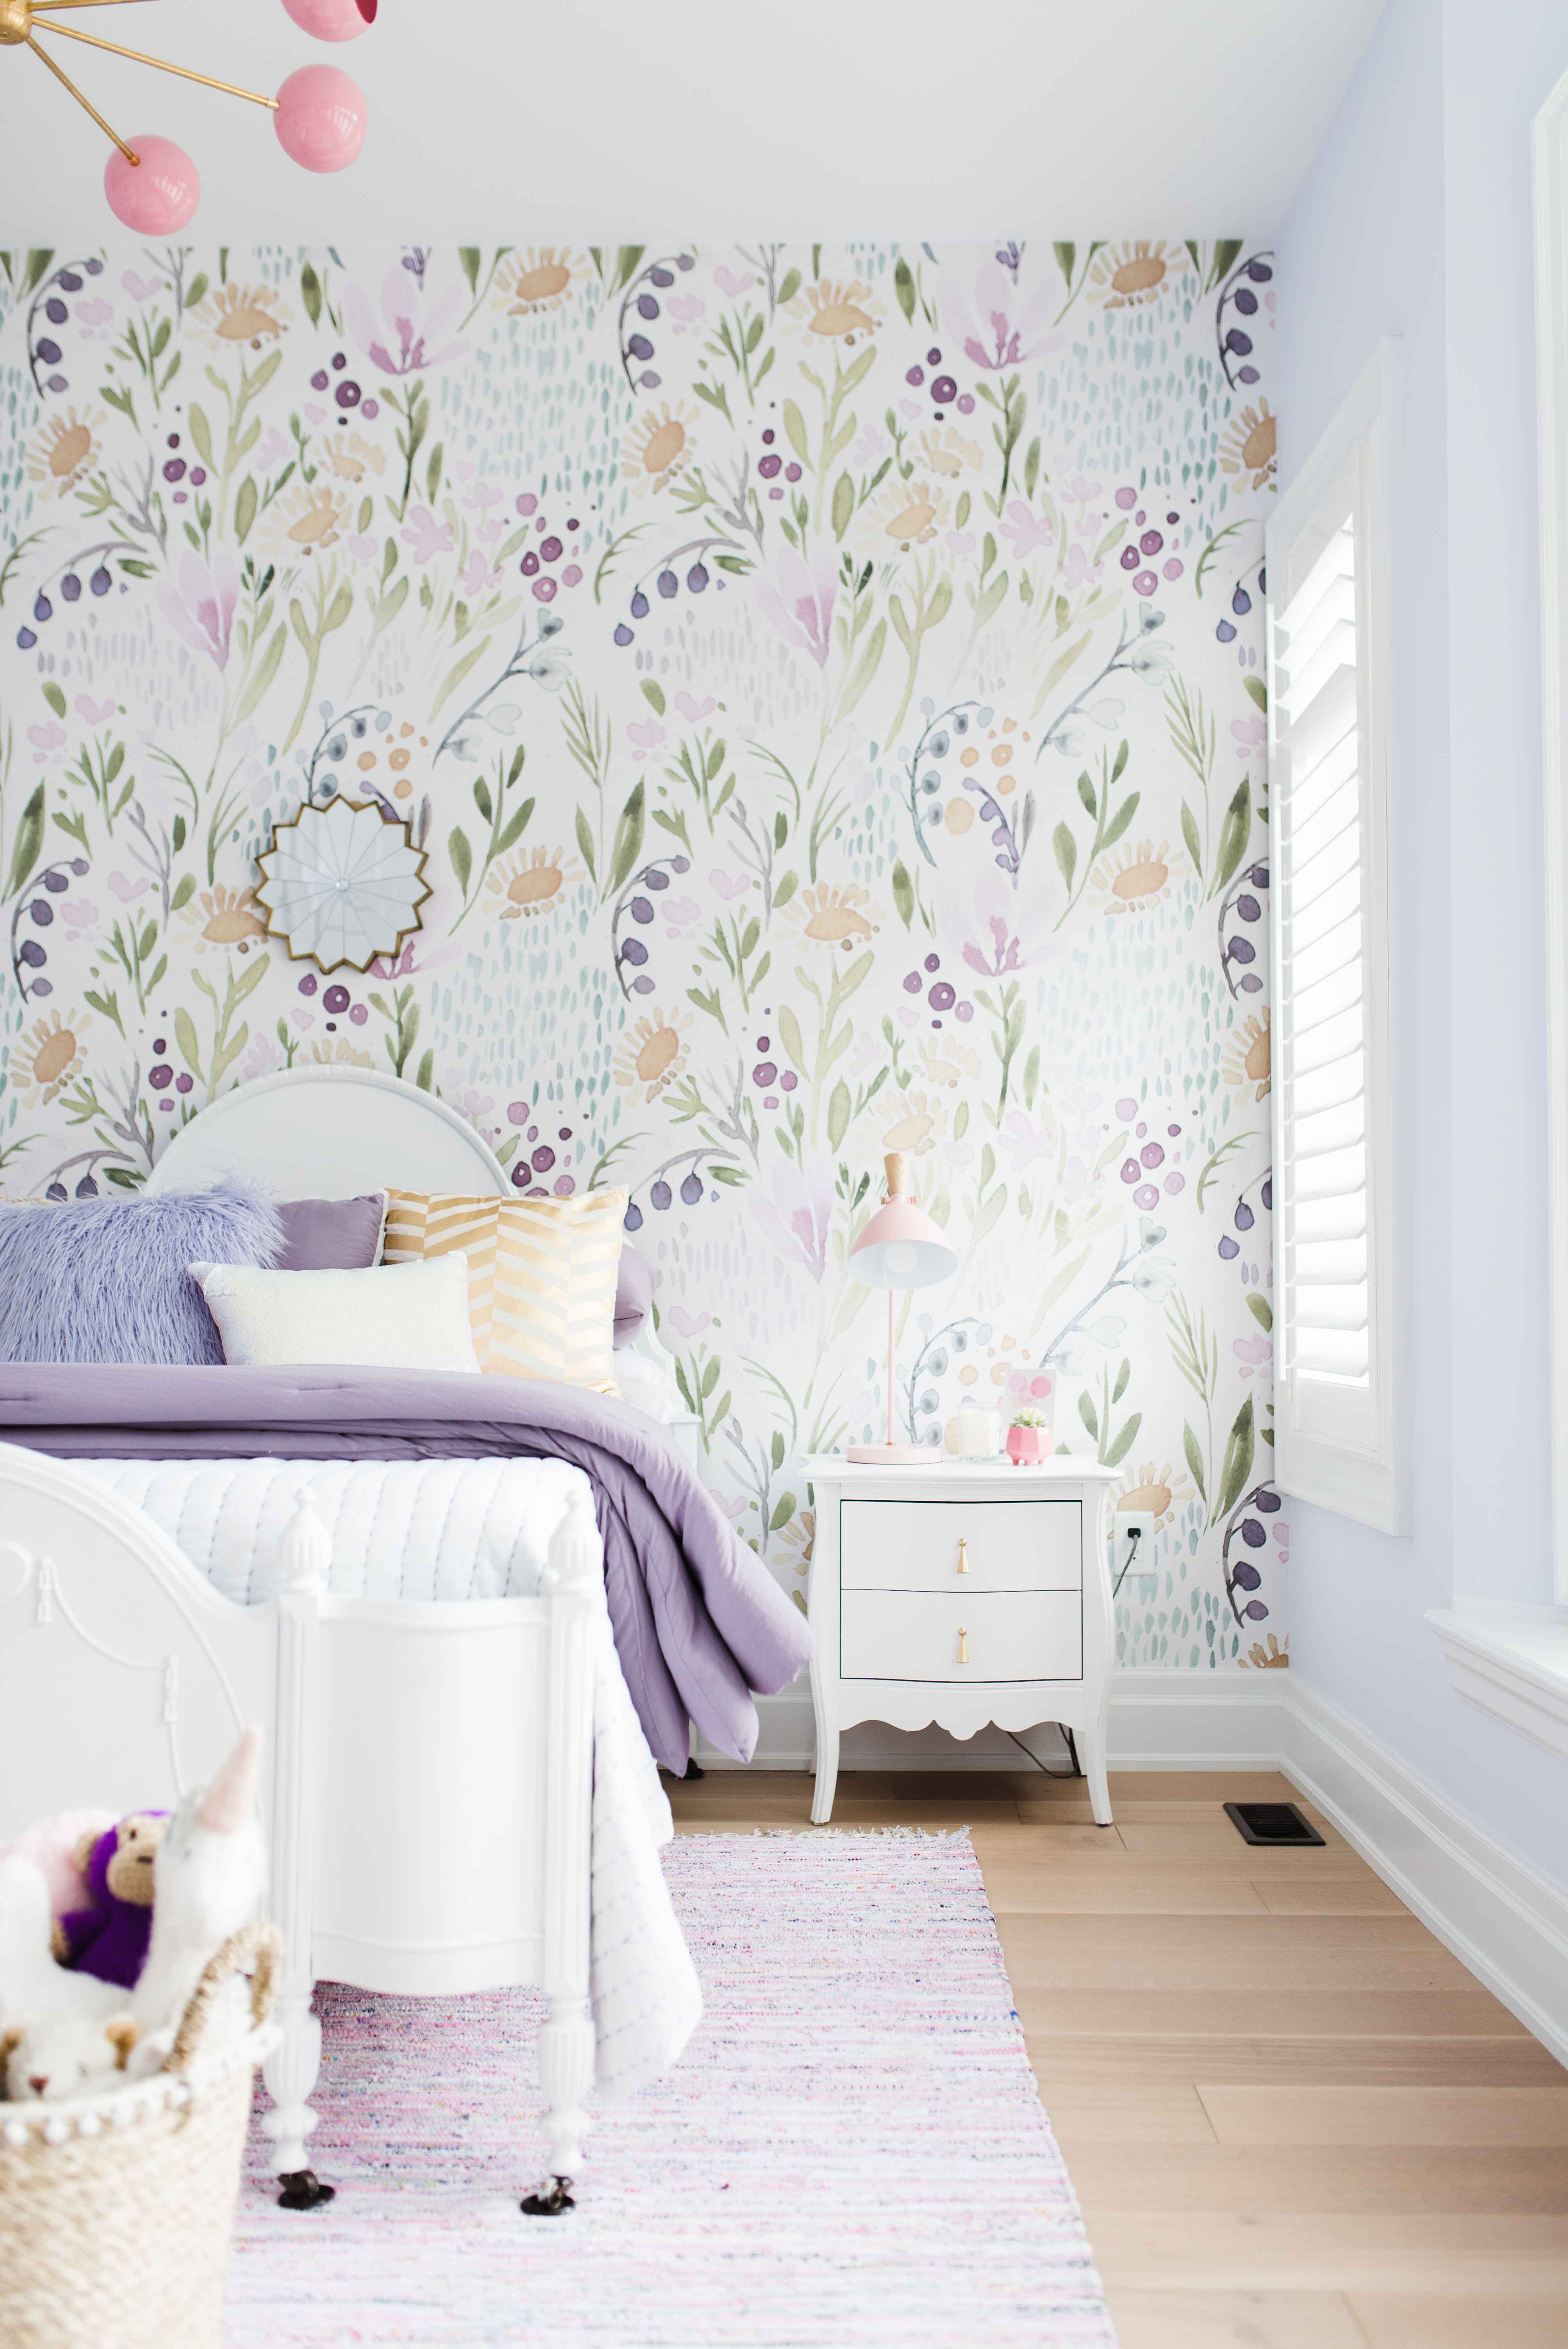
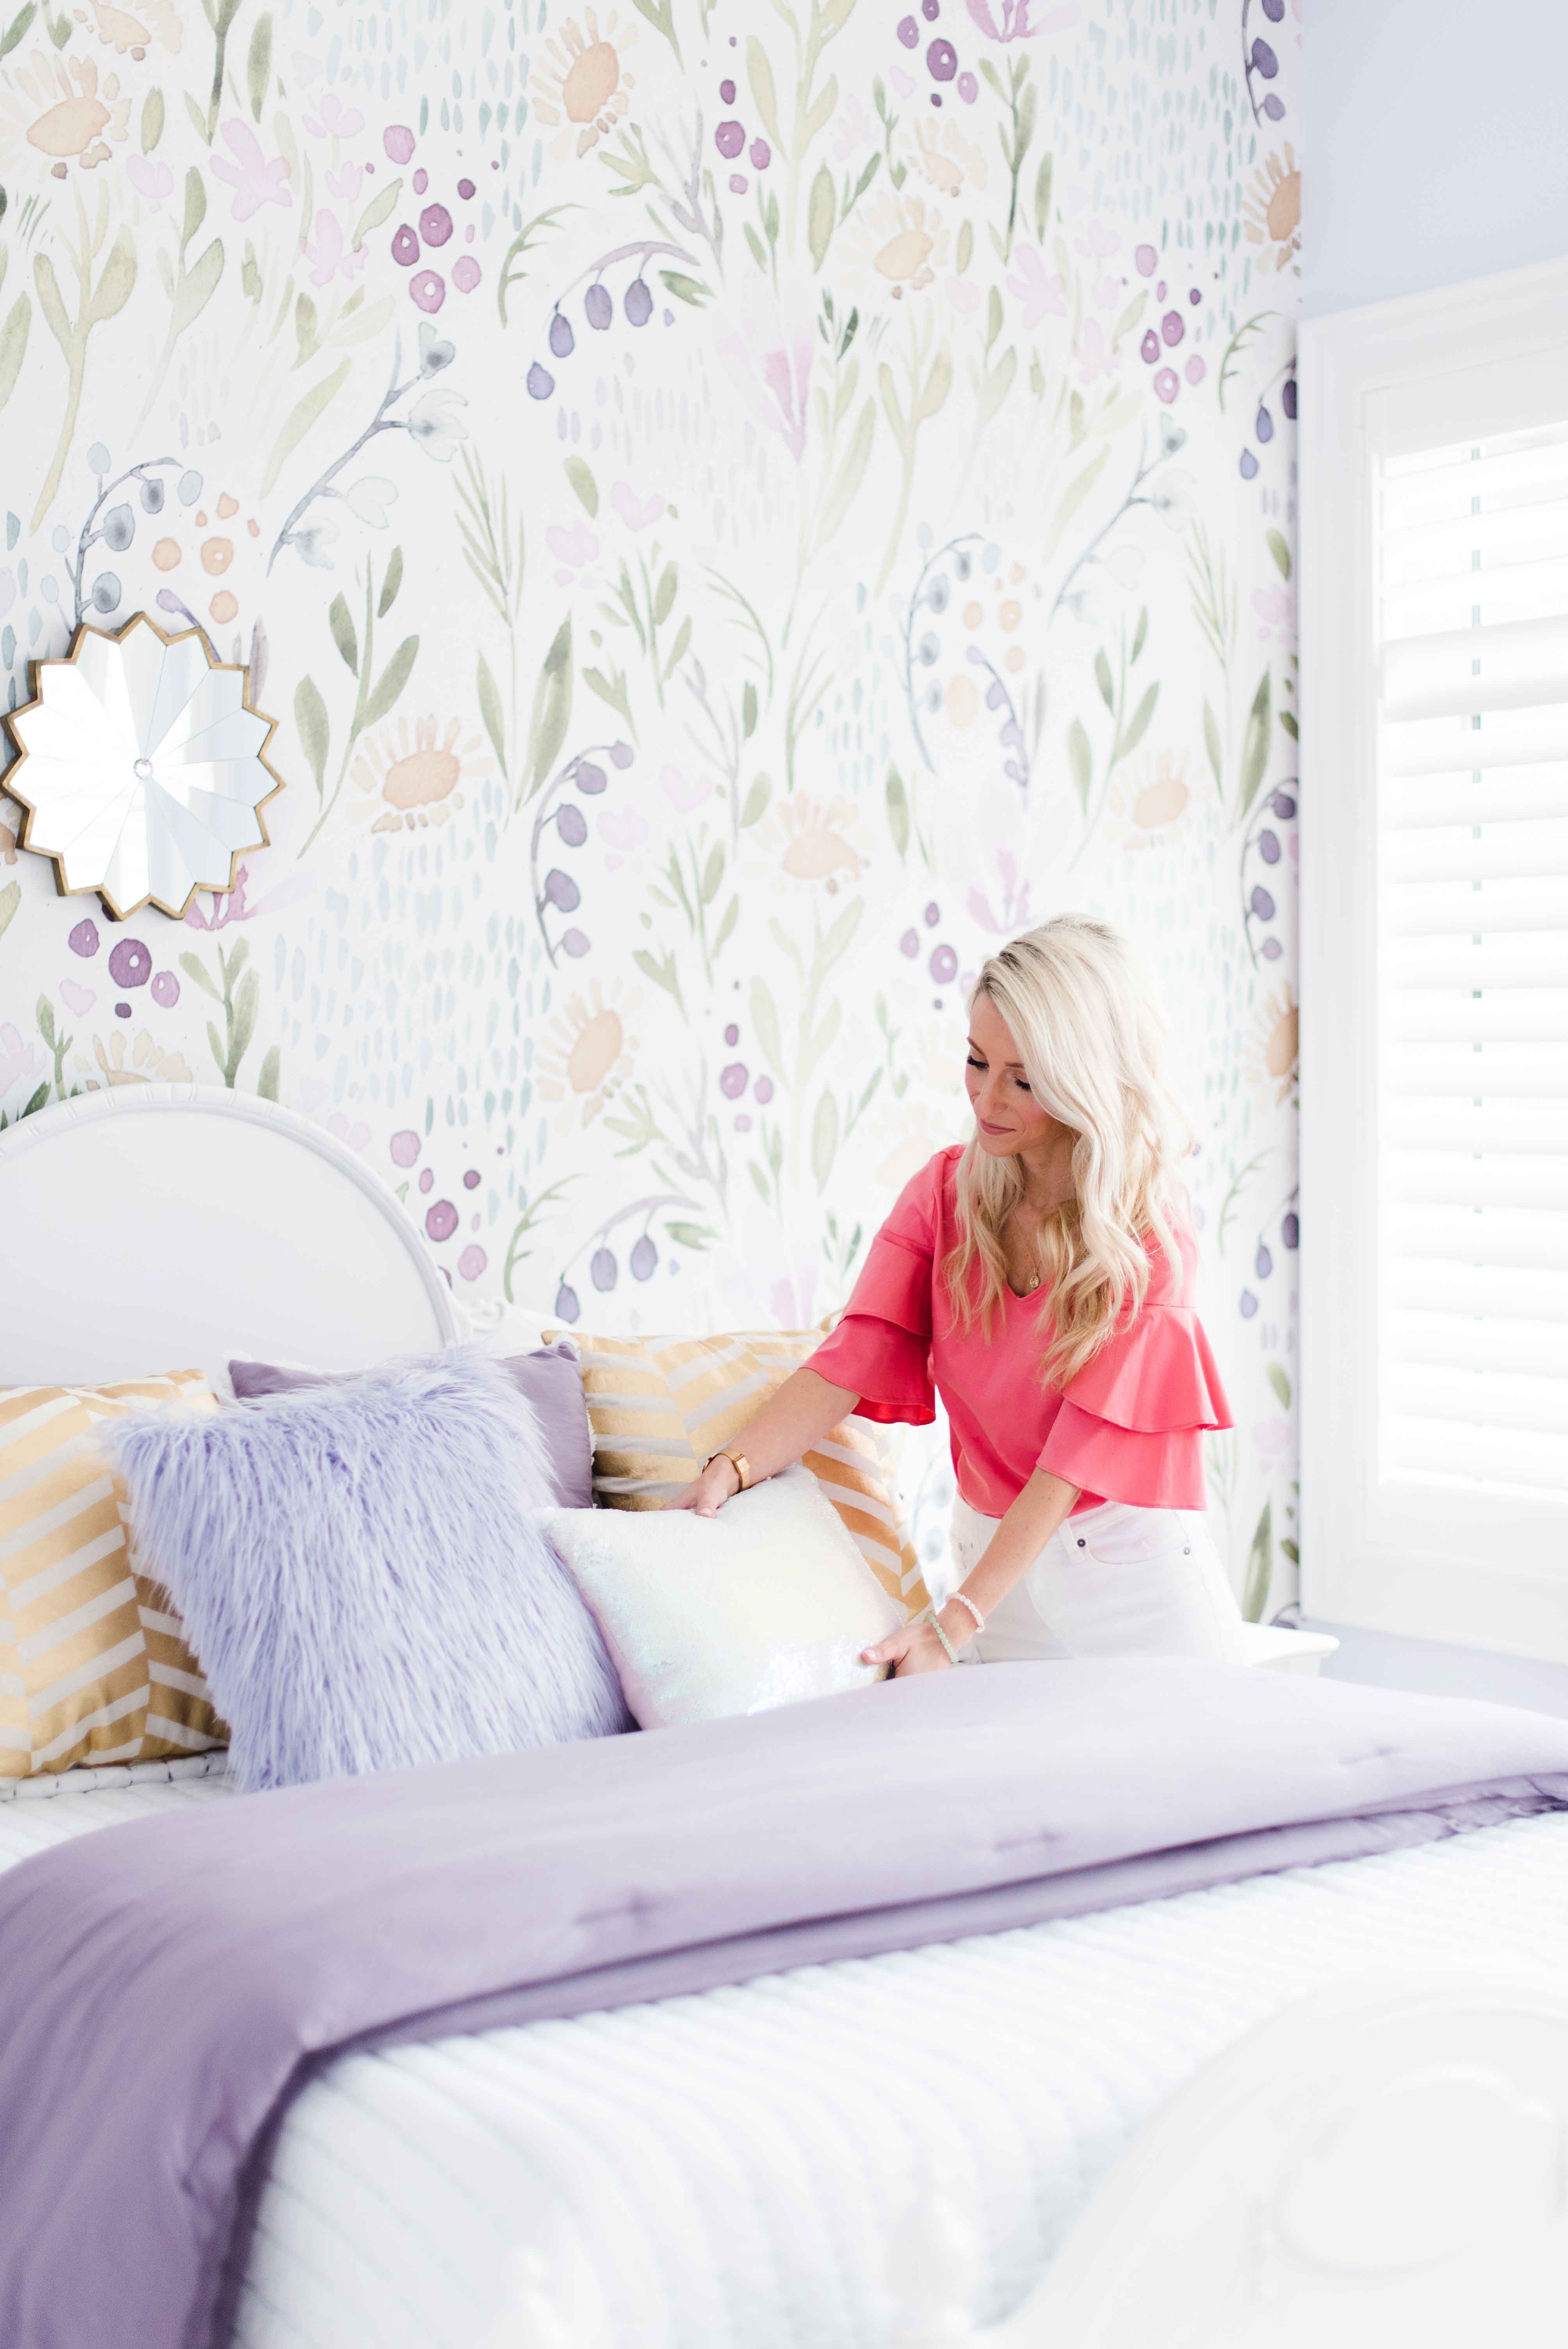
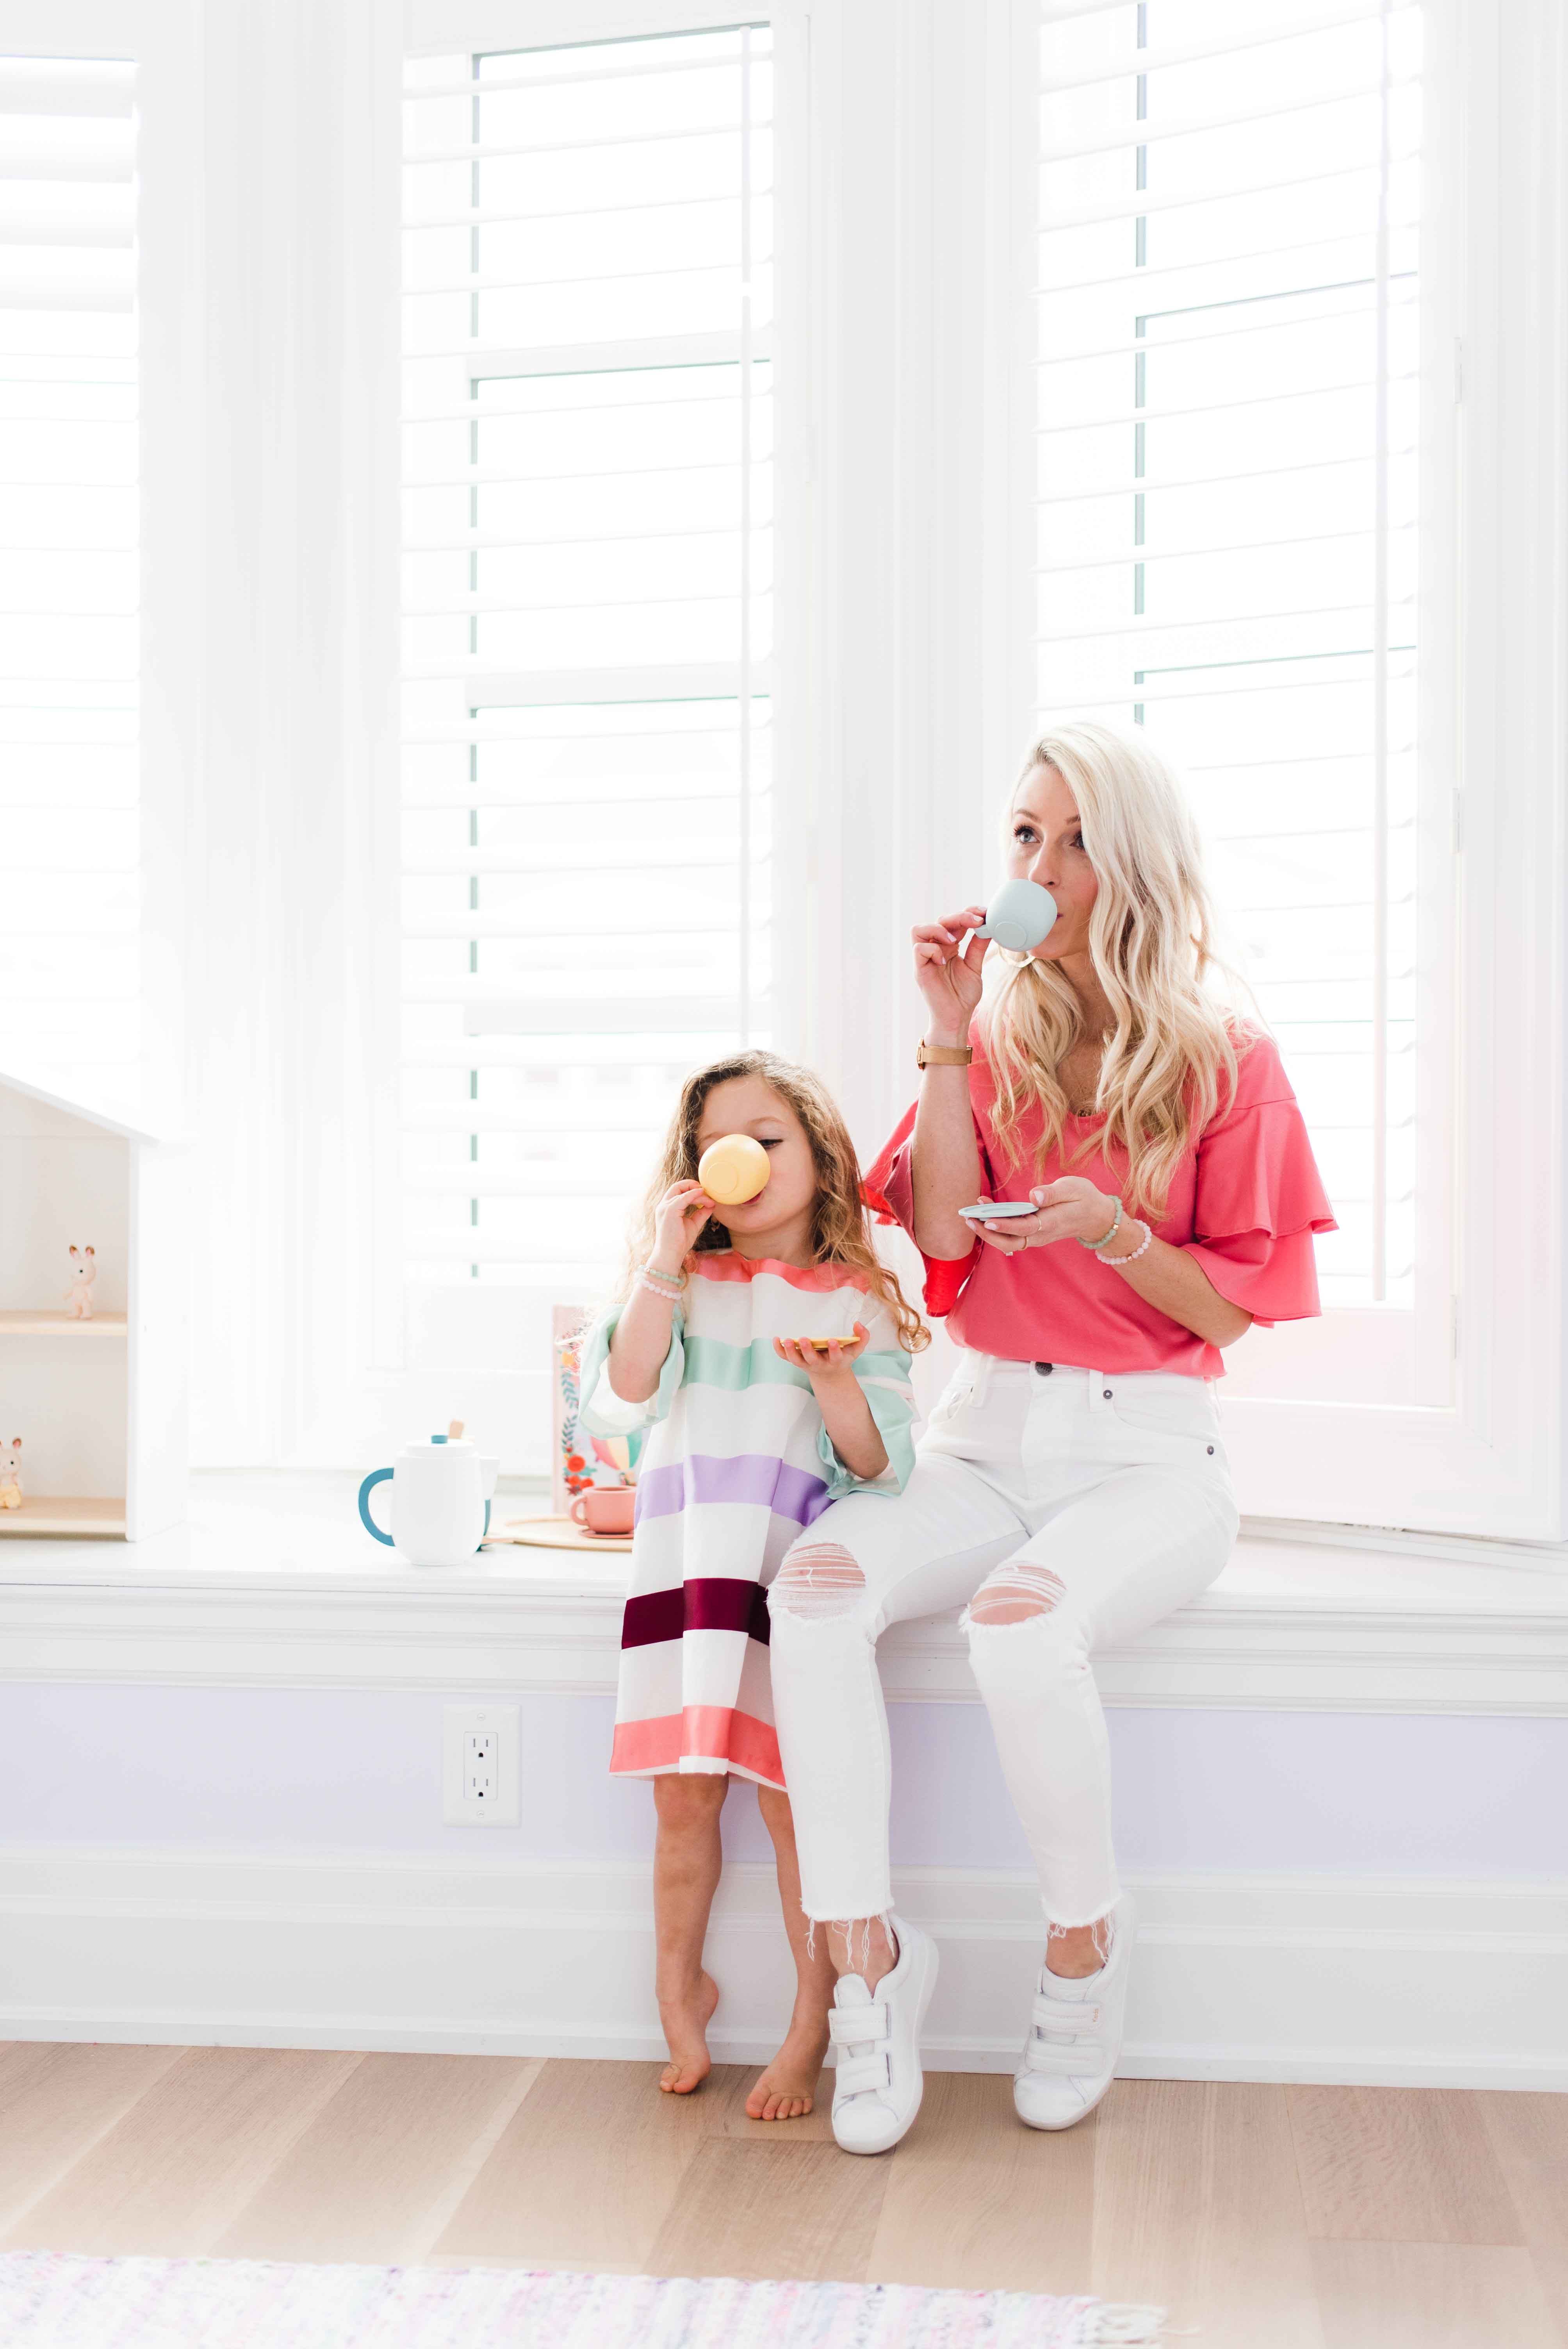
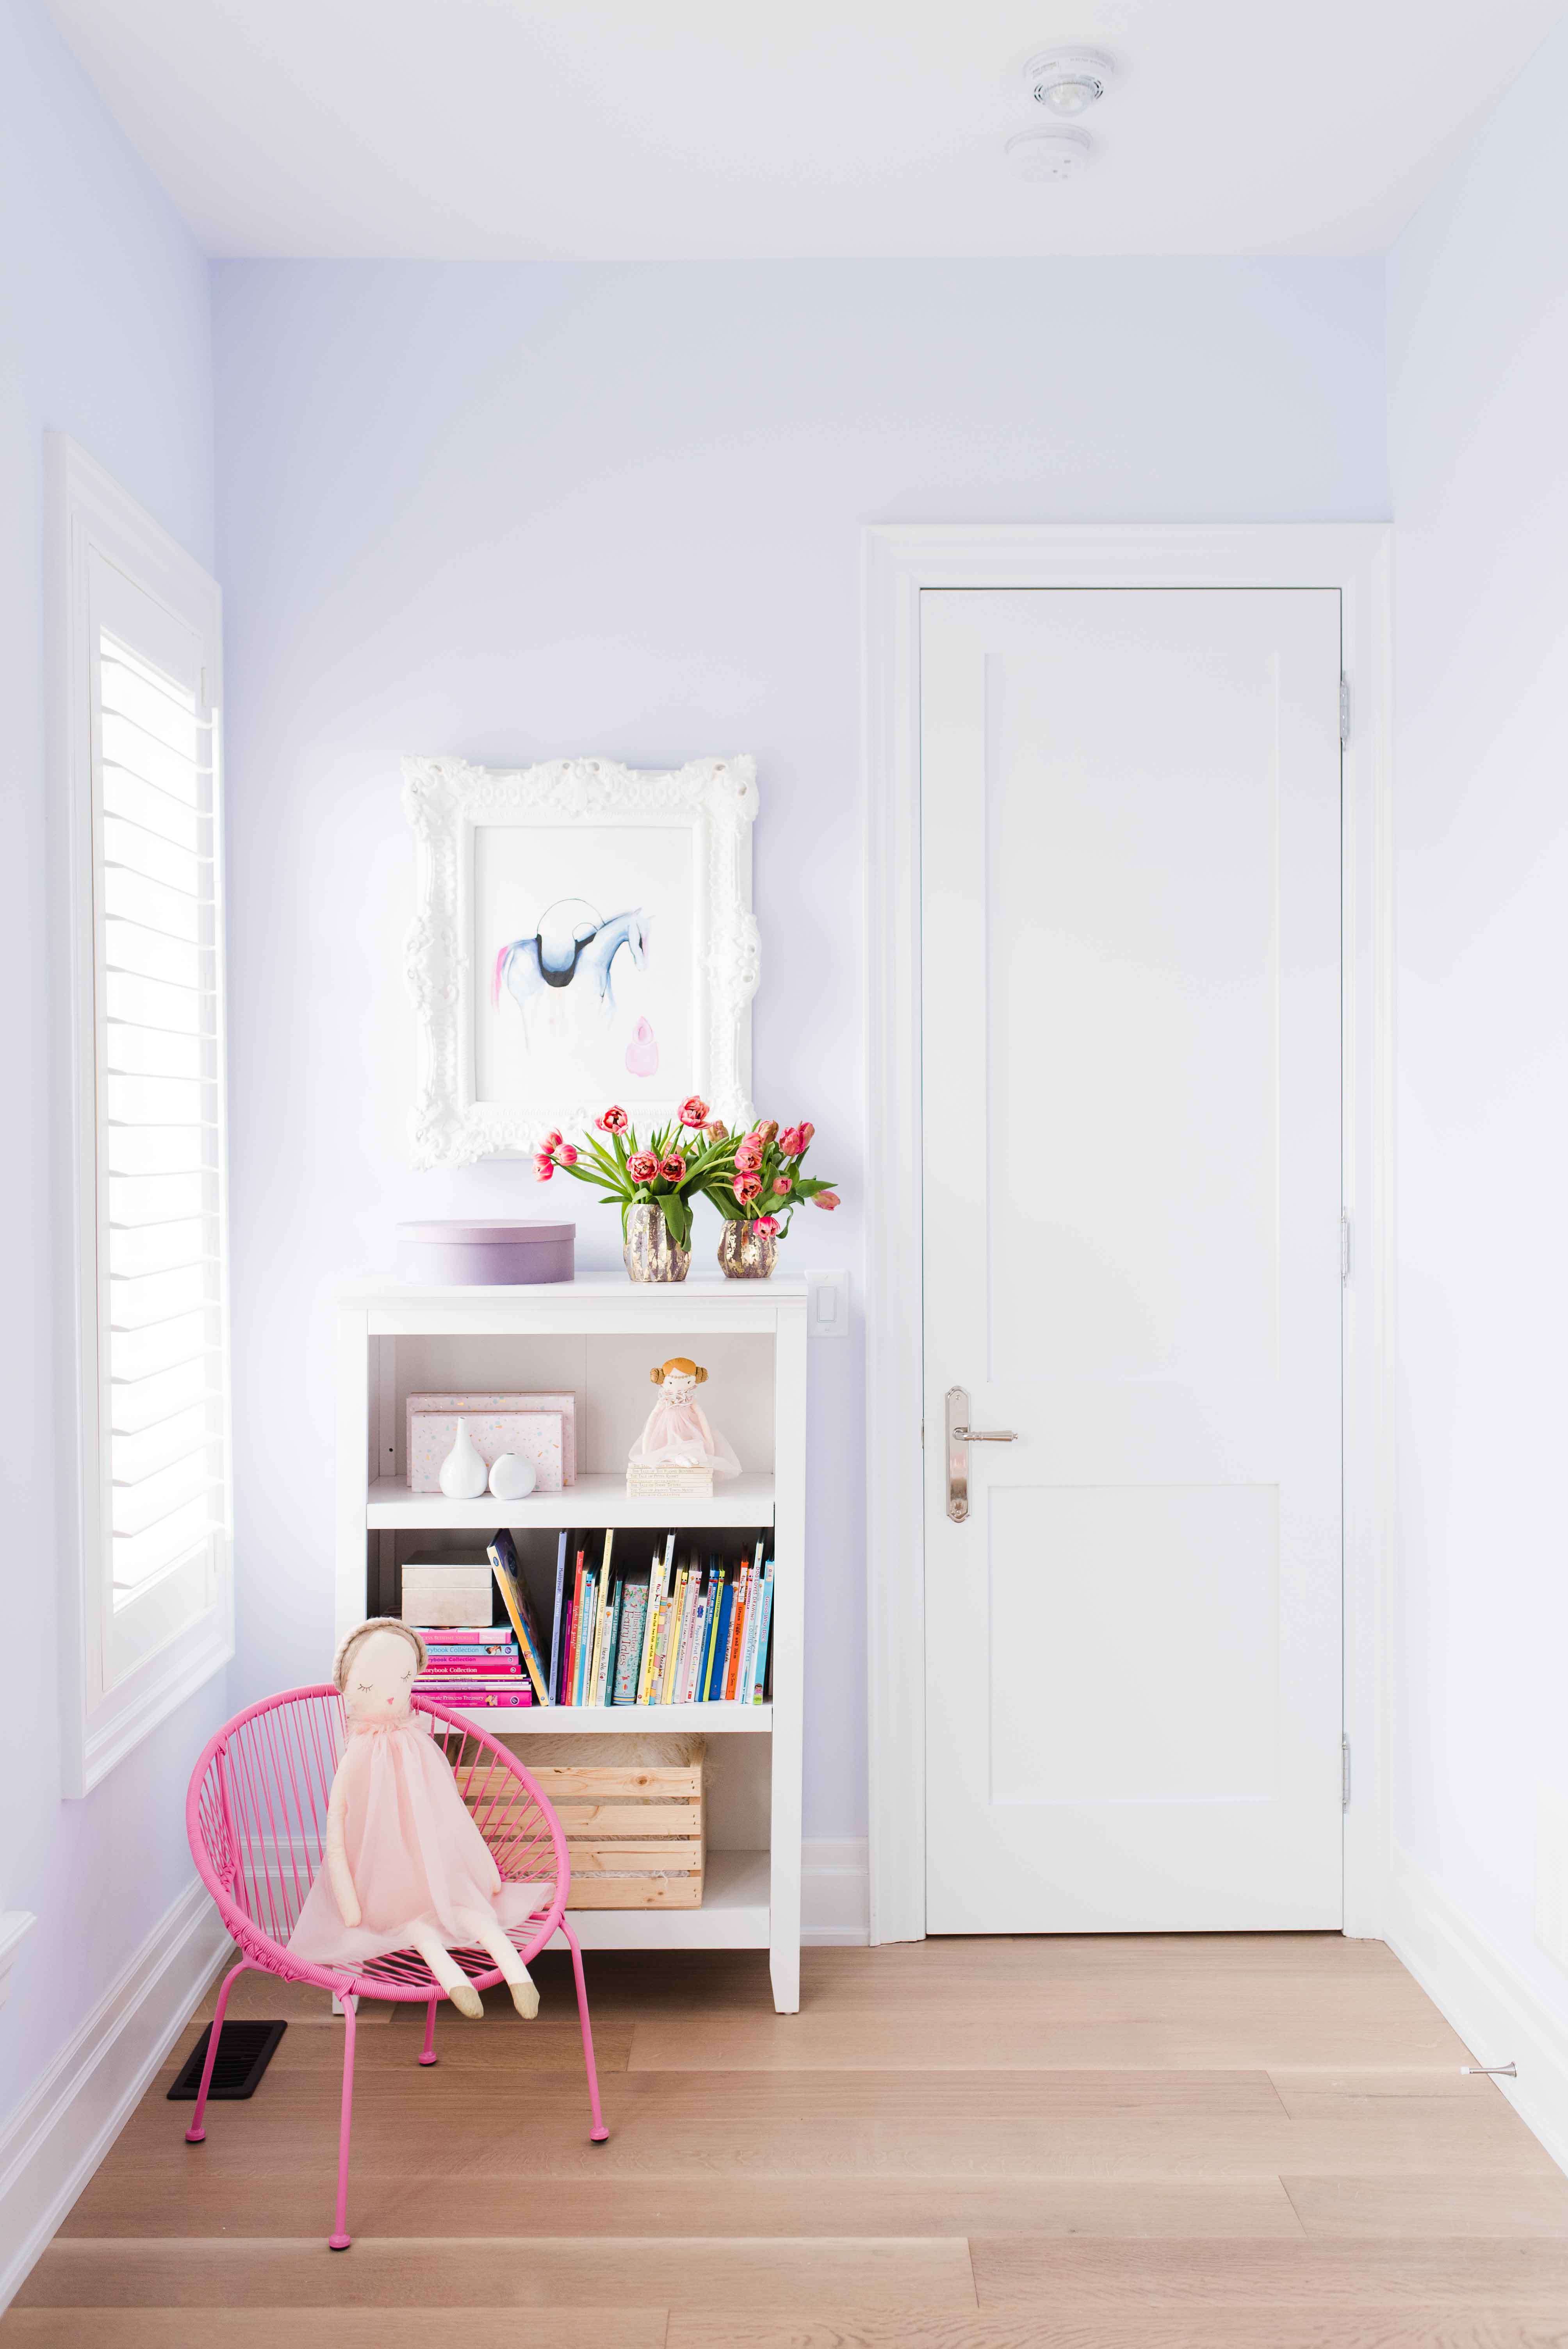
A DREAMY LITTLE GIRLS BEDROOM
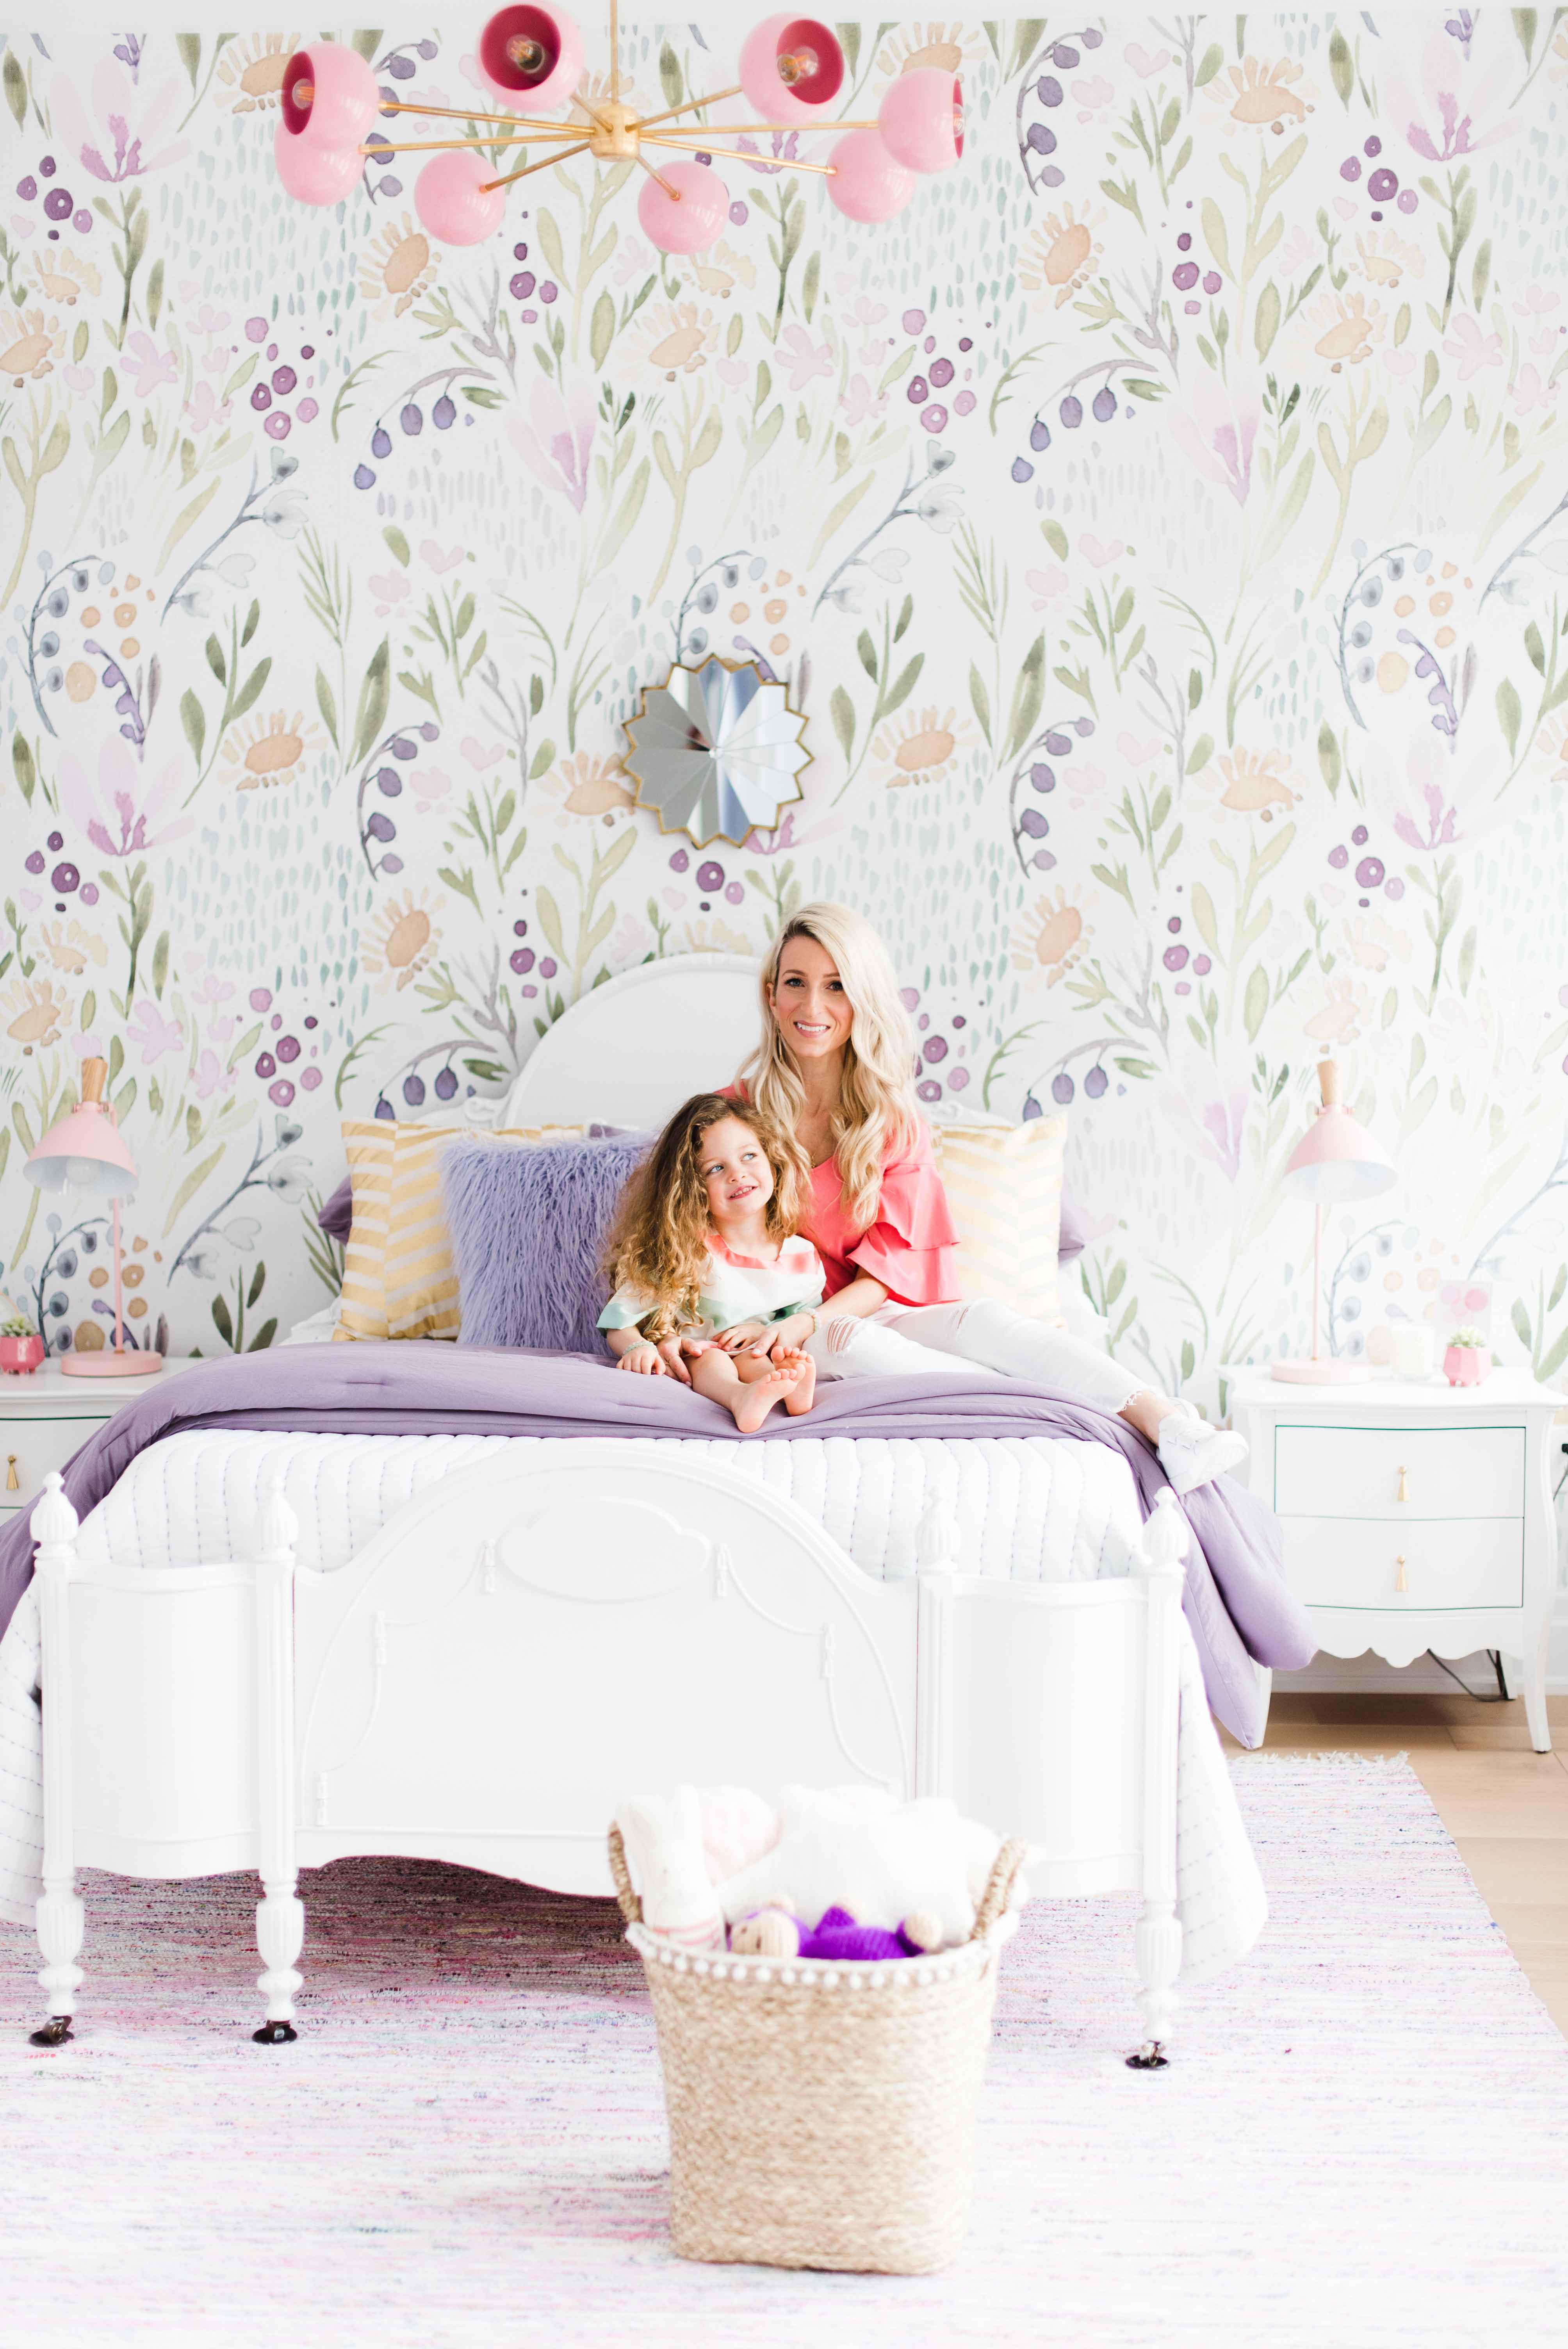

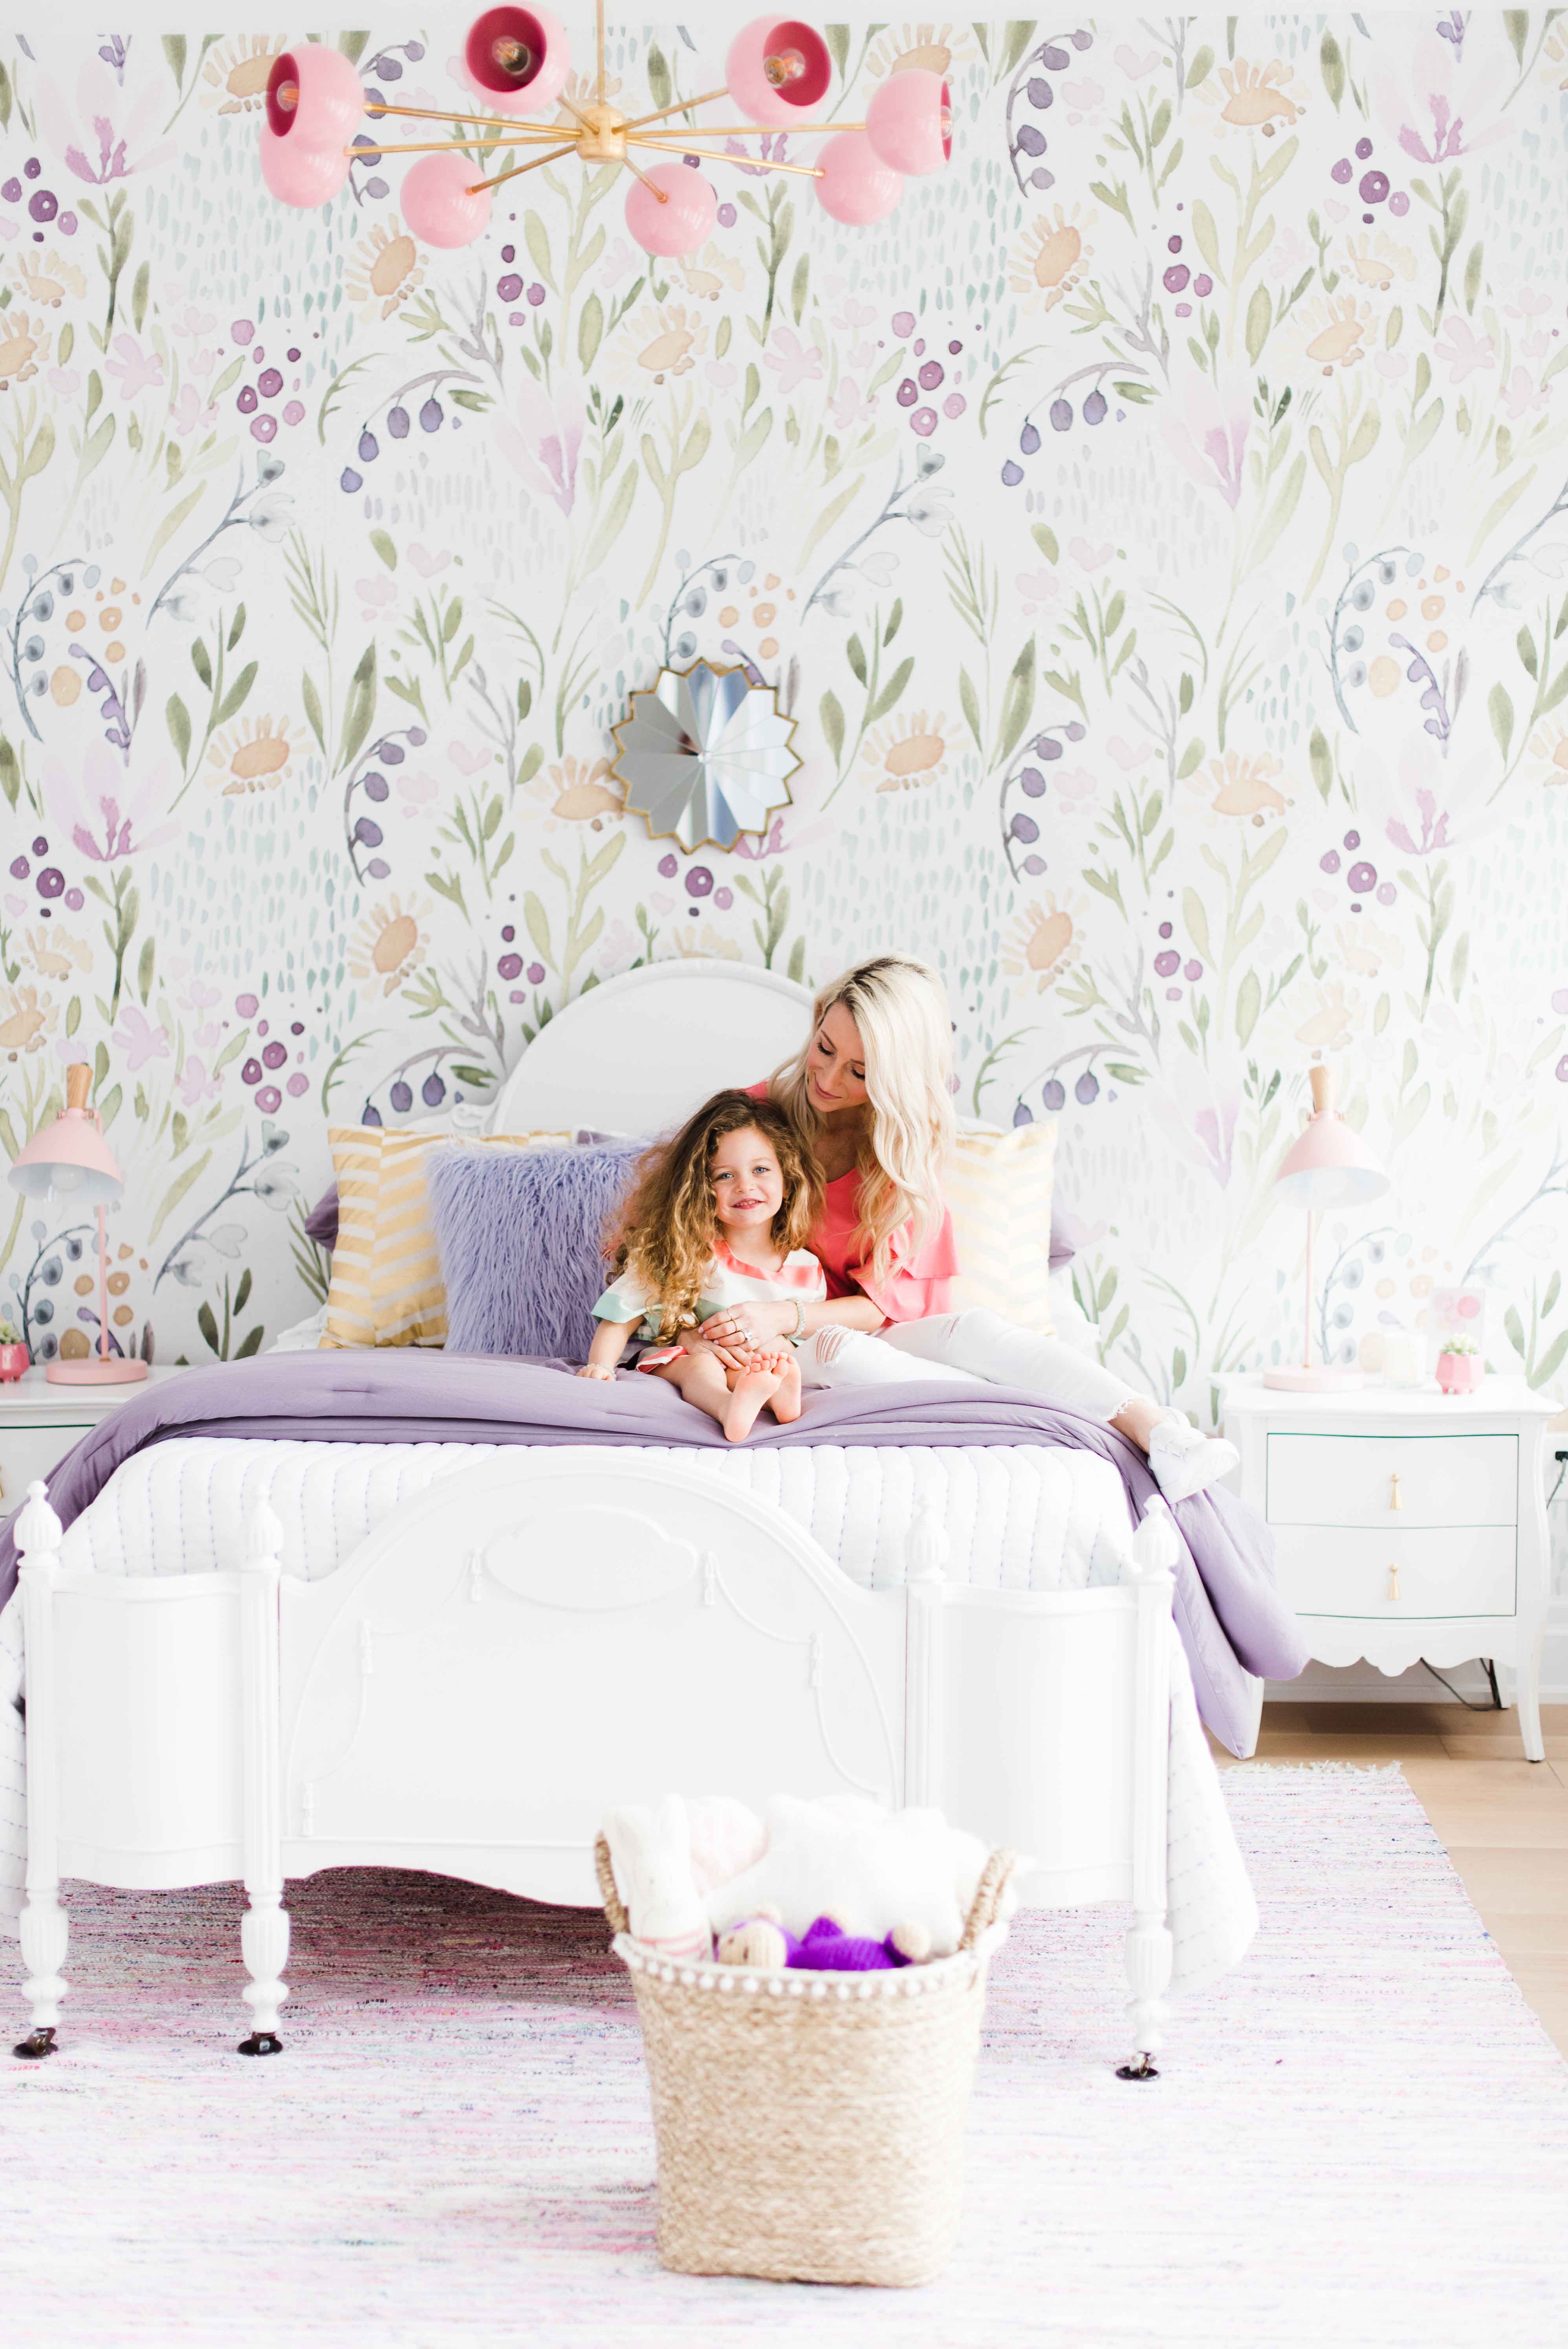
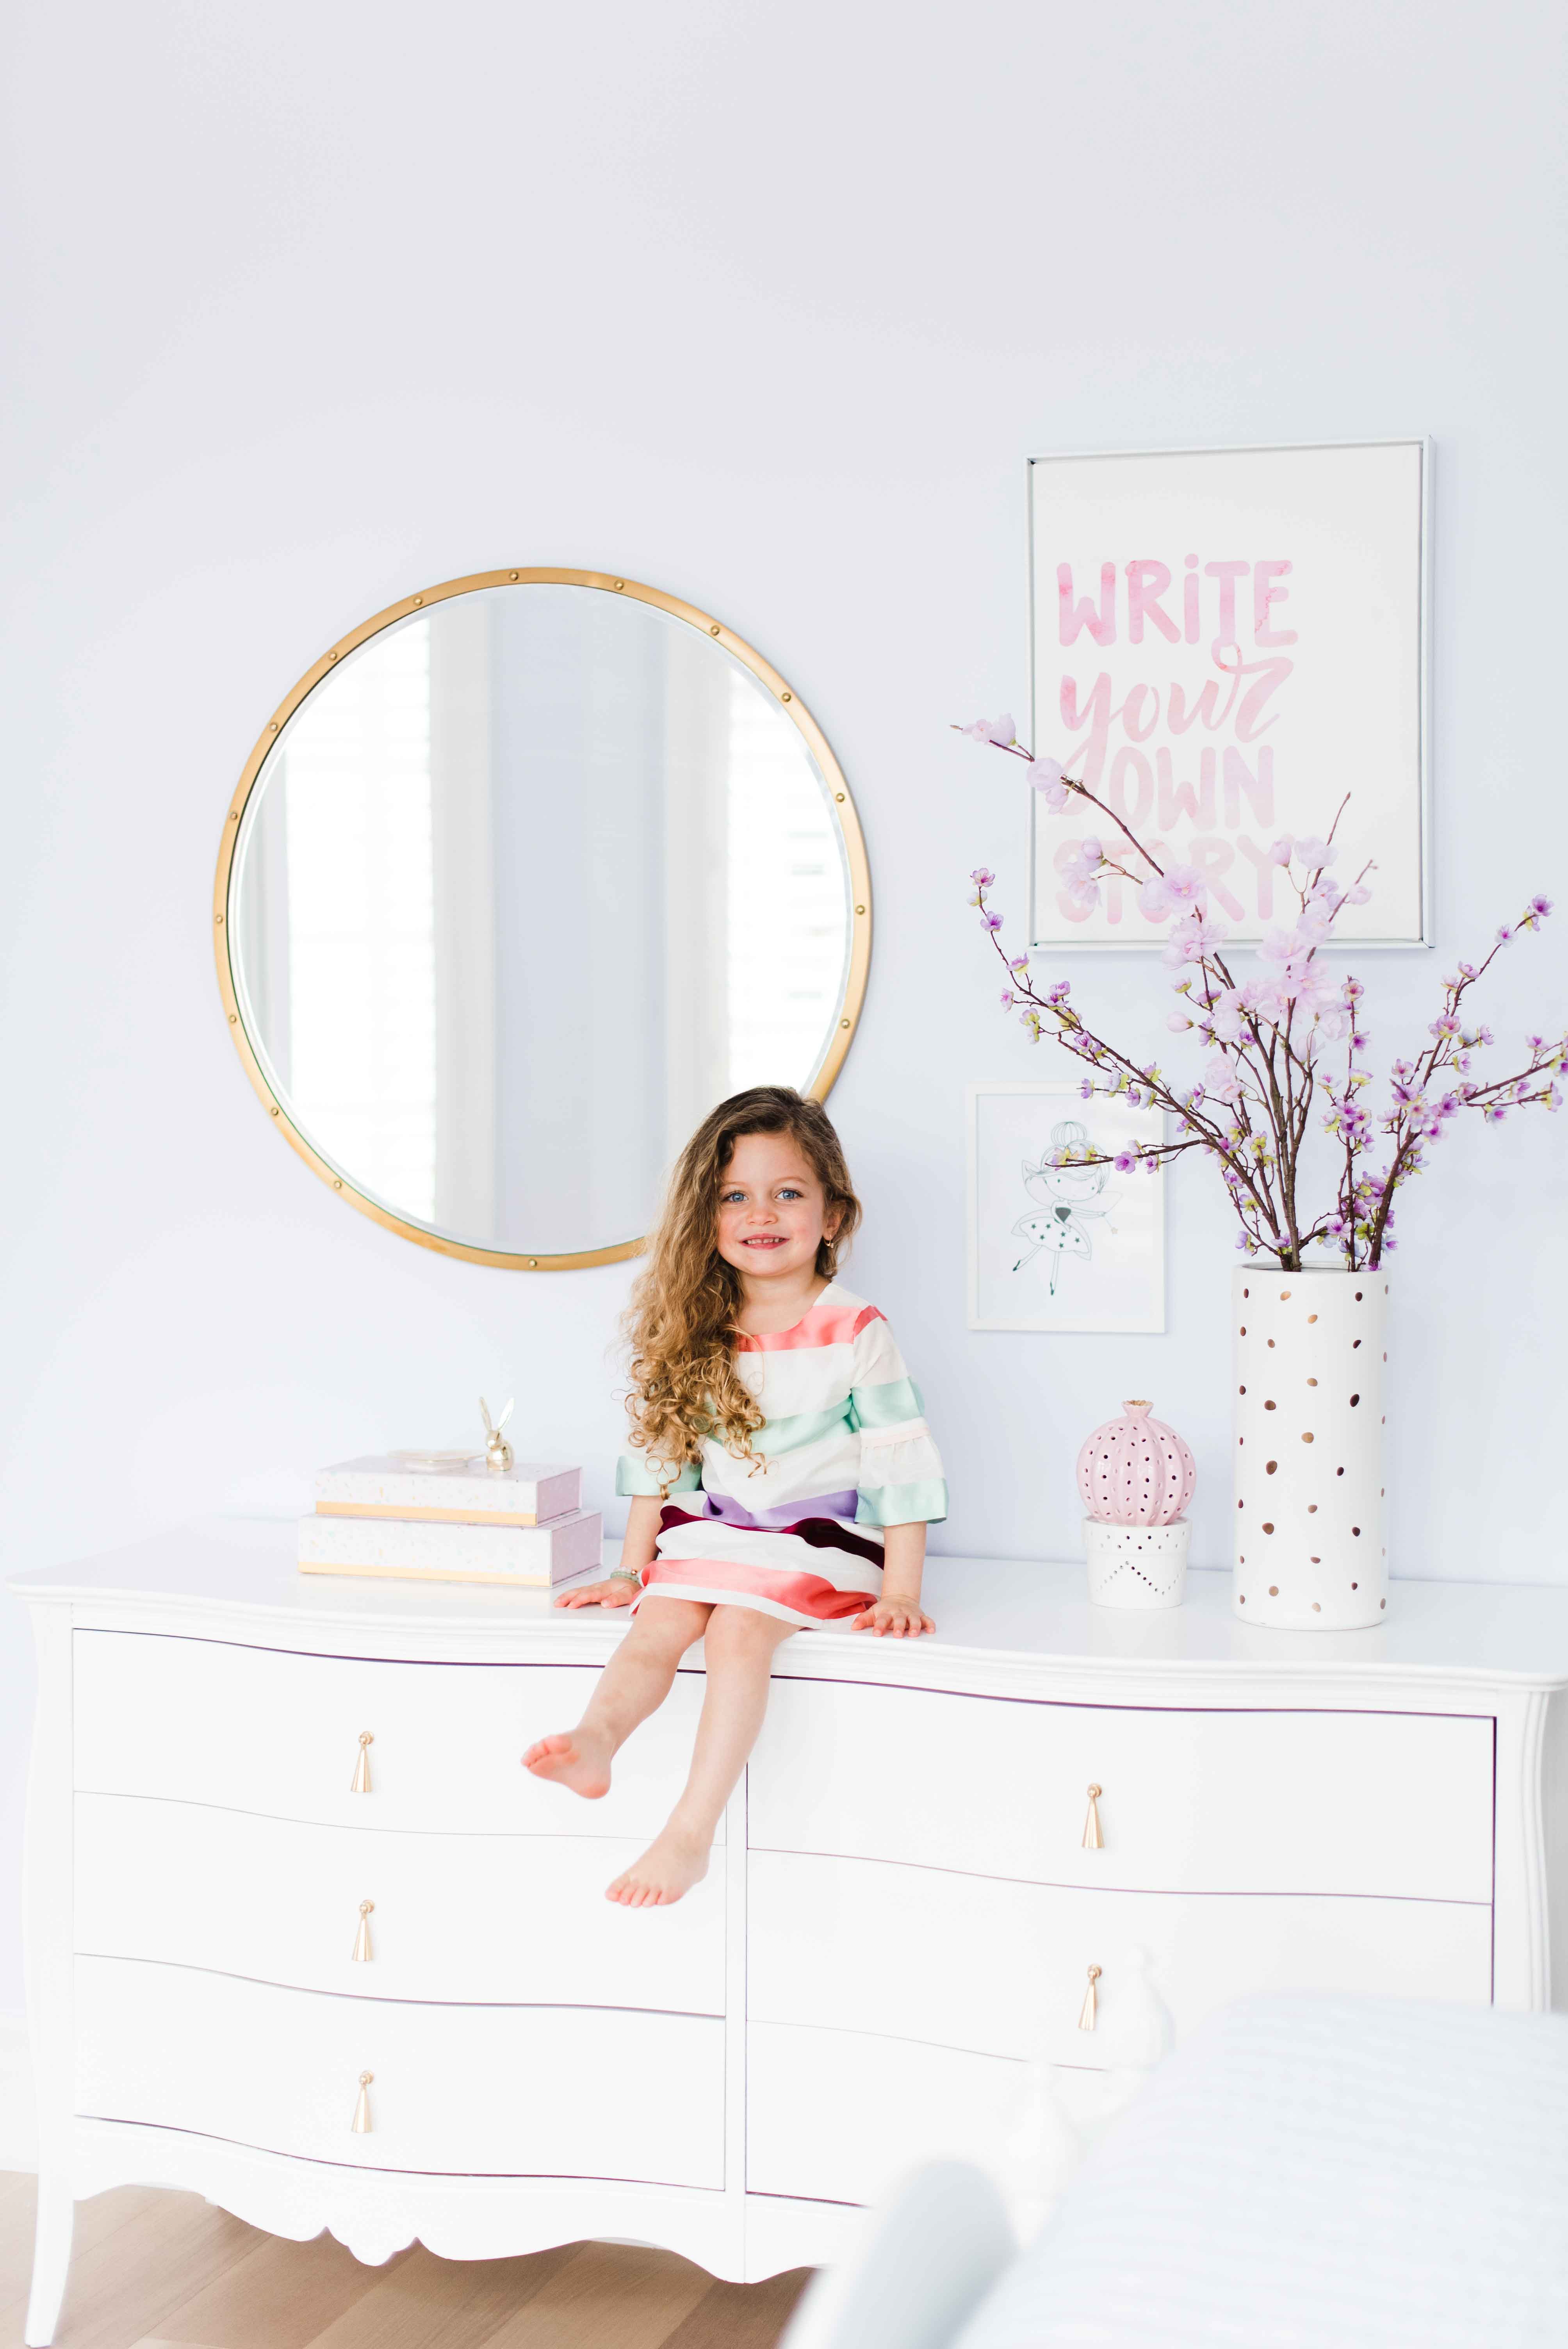
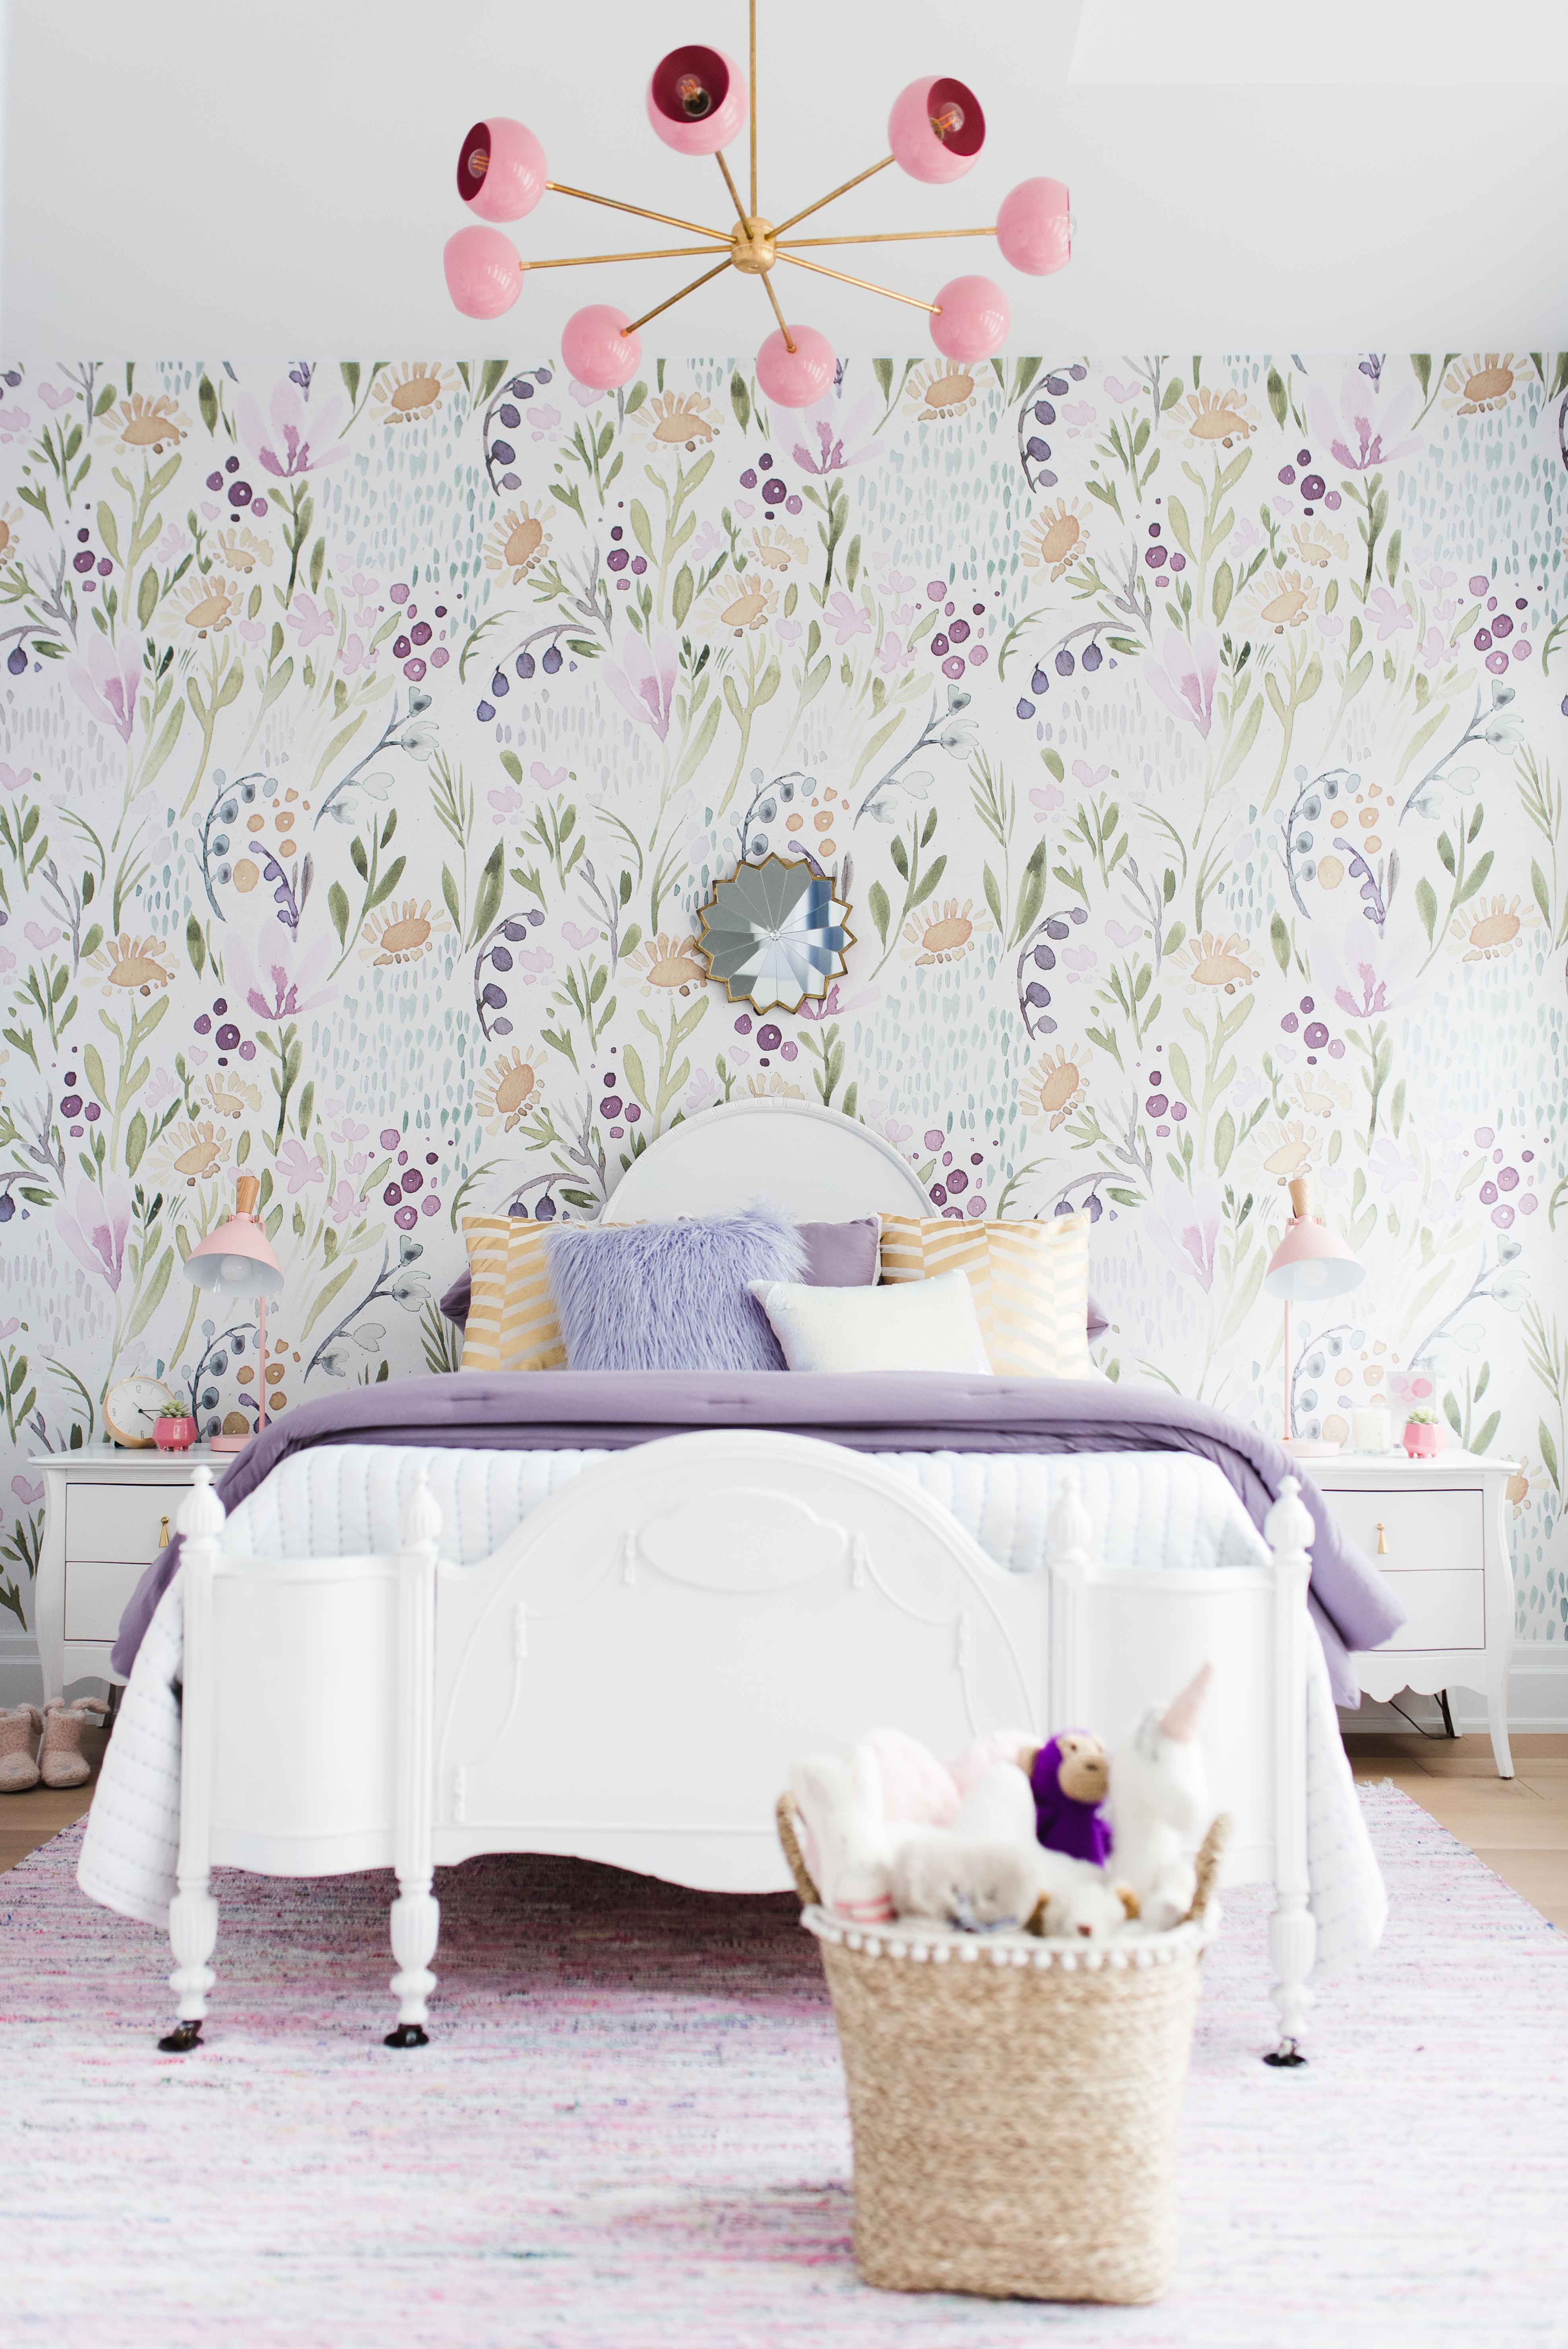
The day is finally here friends that I get to share all about the room I’ve been talking about on Instagram for the past three months! I took on the design of my three year old daughter’s bedroom as the next space in our new home to complete (the first was her bathroom READ IT HERE) – and I couldn’t be more excited for all of you to see it! If you’ve been following along on my IG Stories since February you’ll know that we tackled our first wallpaper feature wall, found the most amazing vintage bed on FB Marketplace and had it repainted, and went crazy with all the pink and purple decor!
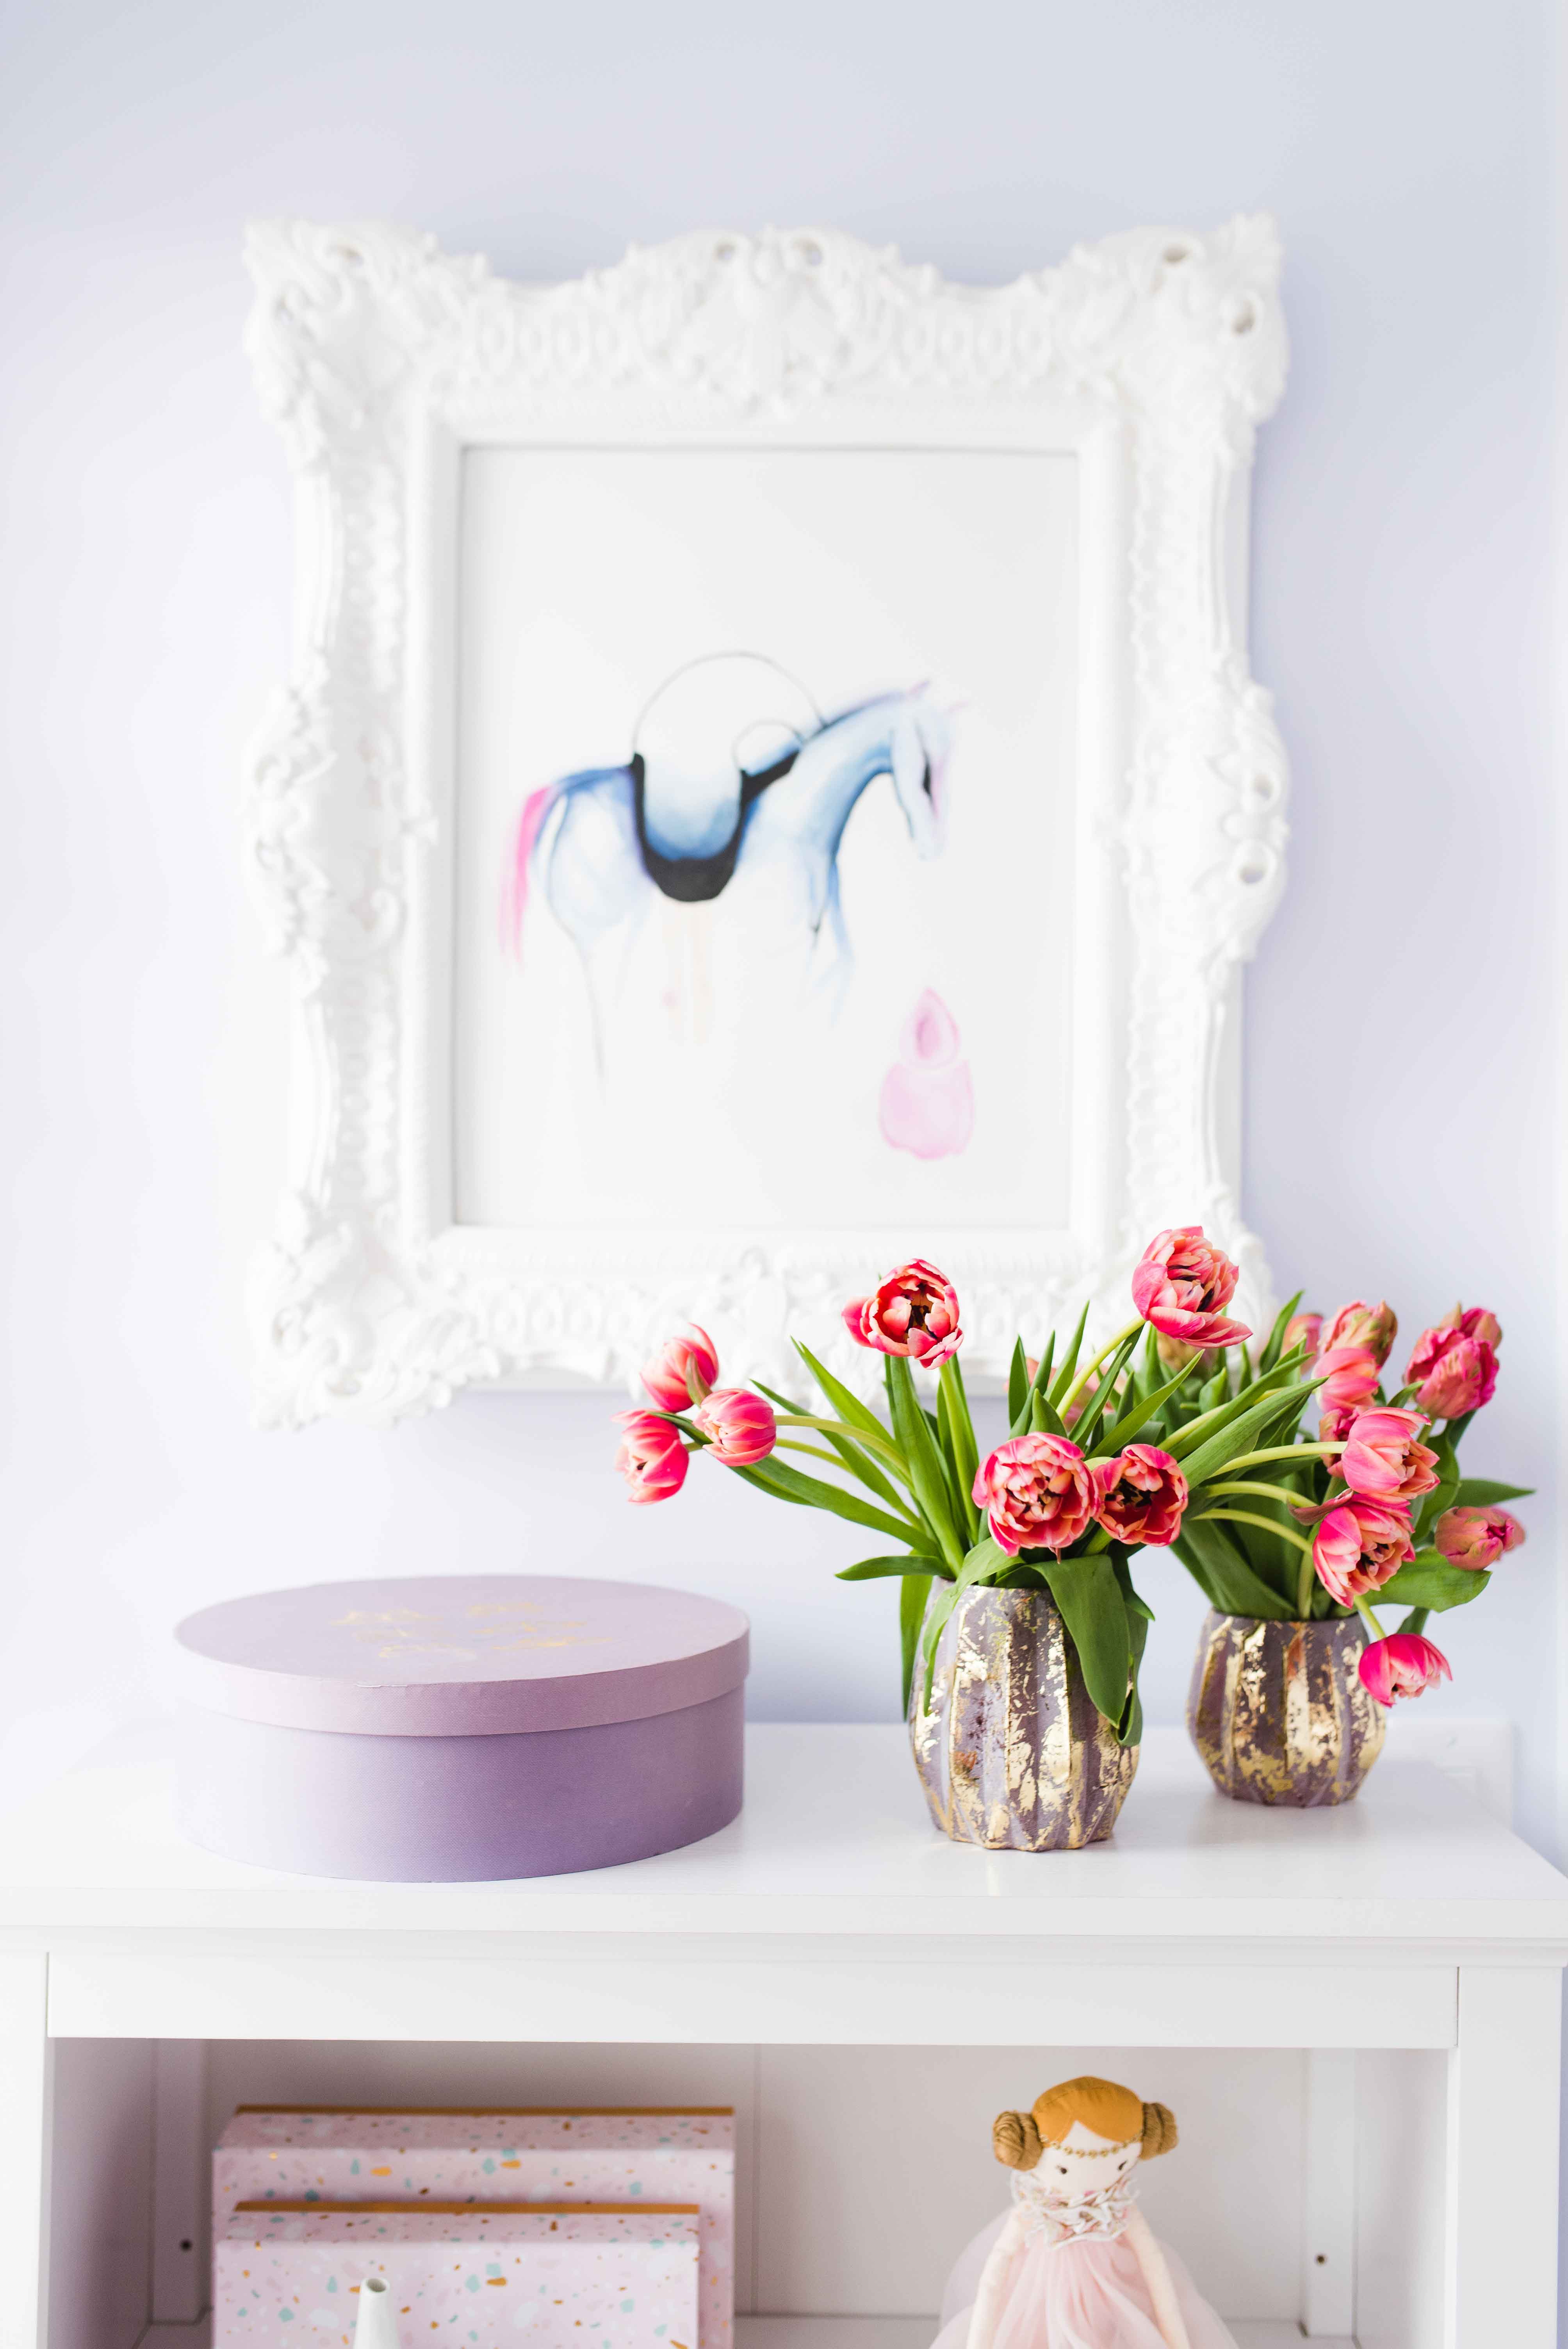
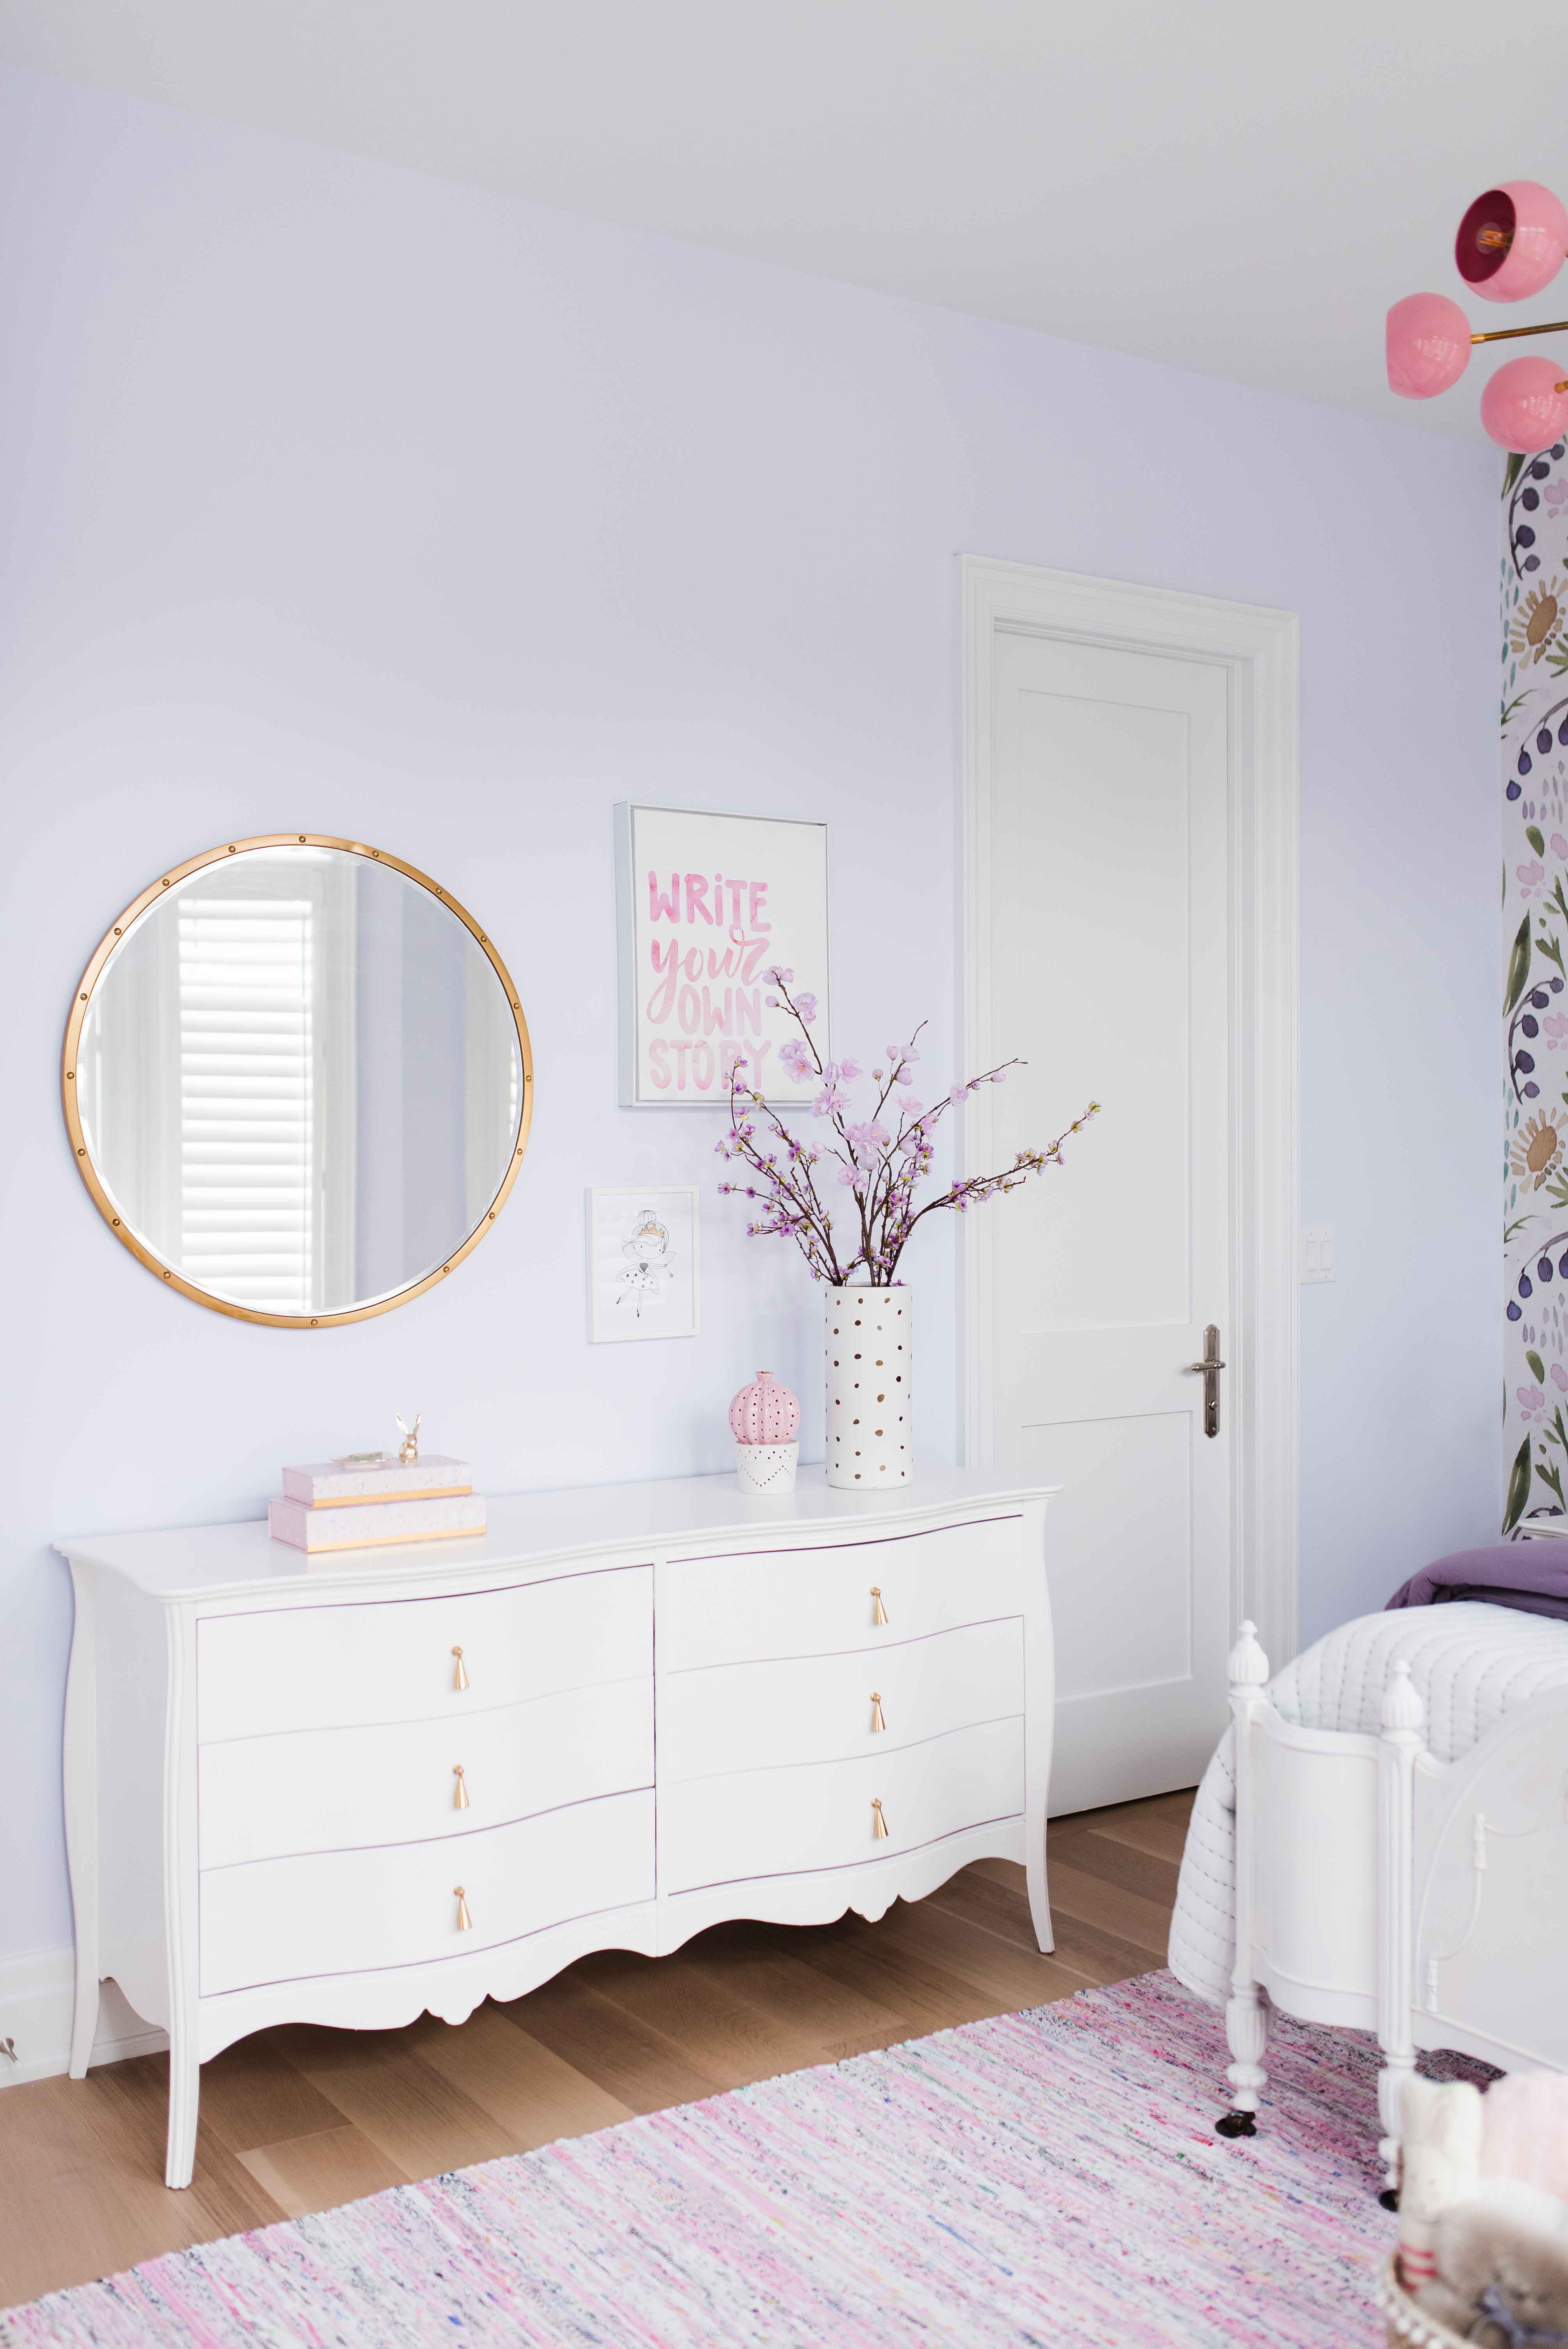
When we moved from the townhouse to our new home, Gemma left behind her crib/toddler bed for good and was finally ready for a big girl room. As you can image, the ideas for a little girls room flowed like a river and it was extremely difficult to narrow down which design path we were going to take. I decided to give her the option of either pink or purple for her walls and when she decided on purple we went from there. We chose Benjamin Moore White Heaven 2068-70 which is truly the prettiest shade of pale purple and used this as the theme for the rest of the room. After the walls were painted I brought Gemma into the room to see the colour and in true Gemma fashion she told us that she said she wanted her walls PINK!!! Needless to say we squashed that real quick and had her hooked back on purple in no time.
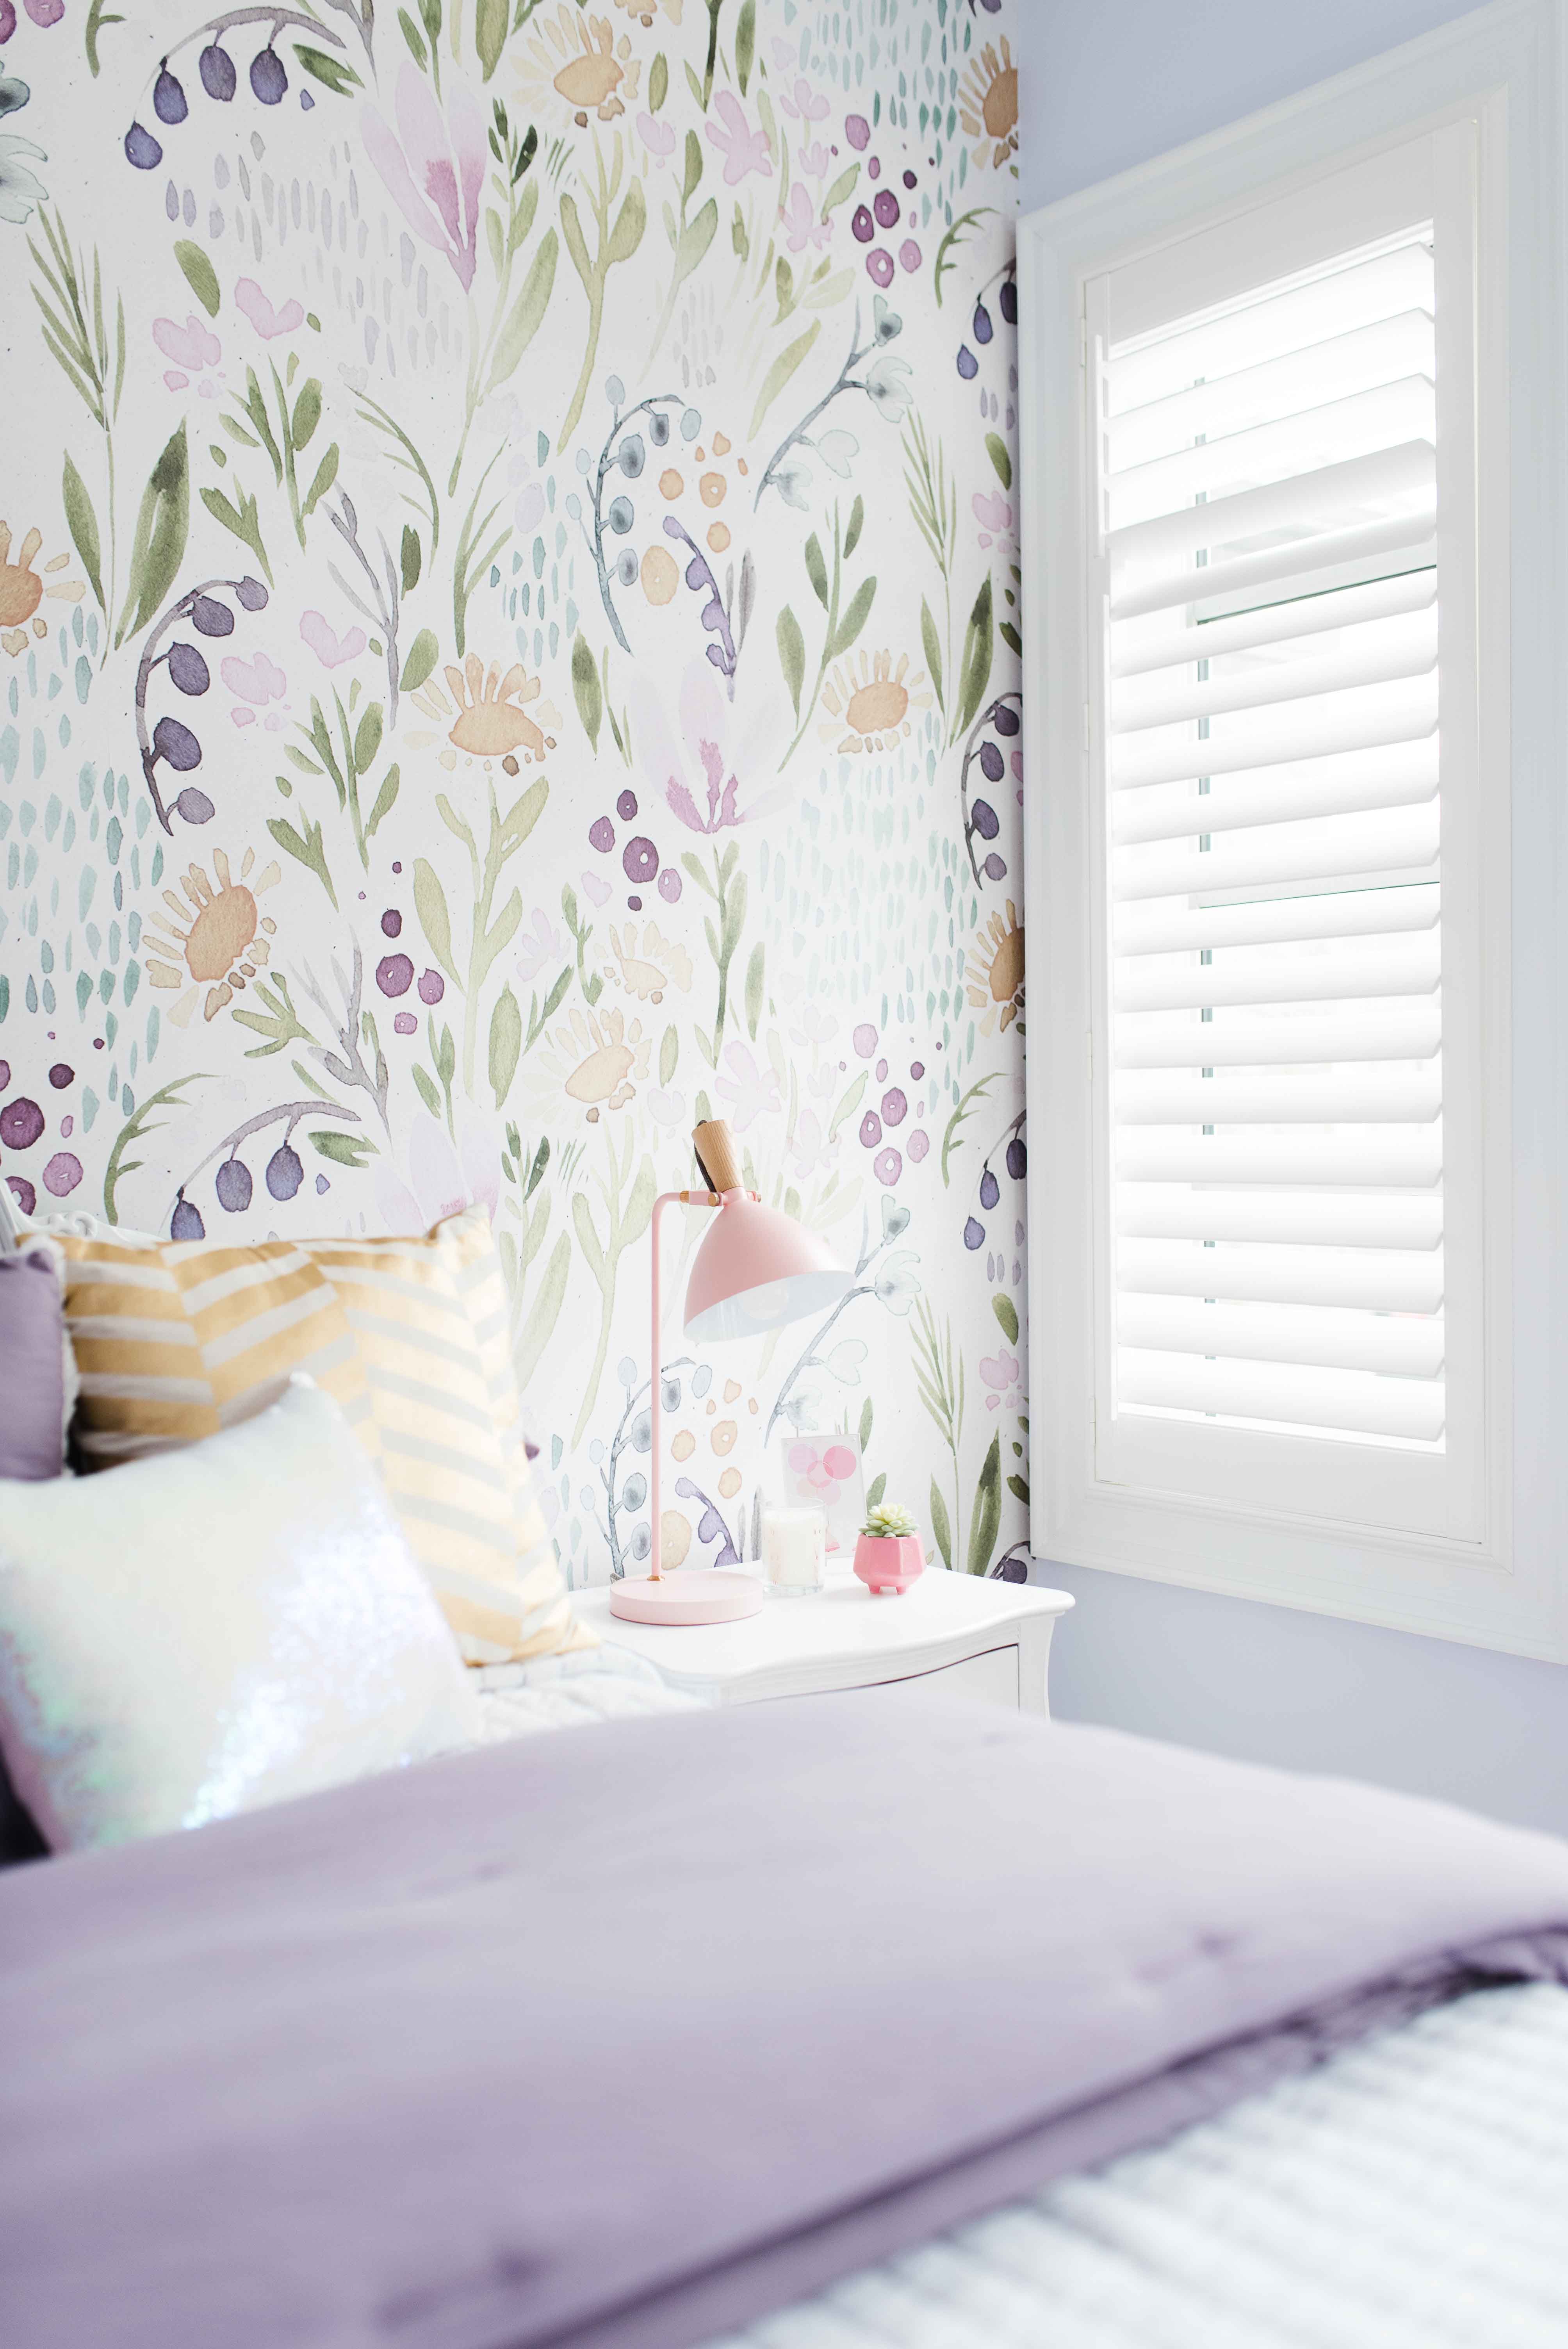
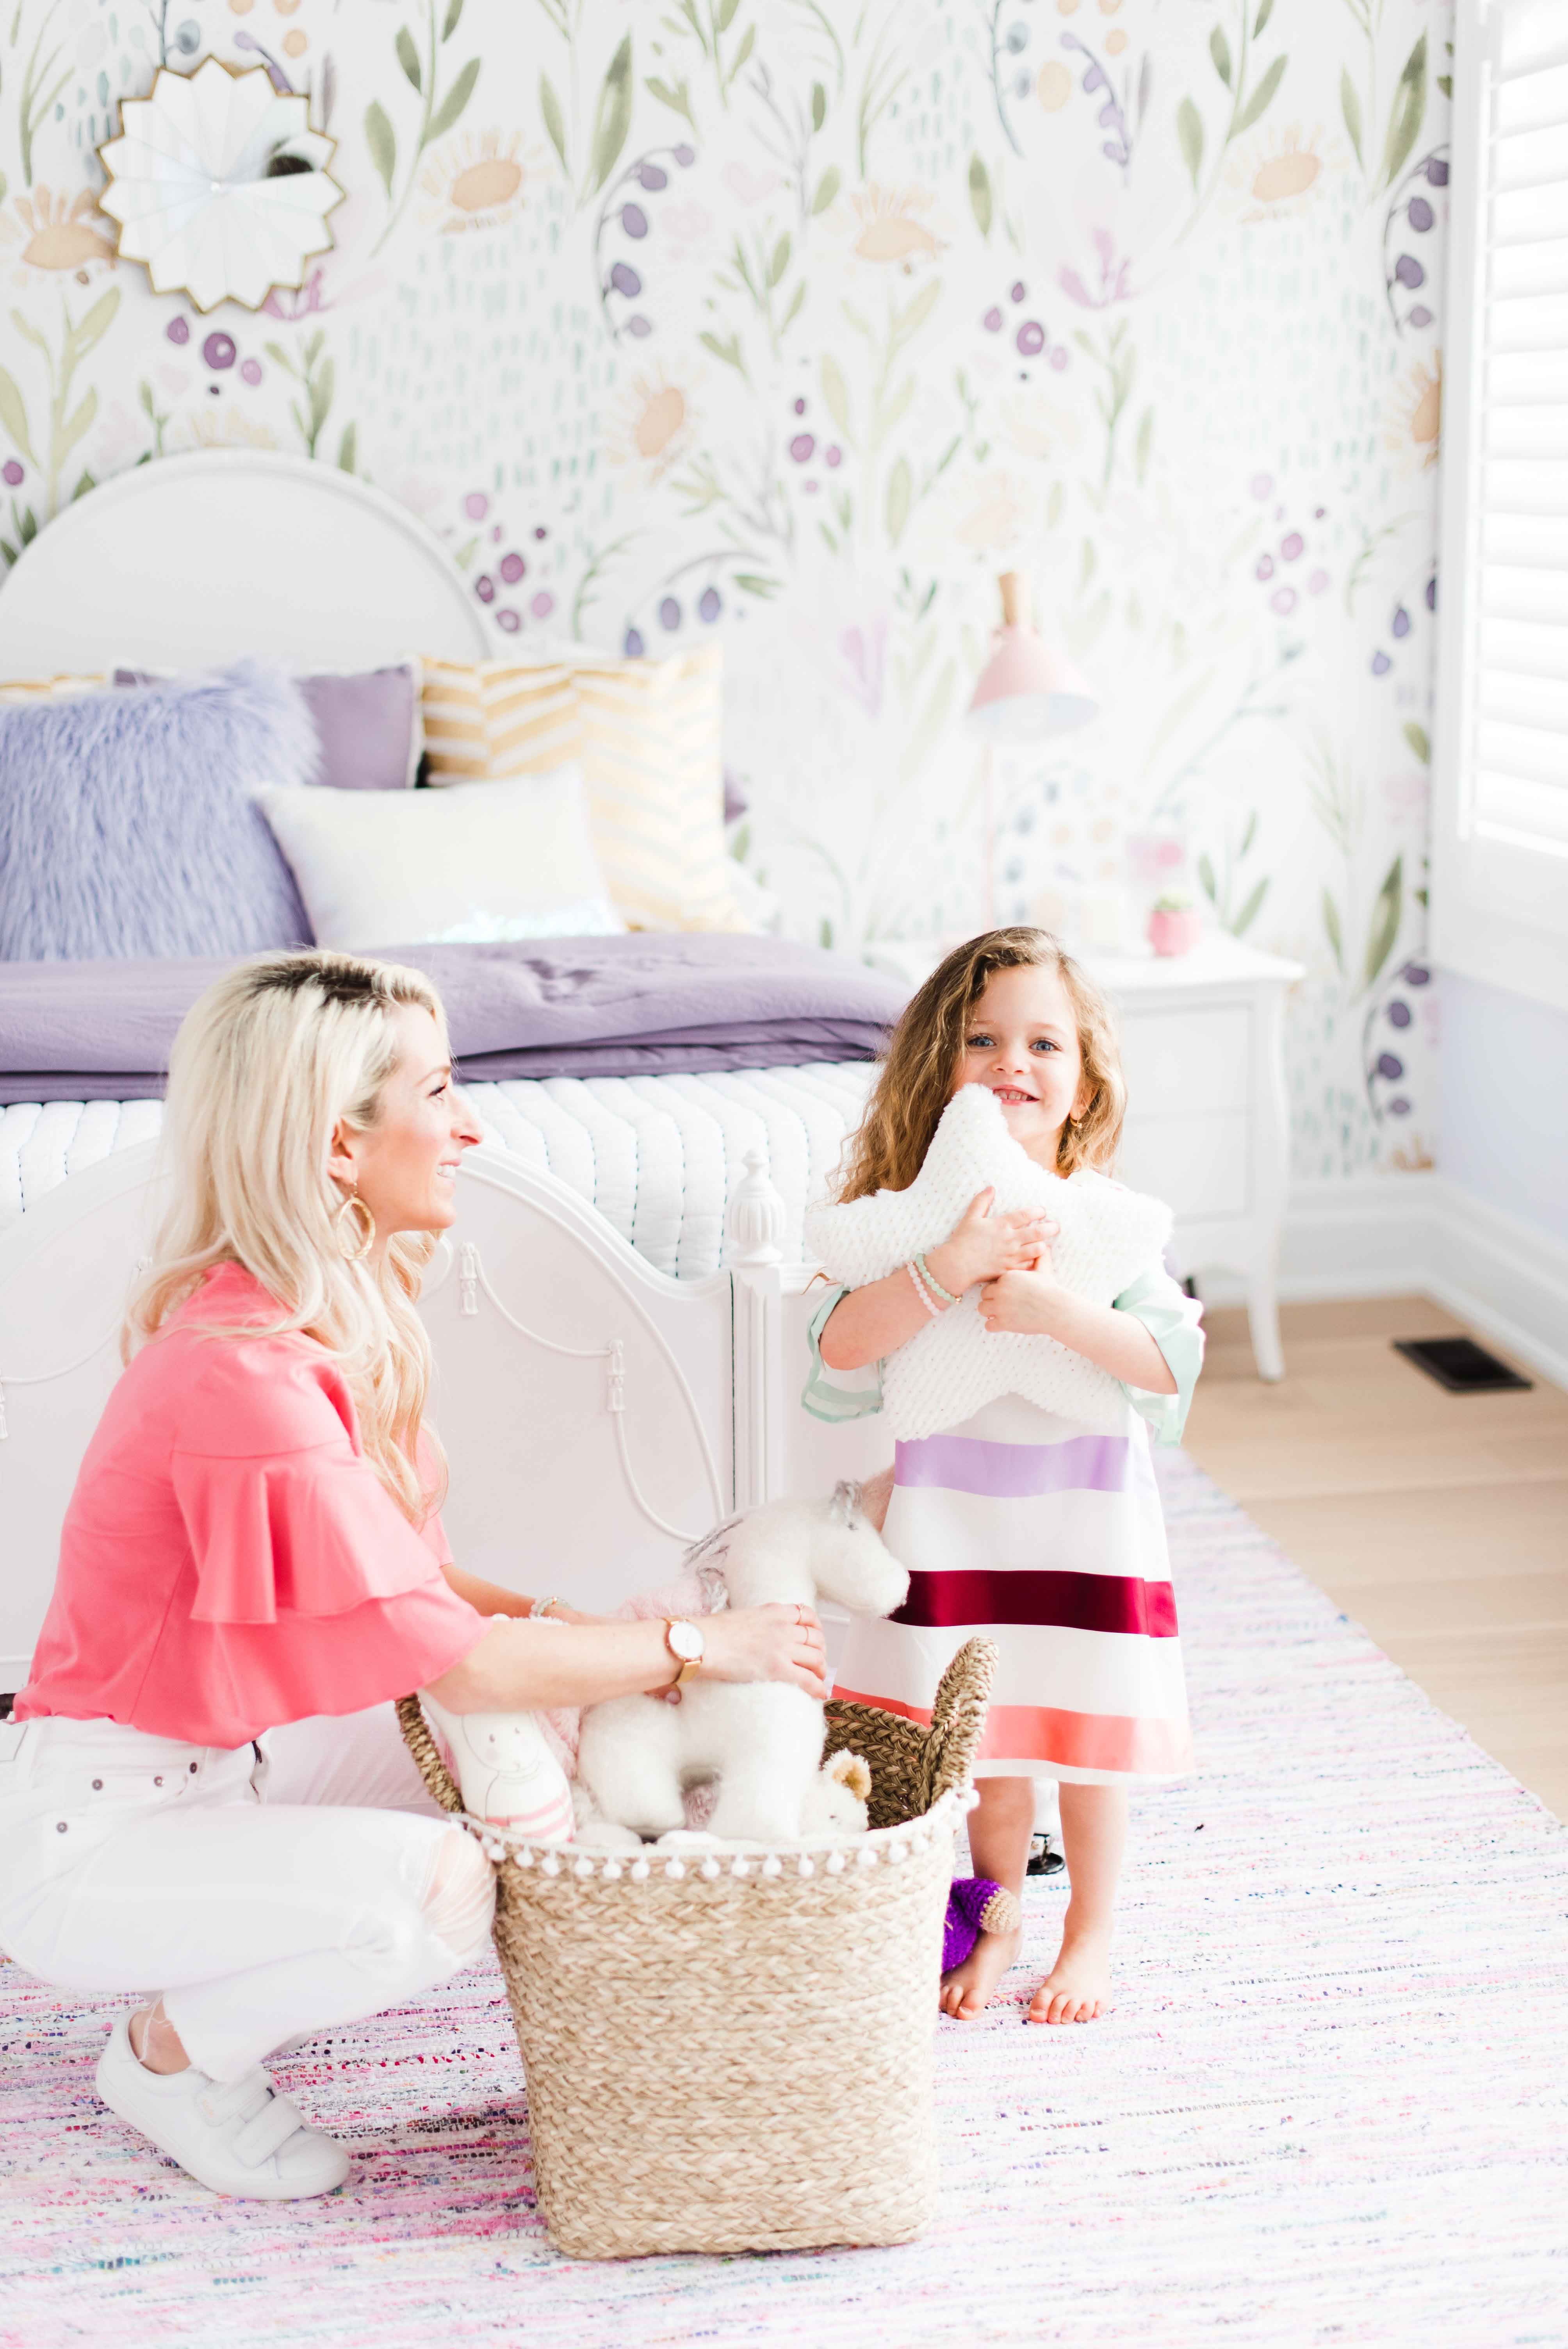
THE WALLPAPER
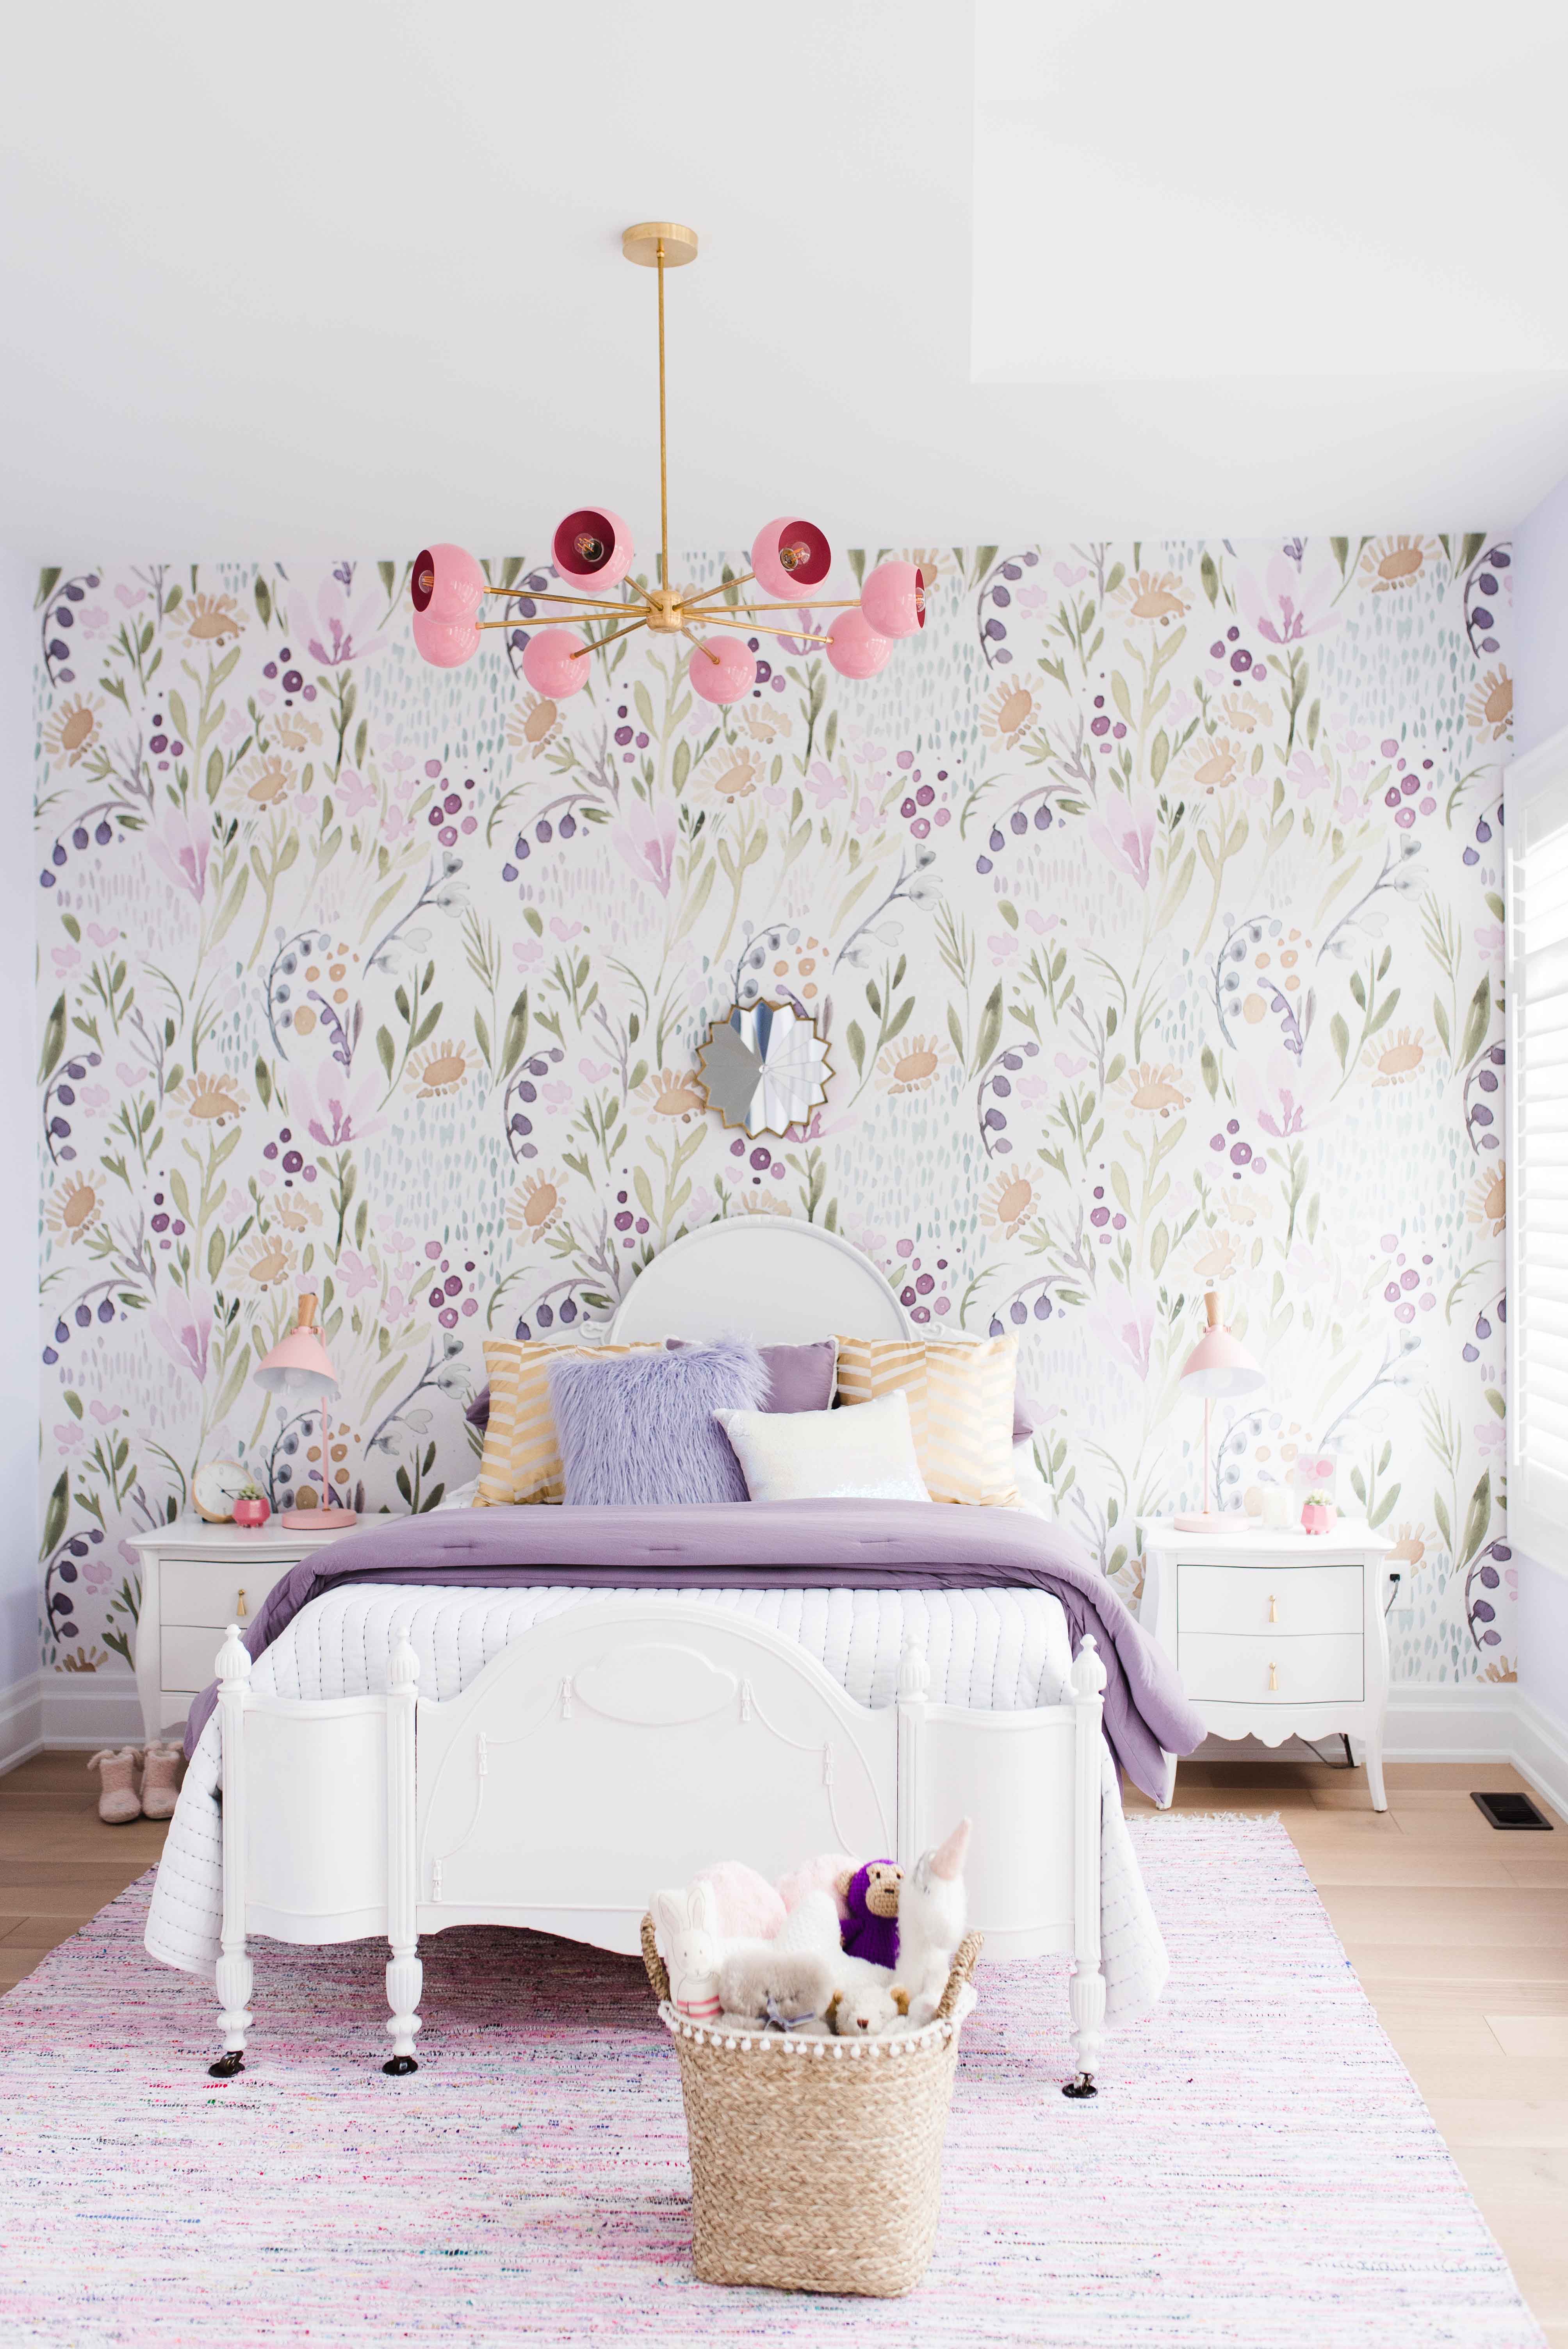
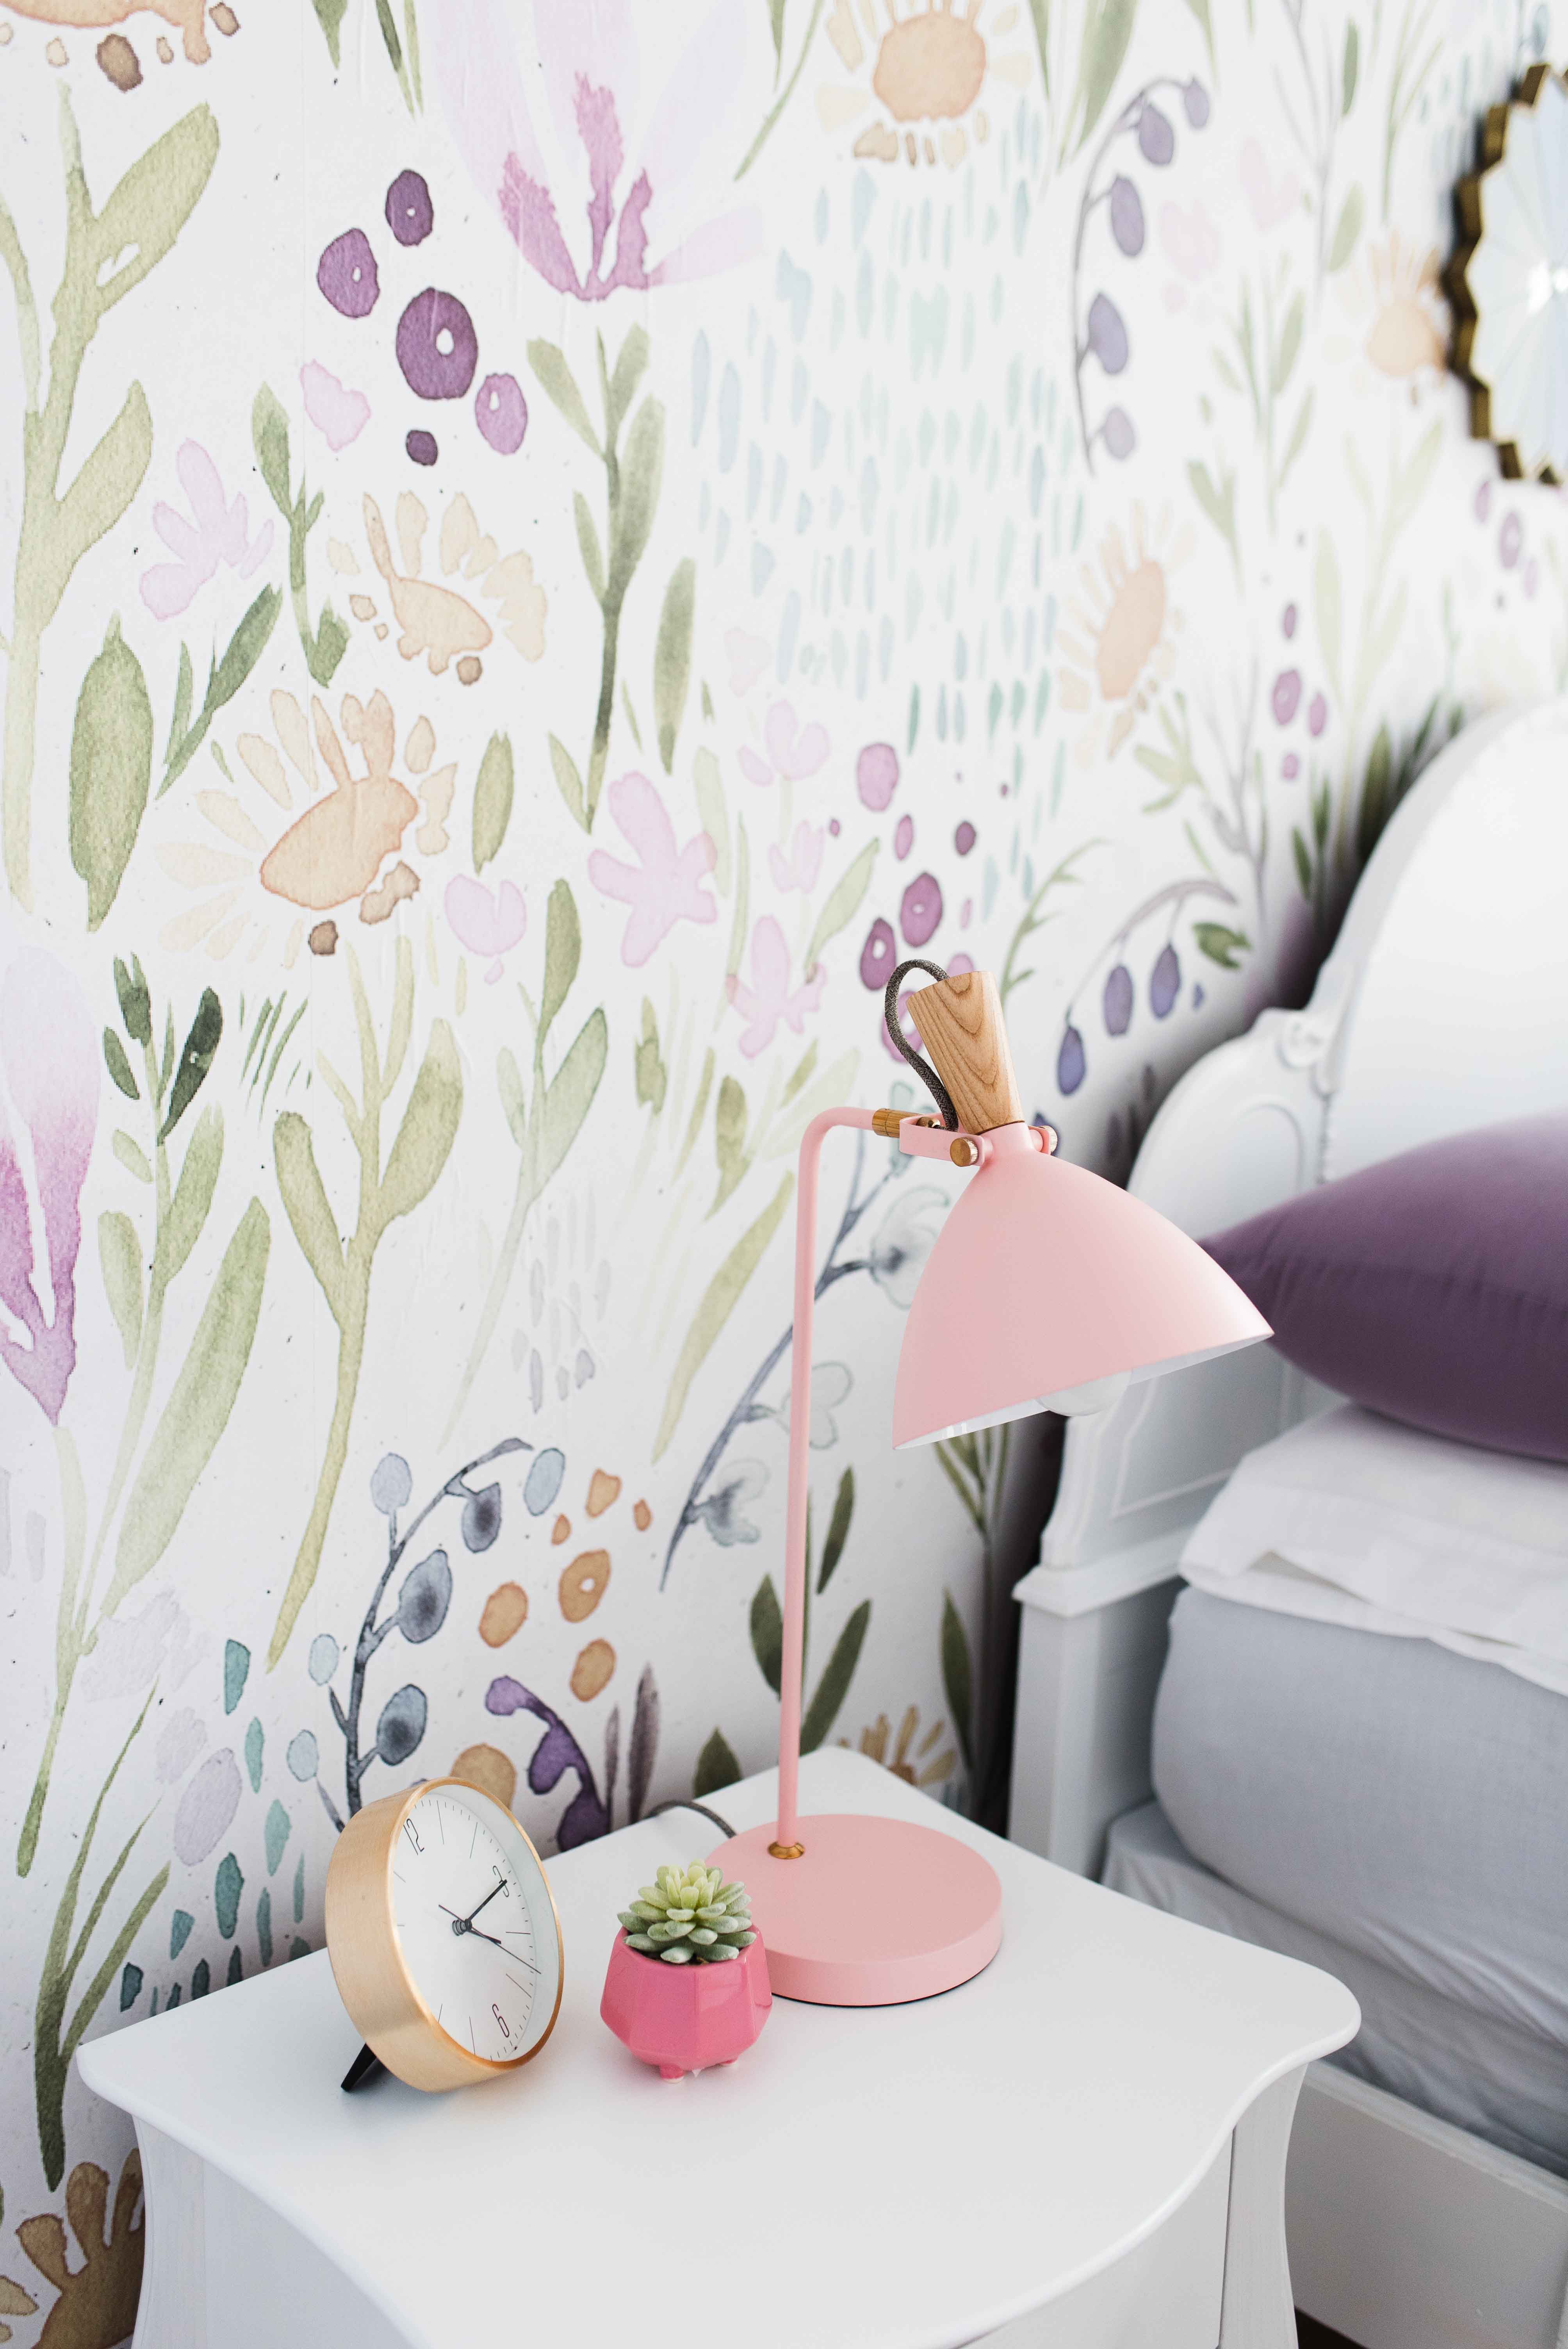
As soon as we moved into the house, I immediately started on our amazing removable wallpaper from Rocky Mountain Decals. Their paper is extremely high quality and they have so many fun and exciting designs to choose from. Other than small wall decals in the kids previous rooms (see HERE and HERE) – I’ve never tackled a wallpaper project myself – instead preferring to hire someone else to do the job. I certainly wasn’t confident in my skills (I lack patience for tedious projects), but after reading about how easy it is to install removable wallpaper and falling head over heels in love with this Swedish Sun design, I decided I would tackle this project on my own (and with the help of my hubby of course). Even though he initially said he didn’t want to be involved (he’s a bit of perfectionist and knew it would drive him crazy), he agreed to get me started and put up the first panel (pretty effortless I might add). I’m not going to lie, the installation wasn’t easy. That could have been due in part to our 10 foot ceilings and an error we made on the first panel, but instead of sharing the challenges we faced I’m going to tell you what we learned to ensure the next time will be SO much easier.
If you have enough length, overlap each panel onto the ceiling by a few inches to avoid an uneven edge running along the top of your wall. When you’re all finished you can use an exacto knife and cut along the edge to get a sharp, clean line. We realized we should have done this AFTER Panel #1 was already installed, so each subsequent panel ended up angling downwards as we went along. But, thanks to some tweaking, pulling, and a bit of overlapping along the way – you would never know we had an issue. The pattern is very forgiving and hides a plethora of mistakes. Also, make sure to work out all the air bubbles slowly and hold your squeegee on a slight angle to ensure the paper lays evenly the first time. Panel #2 was definitely my worst one, but it only got better and easier with each panel moving forward!
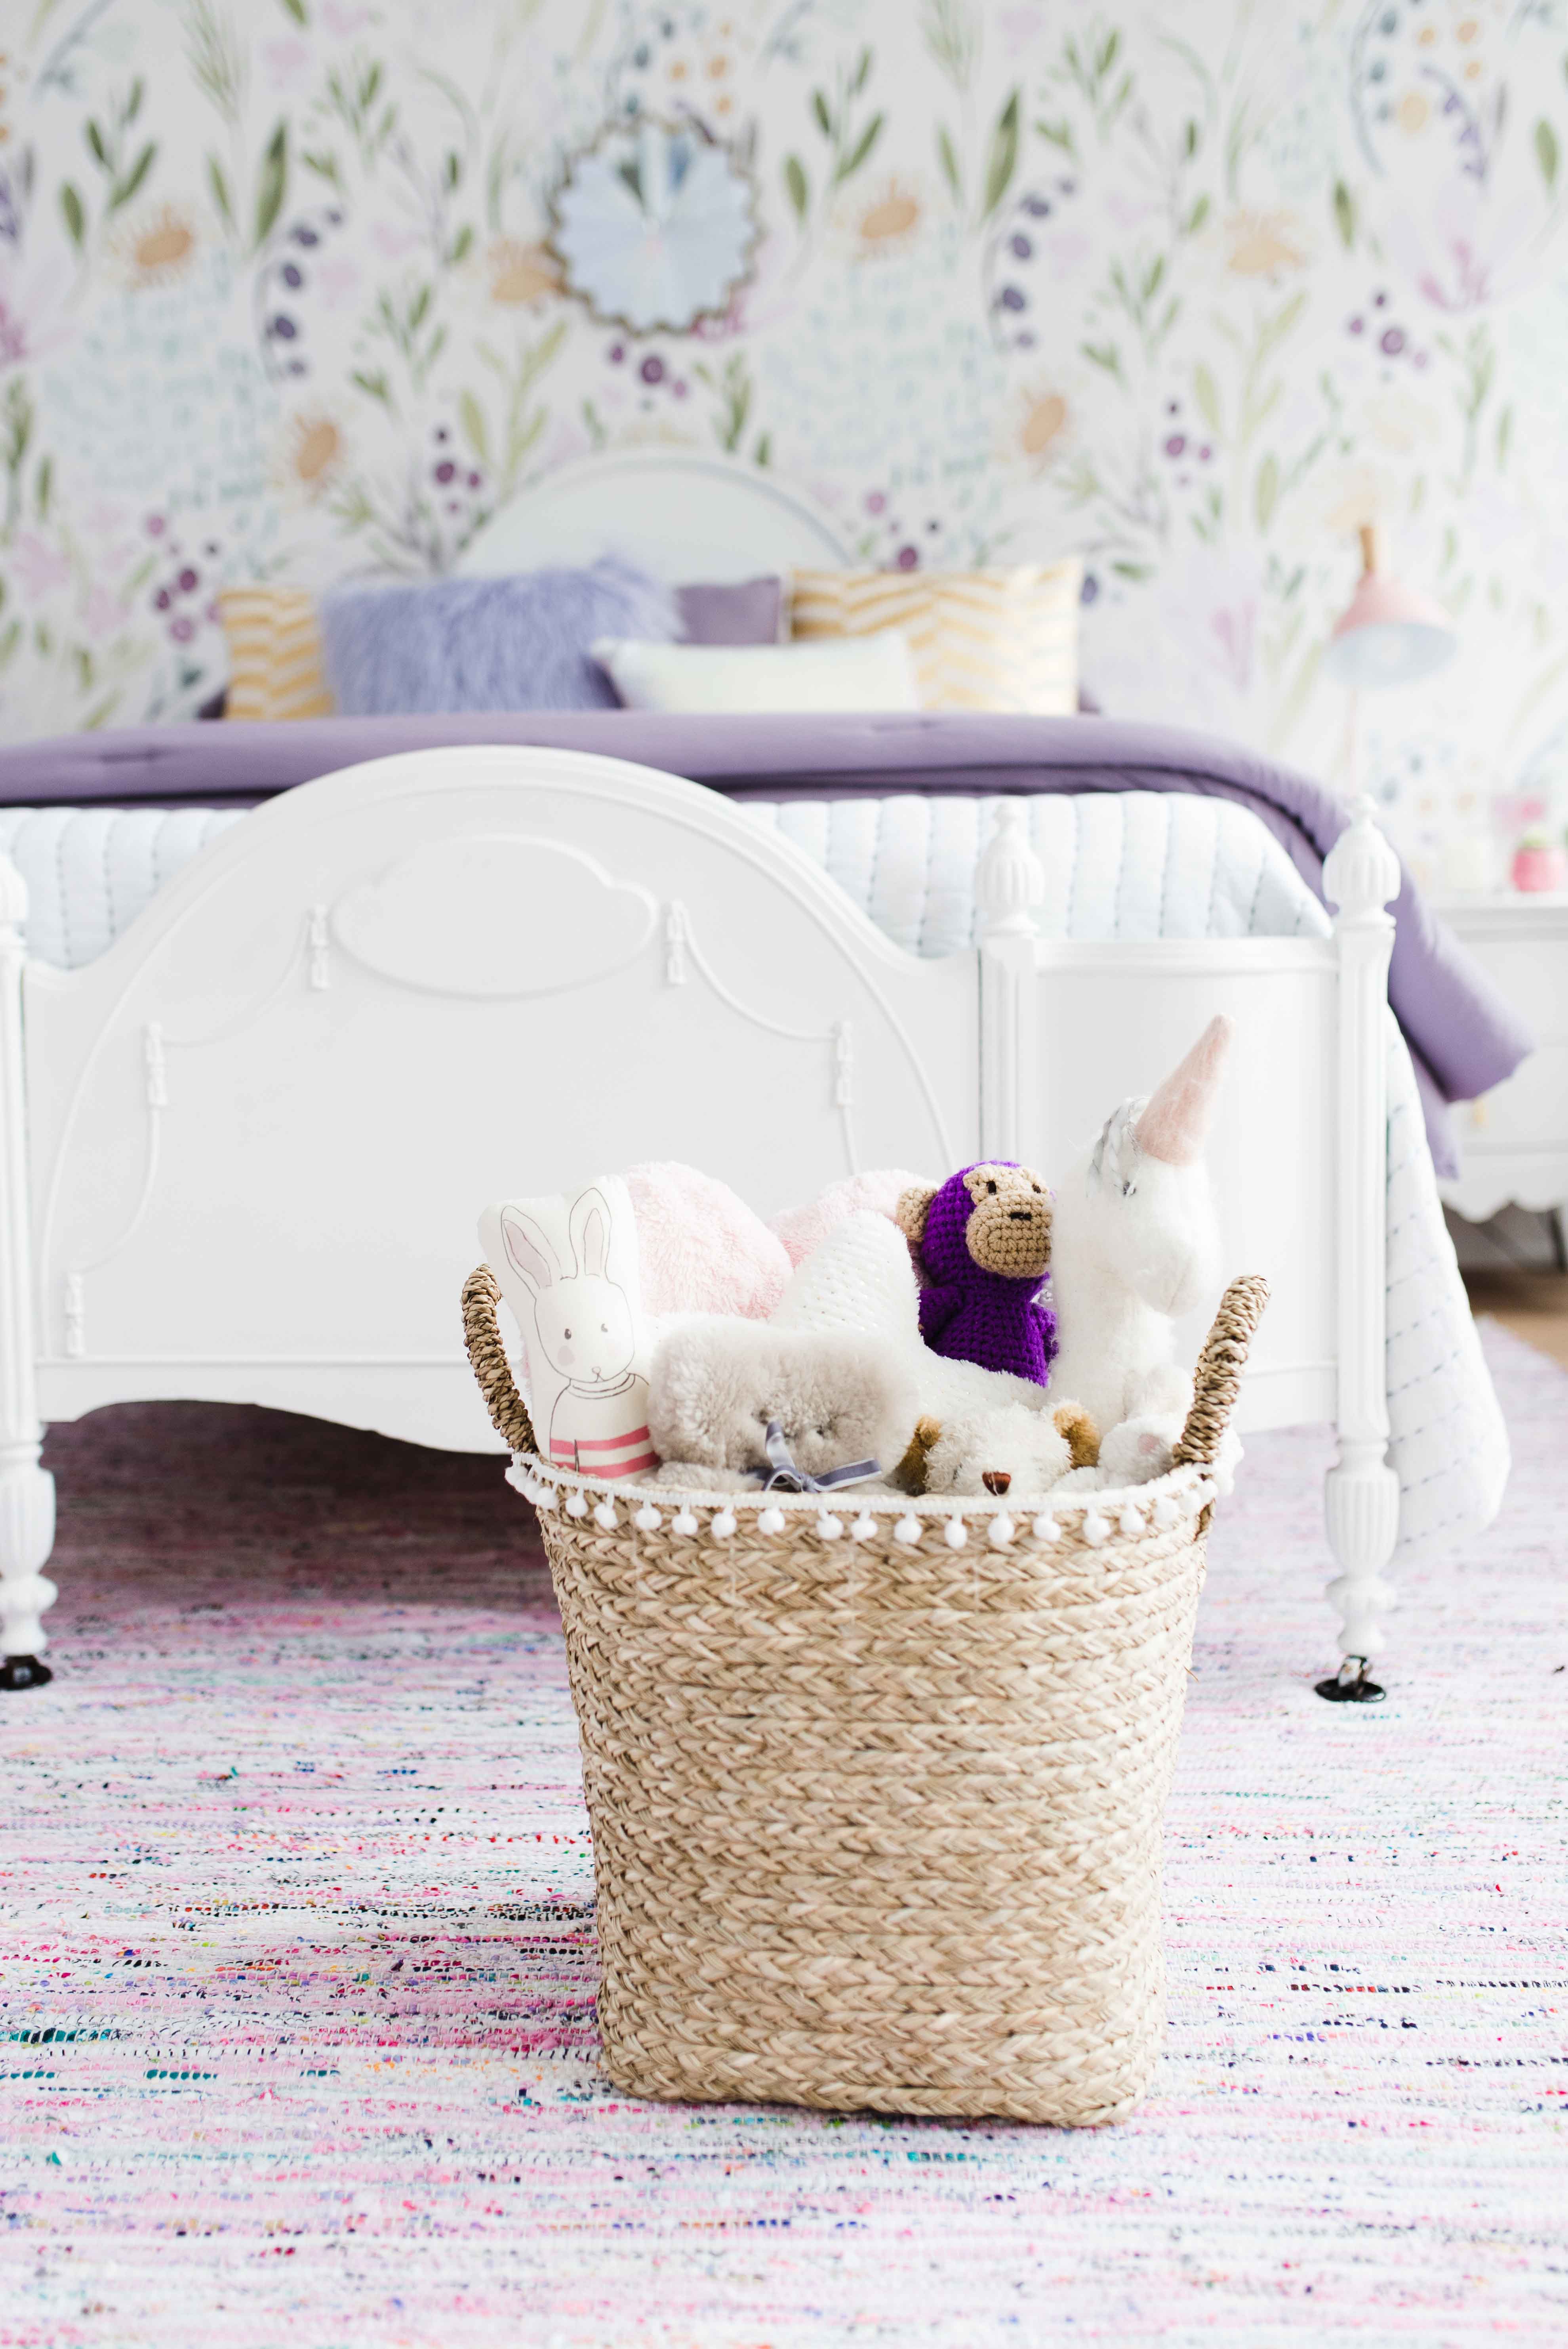
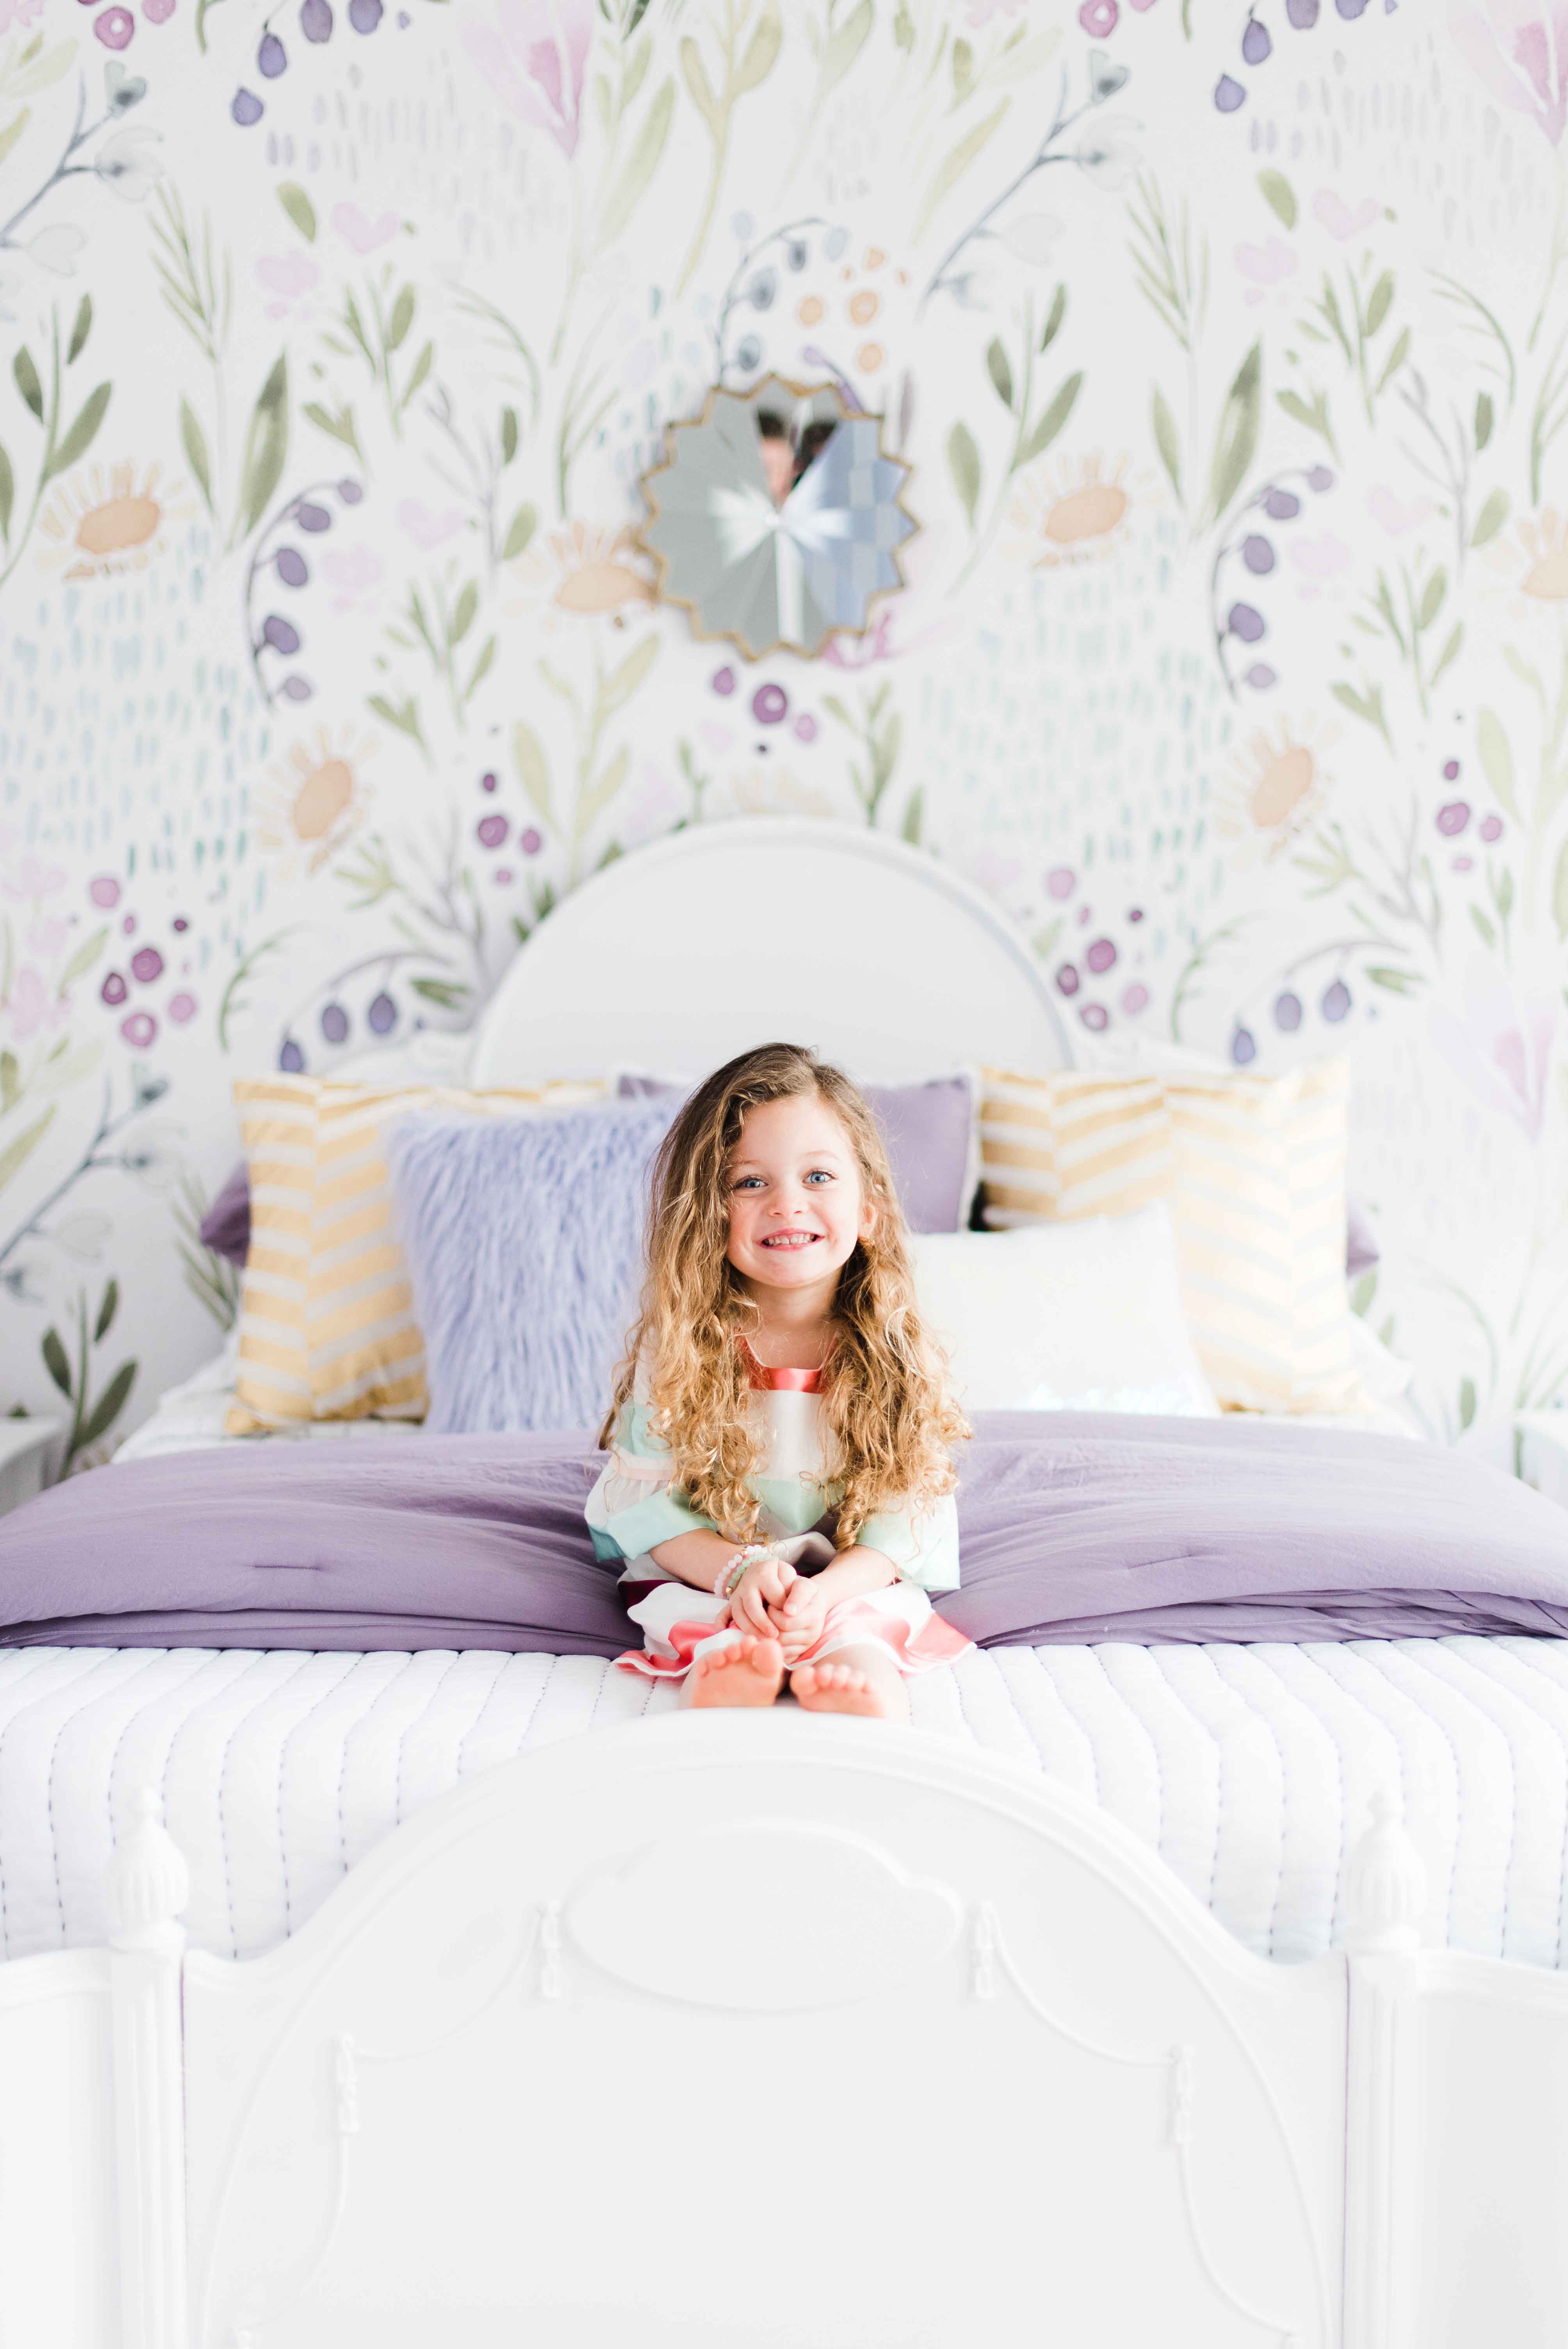
THE BED
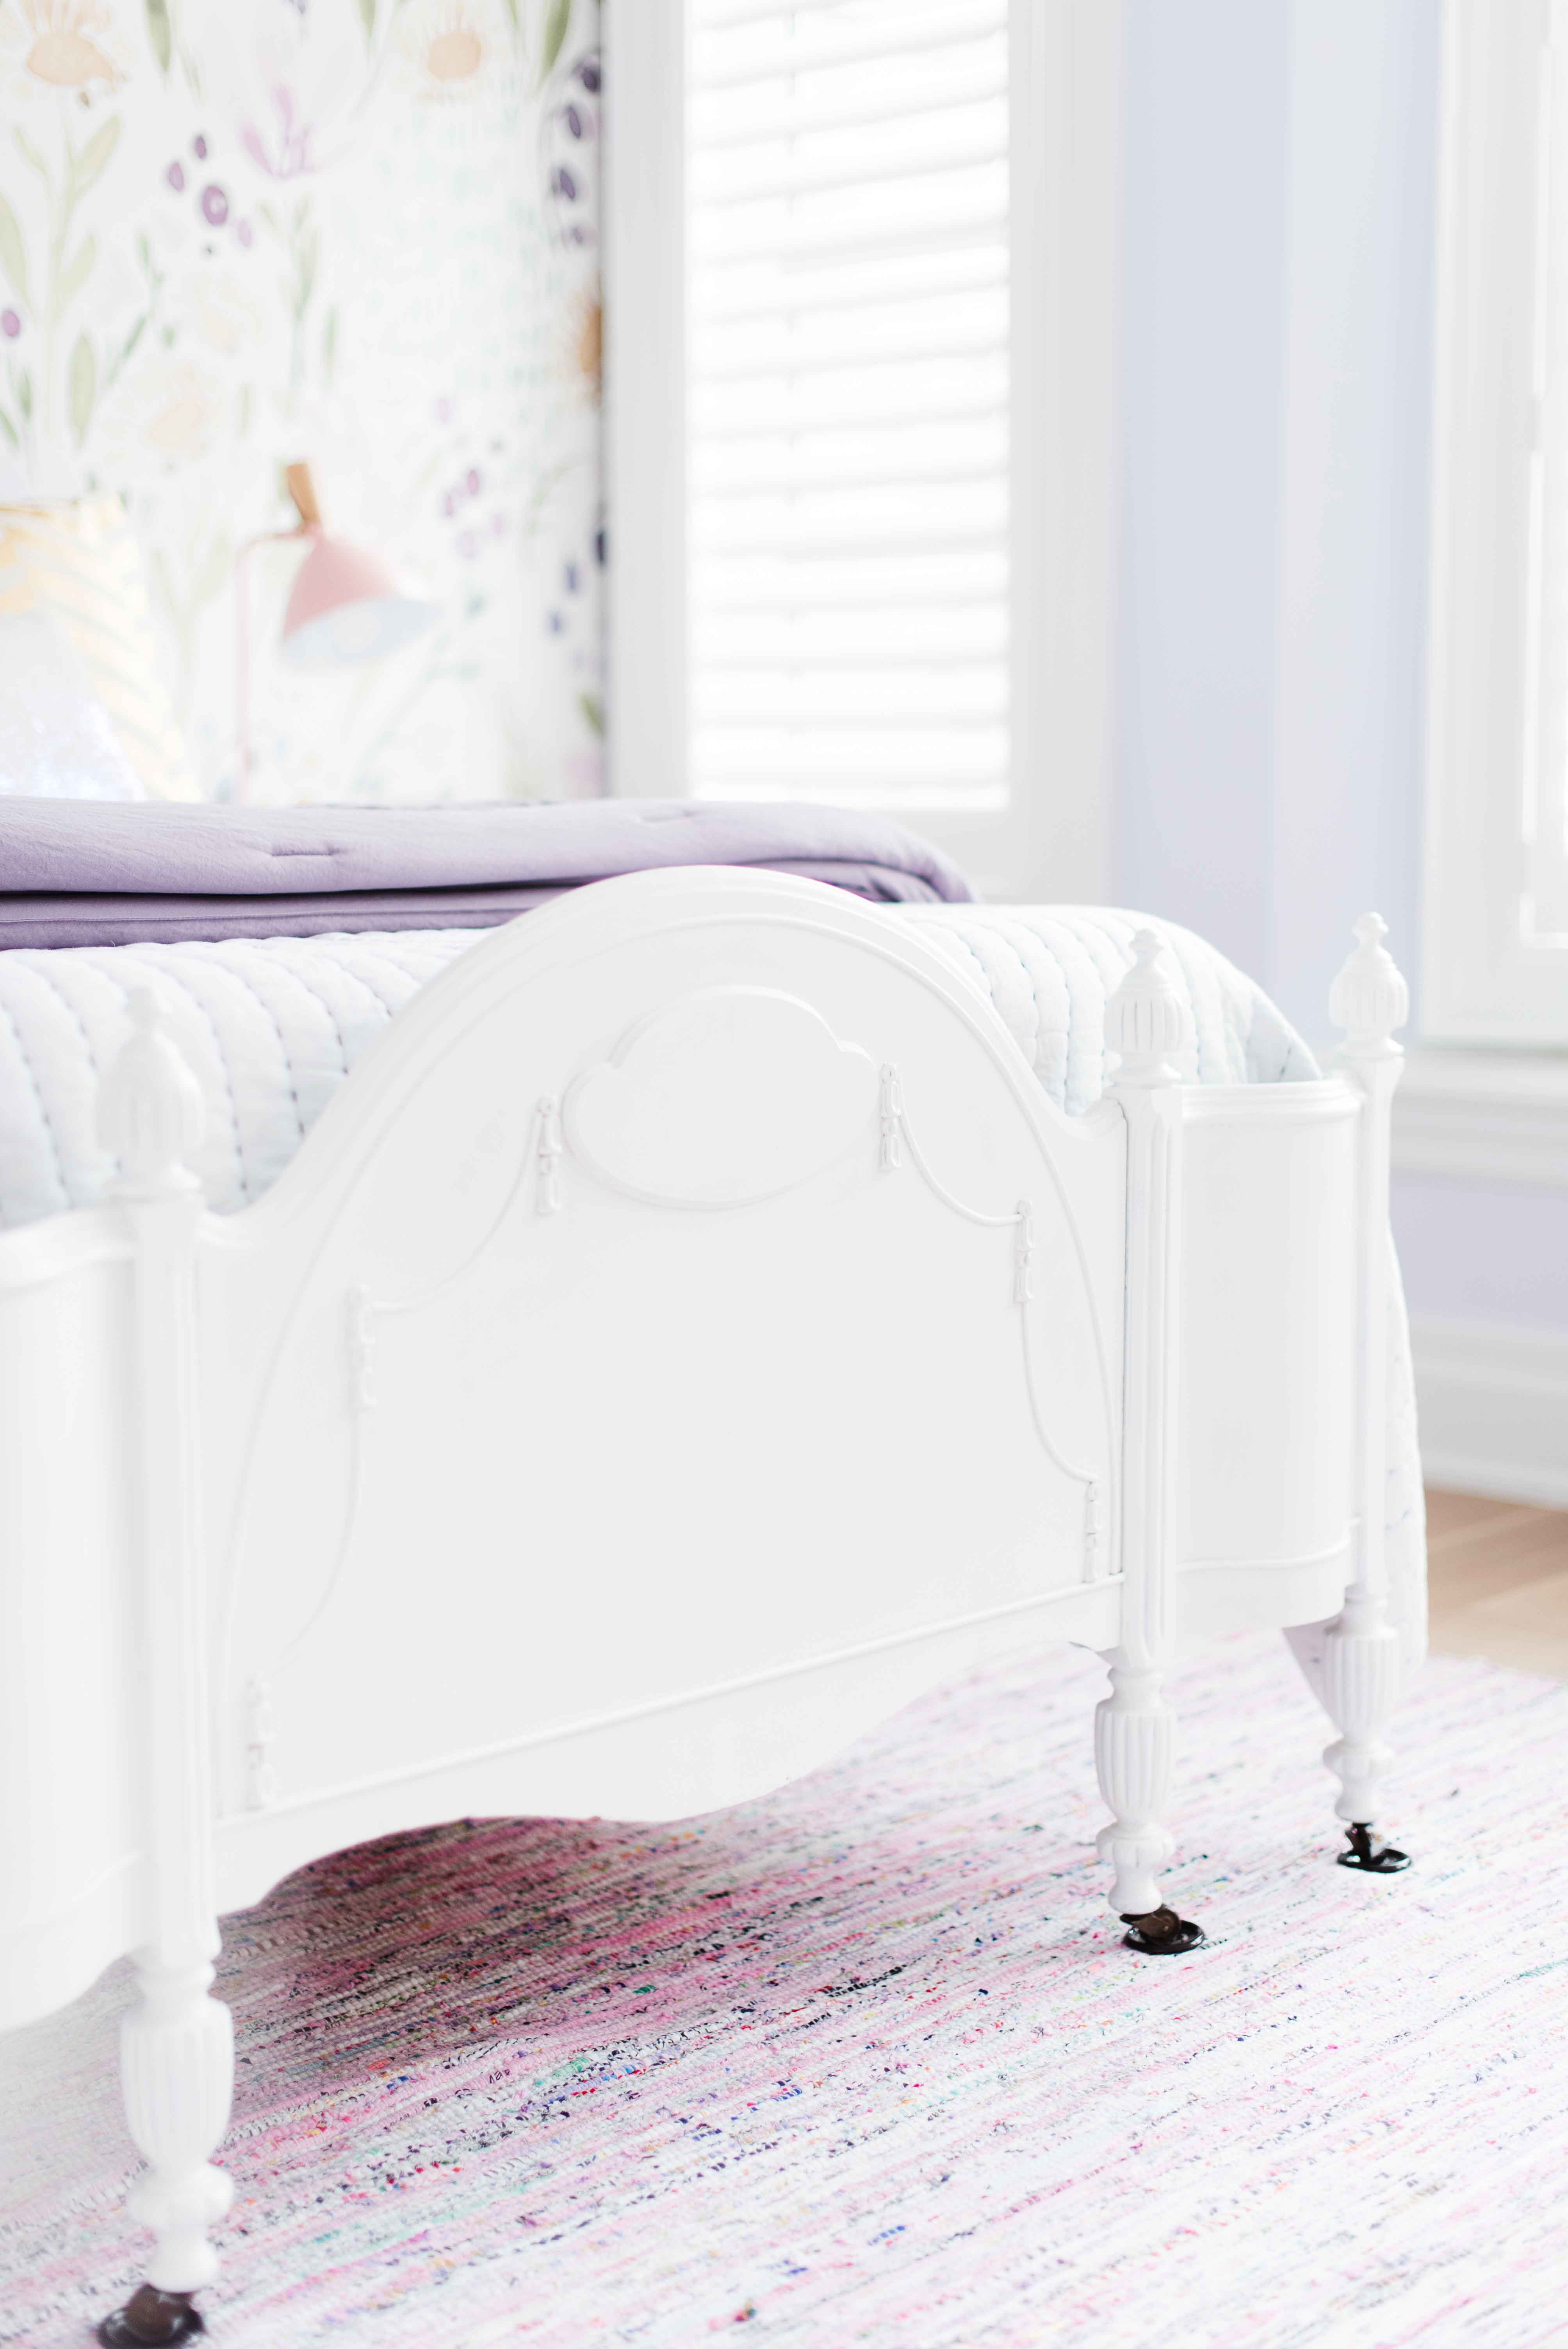
About a month before we moved into the house I started thinking about what kind of bed I wanted to put into Gemmas new room, and since I’ve always wanted an ornate vintage bed – I knew this was going to be my only opportunity. After scouring Kijiji and FB Marketplace for weeks, I finally found the perfect double-size bed with the prettiest tassel trim design. The original wood was such a nice colour and I actually gave myself a chance to keep it in its original state, but after the wallpaper was installed and the bedding selected, unfortunately I found the combination of everything just looked “old” and lacked the wow factor I was going for.
This is when I turned to Elsinore from Splash of Charm in Port Credit to help me out. She owns a French-inspired furniture shop and paints any piece of furniture you can think of. We decided on Benjamin Moore Chantilly Lace OC-65 (also our kitchen cabinet colour) and she worked her magic to transform the bed from drab to fab in no time! I was blown away with the final results and am SO happy we went with having it painted. It truly became the bed I’ve always dreamed of having somewhere in our home.

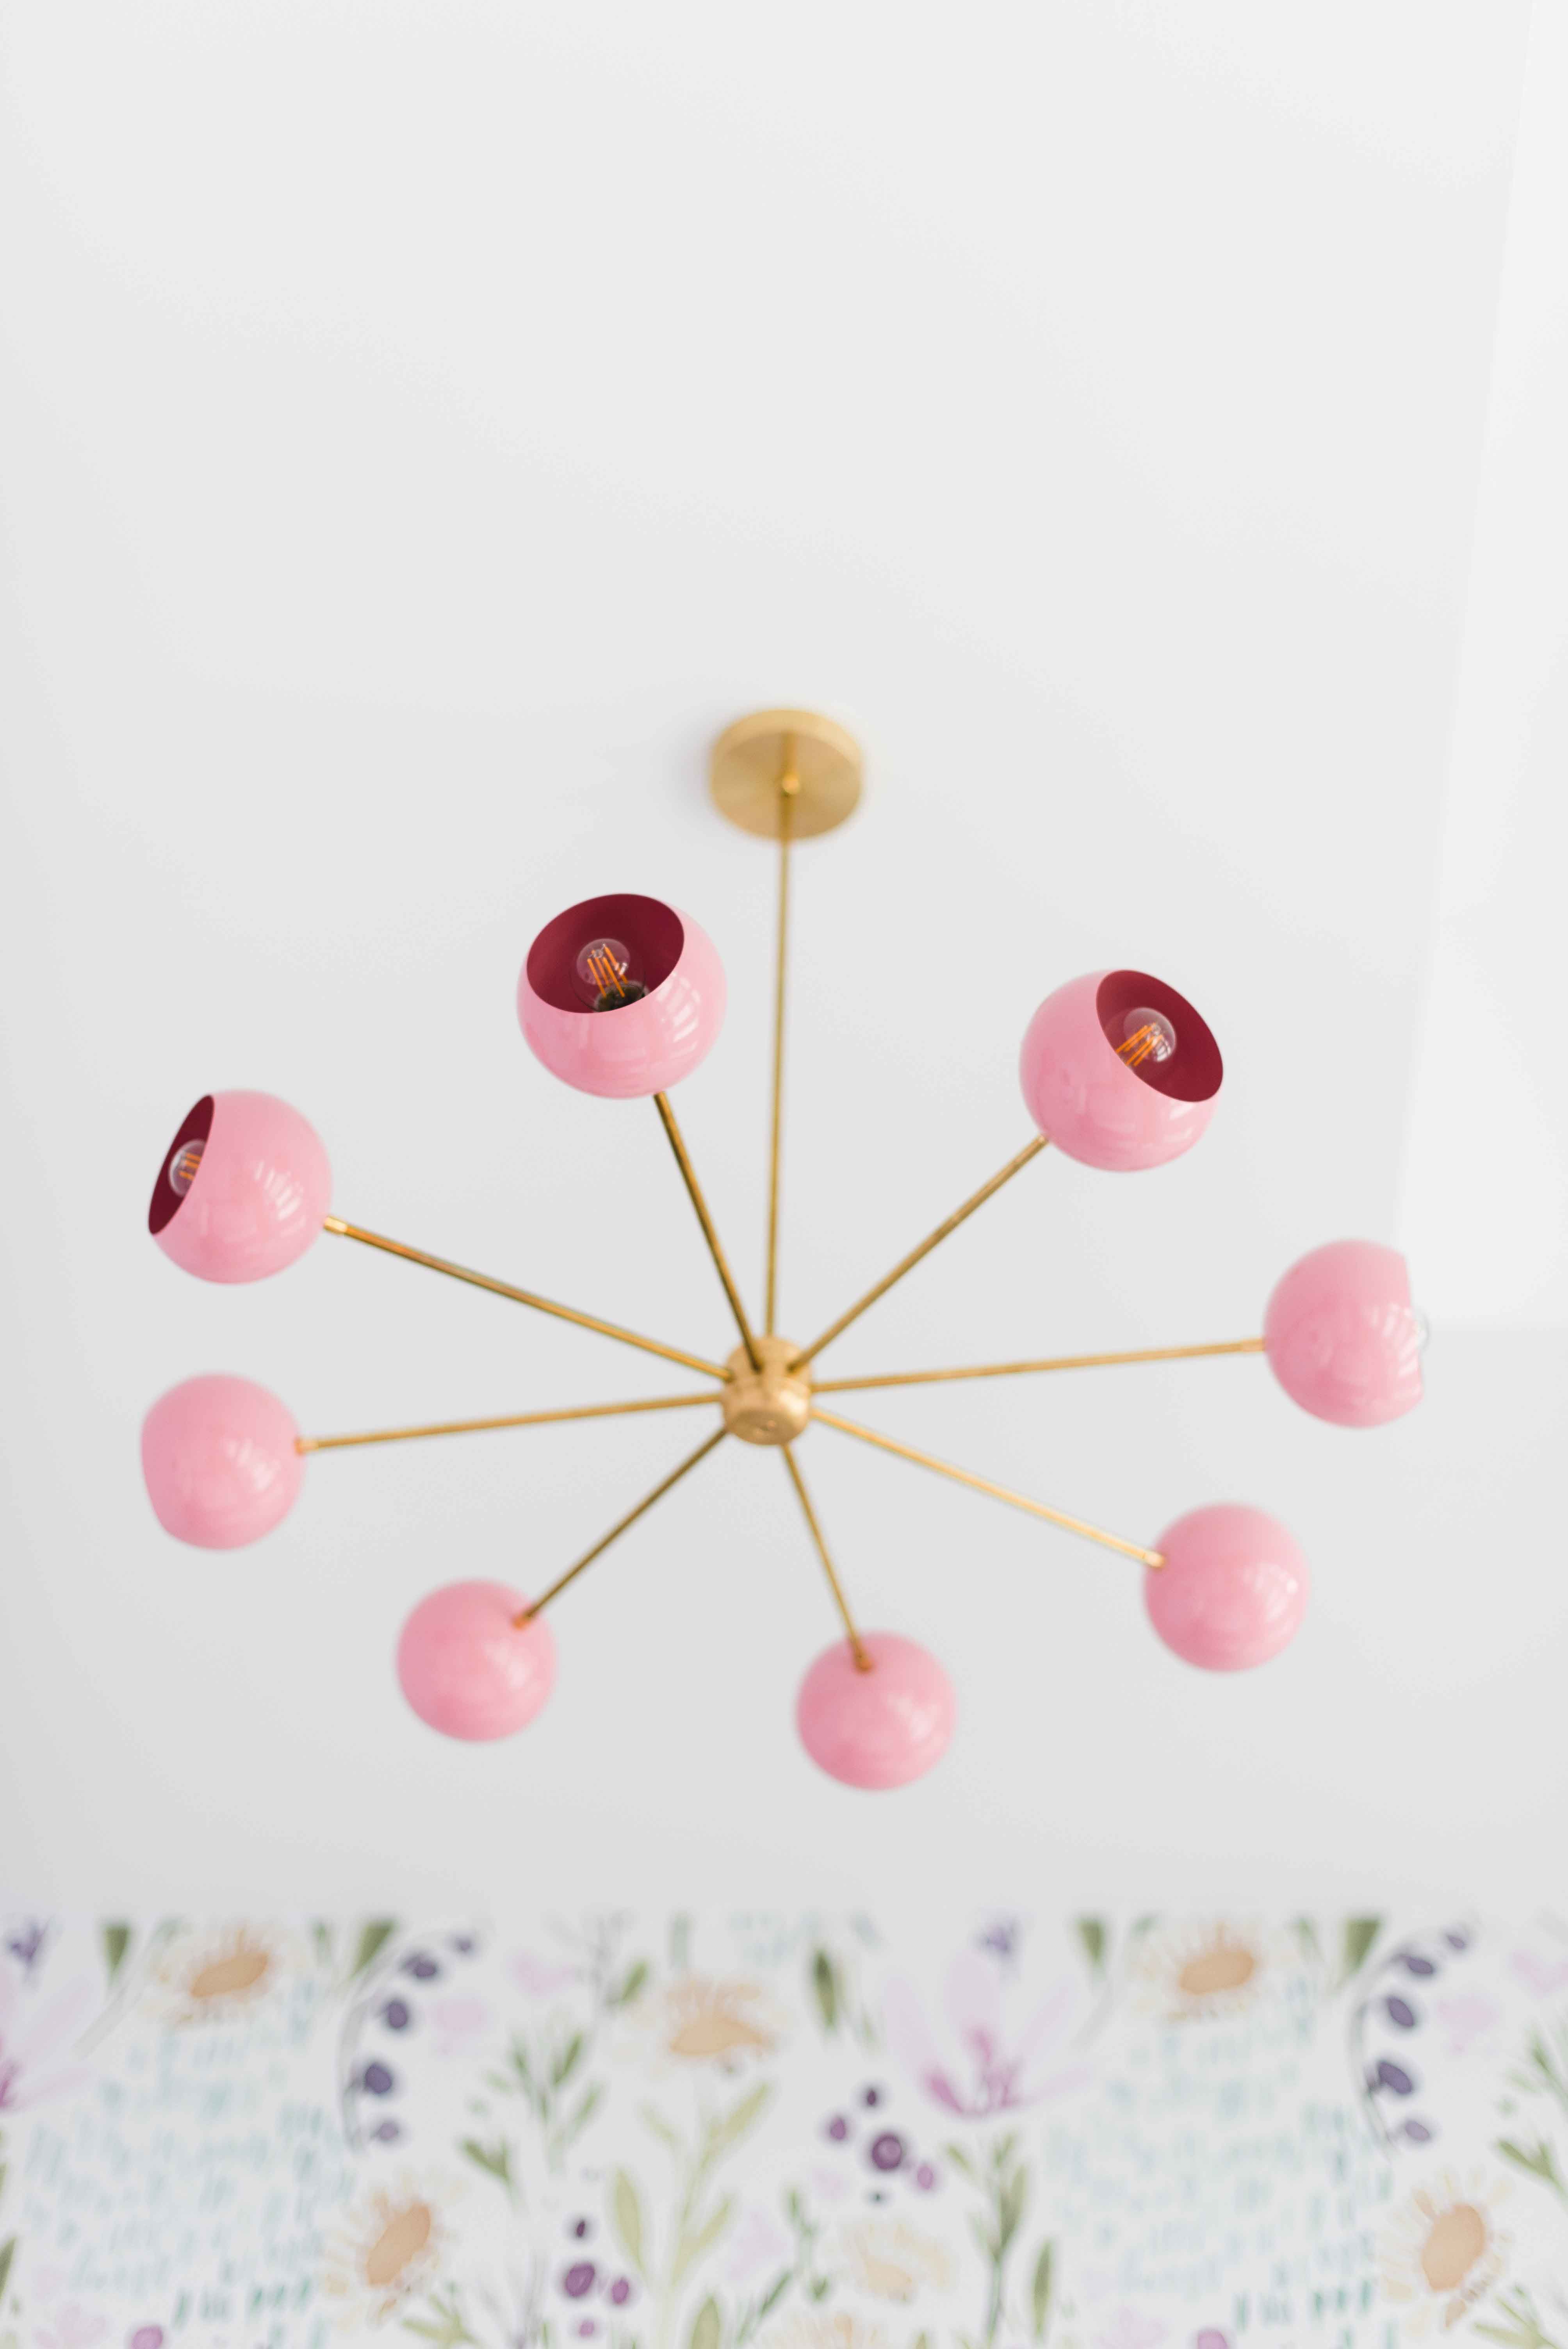
THE CHANDELIER
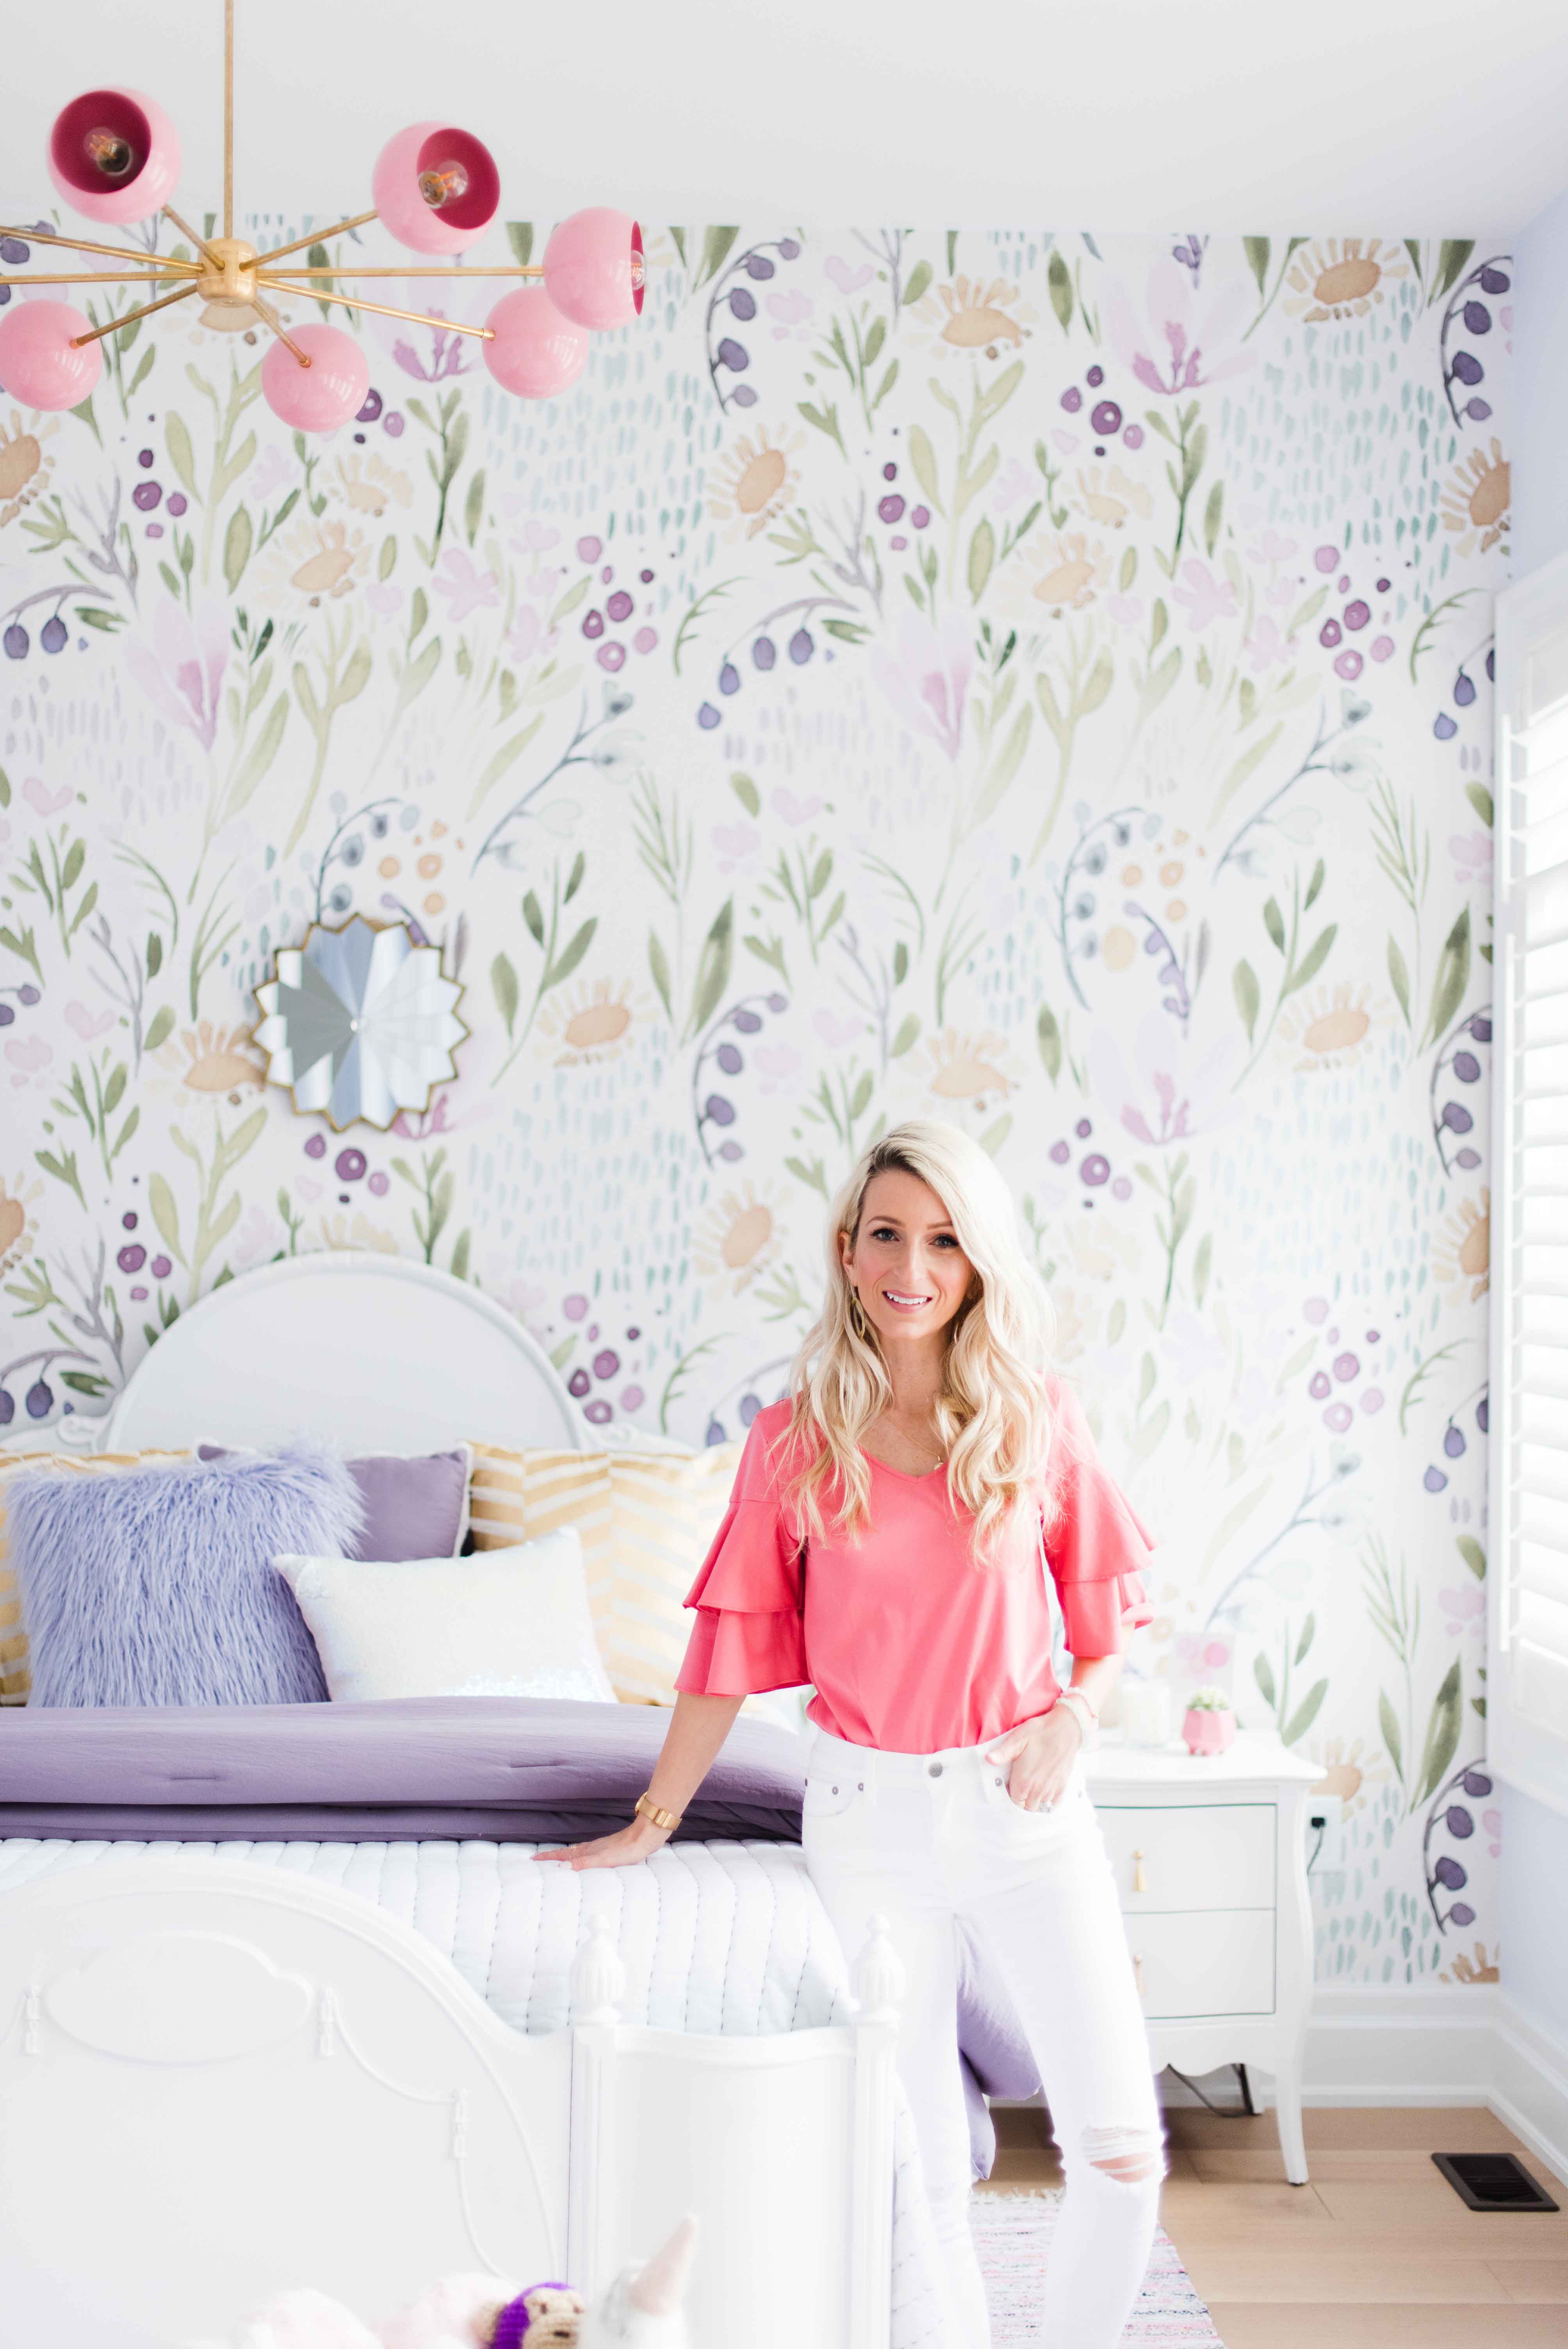
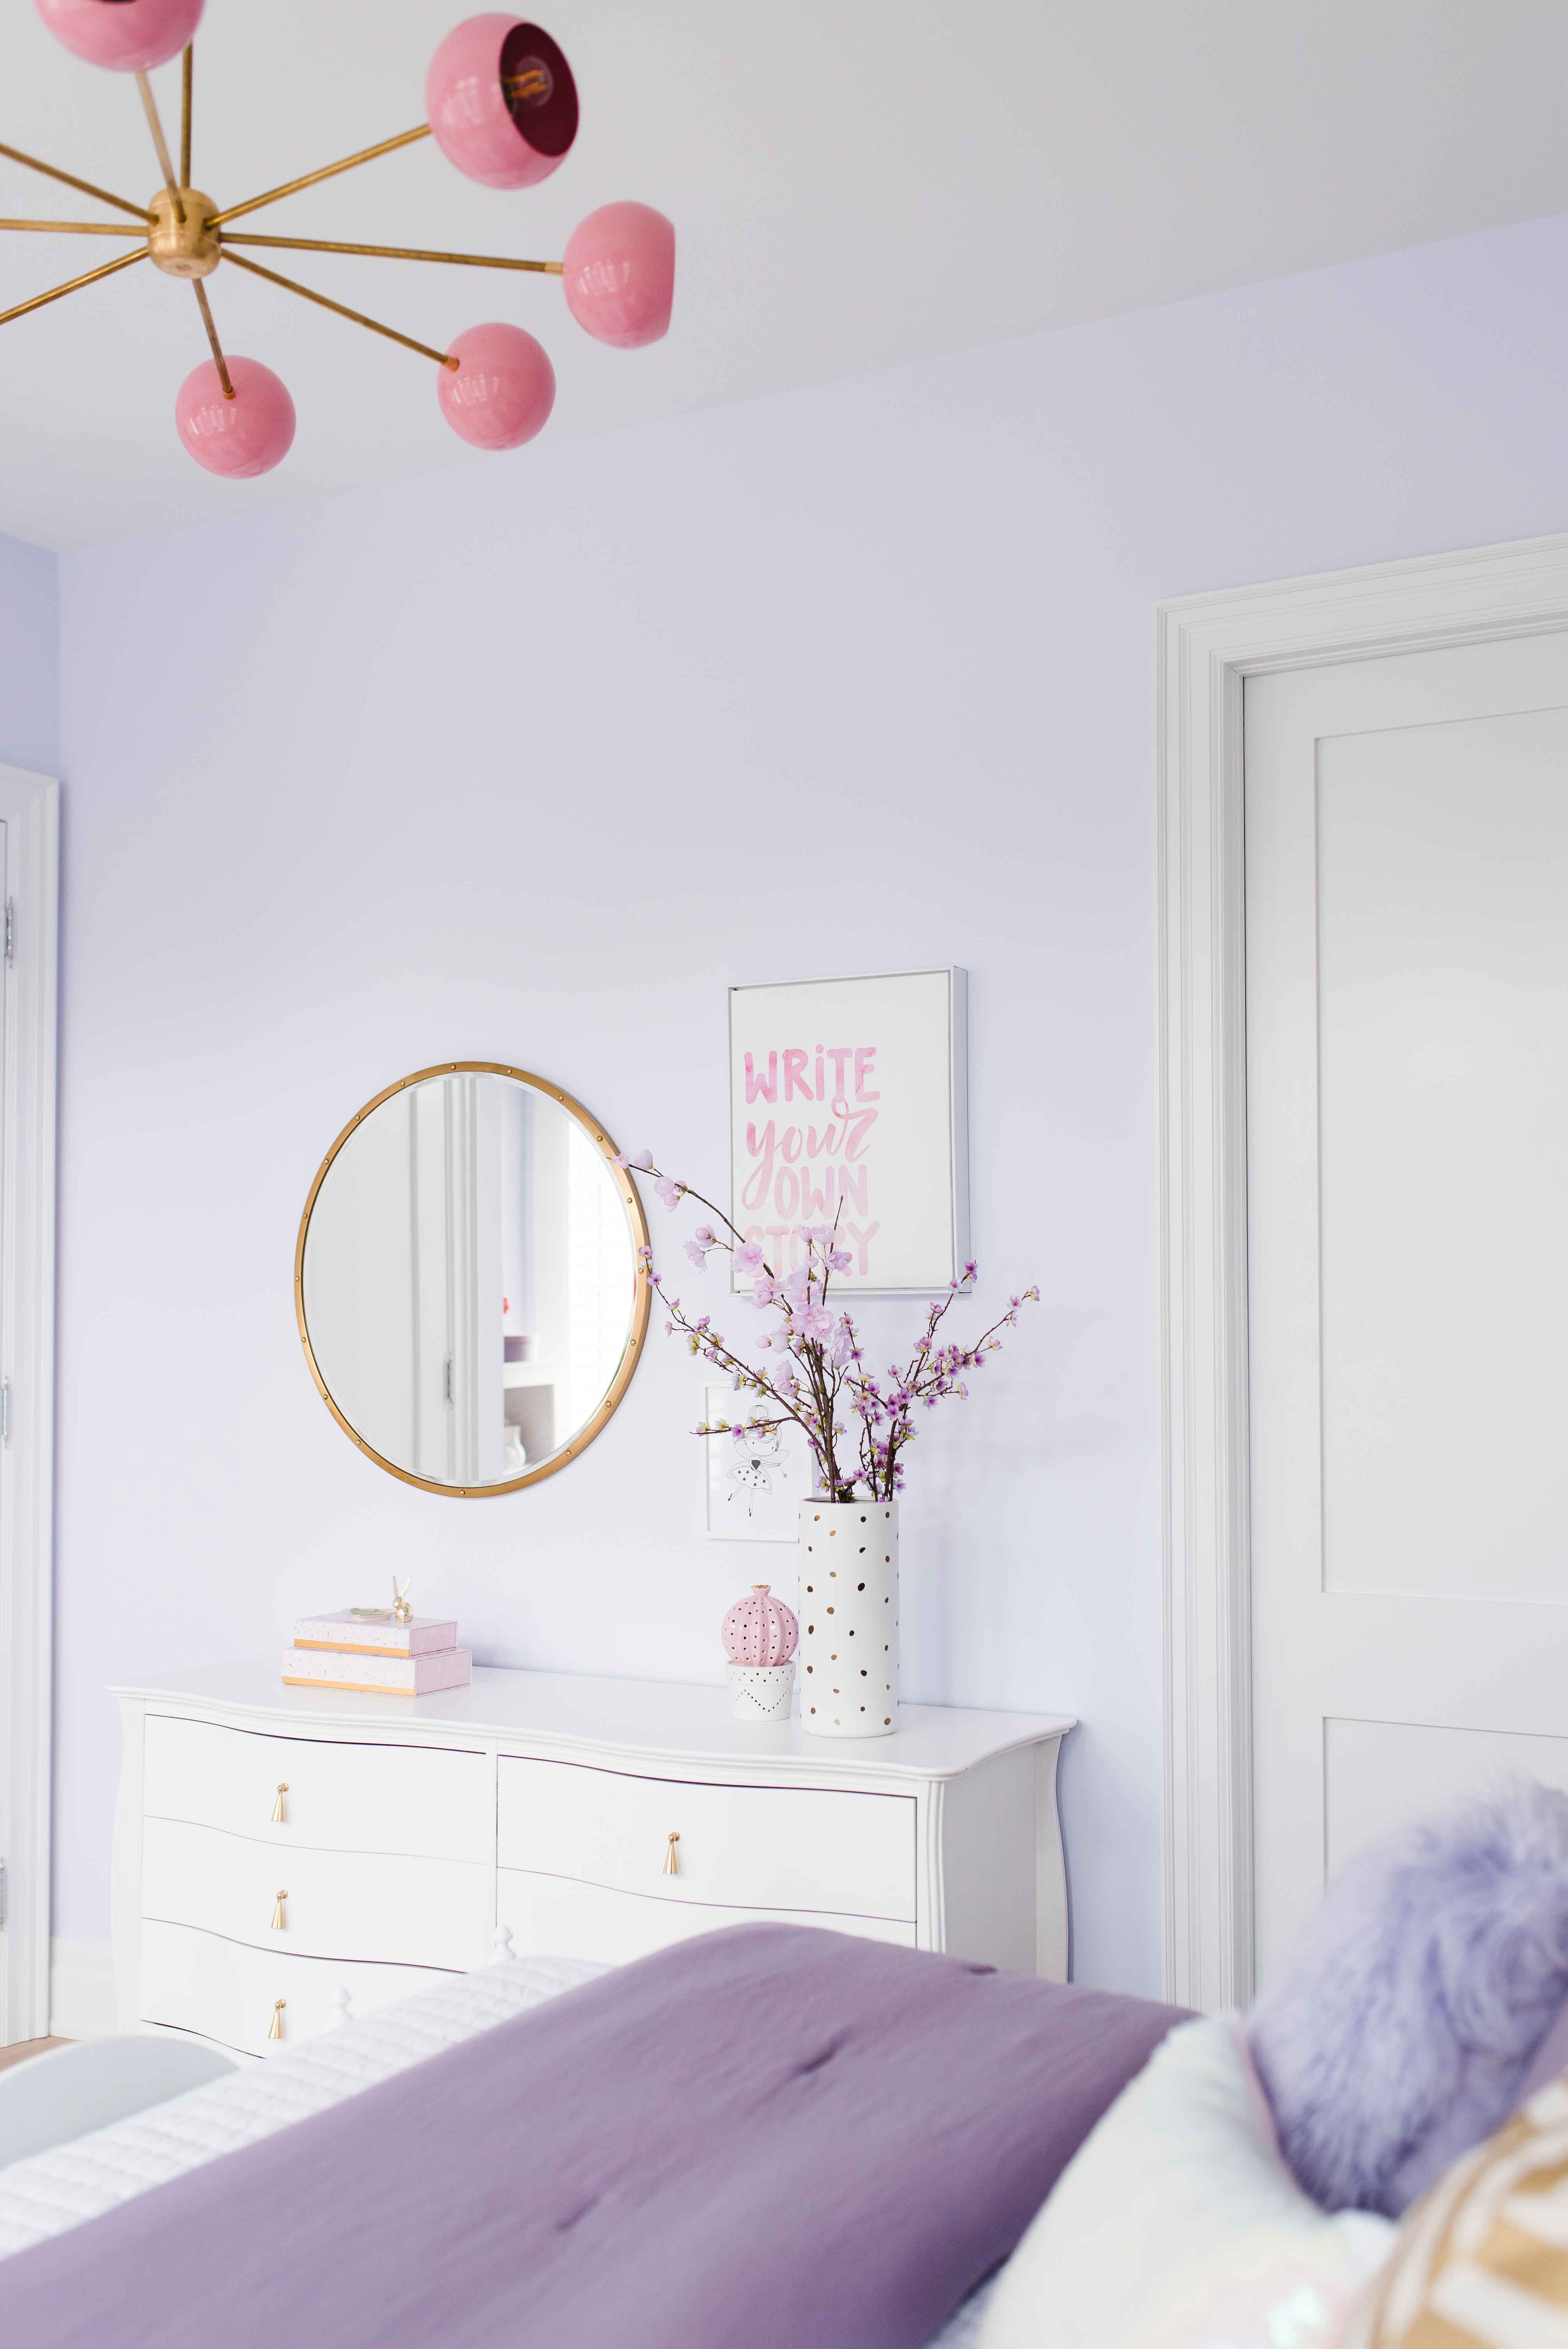
With a very feminine wallpaper, the prettiest vintage bed, and all the purple a little girl could ask for – I knew we needed something modern in the space to balance out the design. I found Sazerac Stiches on Instagram after seeing one of their wall sconces in a bathroom designed by Studio DIY and immediately was obsessed with ALL of their lights. Their fixtures are made to order in the USA and are totally customizable from the metal (brass is their specialty) right down to the bright and fun colours. I already have a LONG wish list going of other fixtures I need for the rest of our house, and can’t wait to get more of their pieces into our home!
After much deliberation (seriously how could I choose just one?!), I was so excited to finally decide on the Monochromatic Arcenciel Chandelier in Blush Pink and Brass. I’m loving the Mid-Century Modern vibes, and am so happy with how the pink really pops against the purple tones of the wallpaper. It’s such a bright and cheery addition to the space and is exactly the element of playfulness that the room needed!

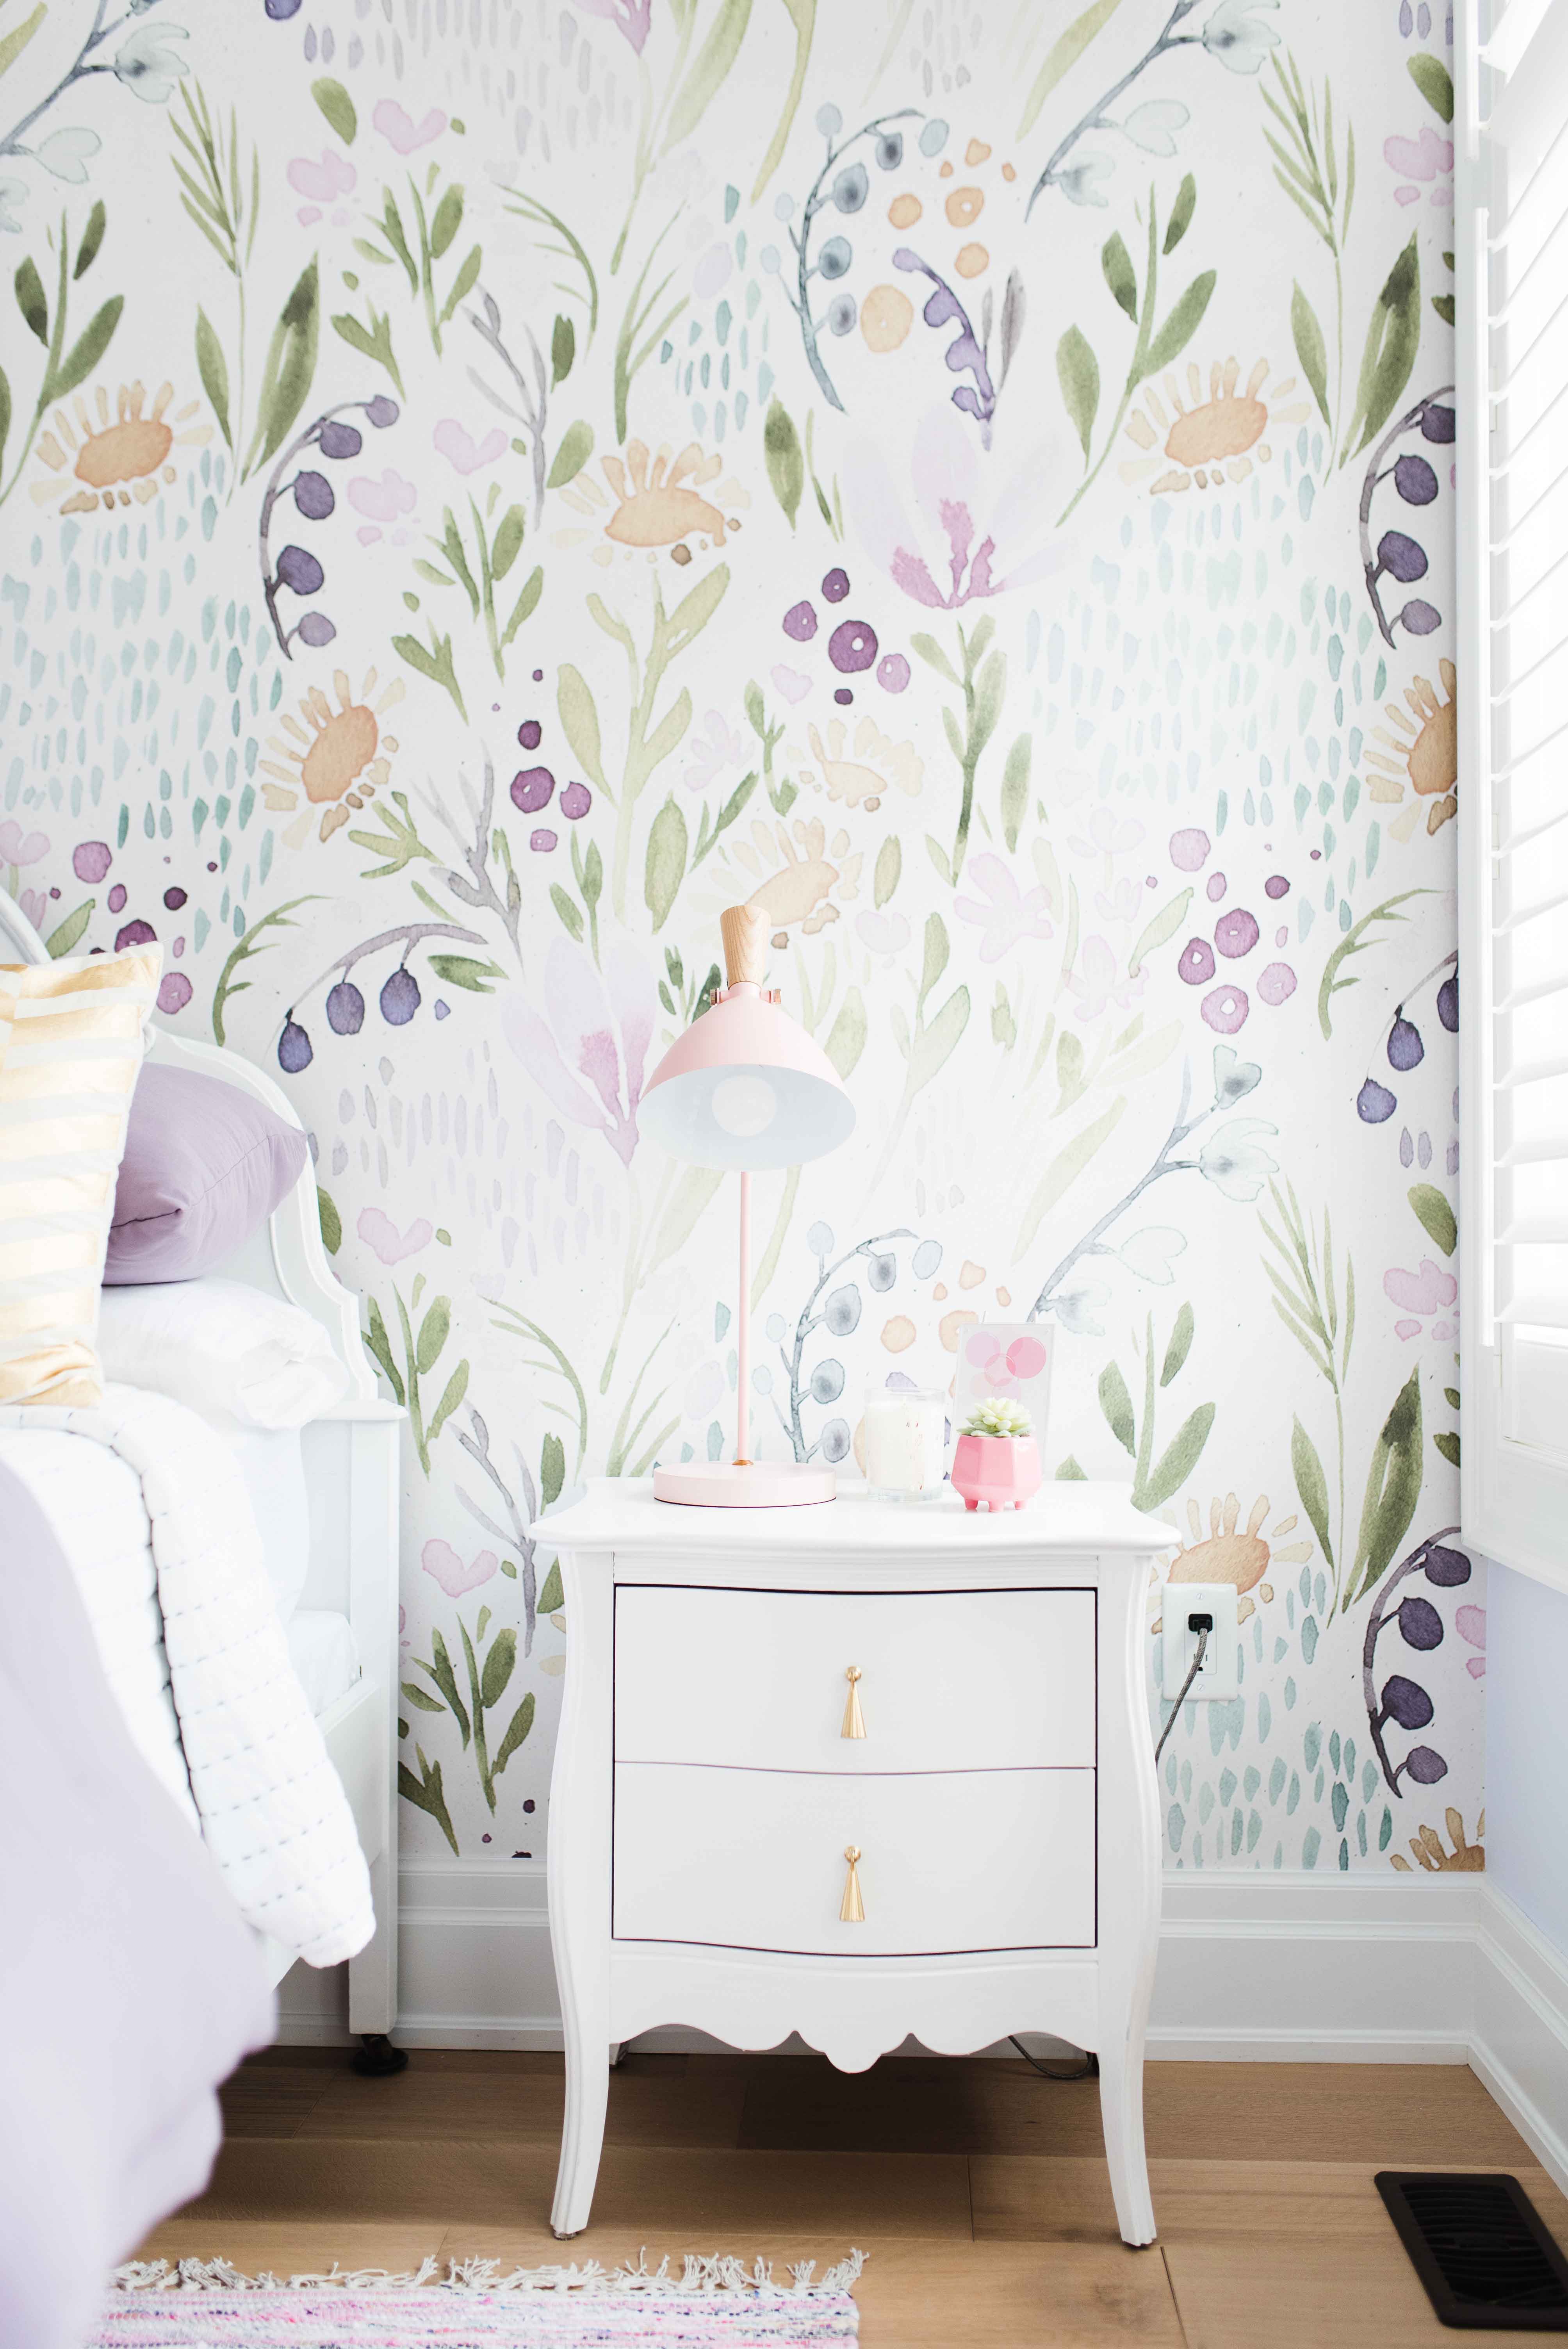
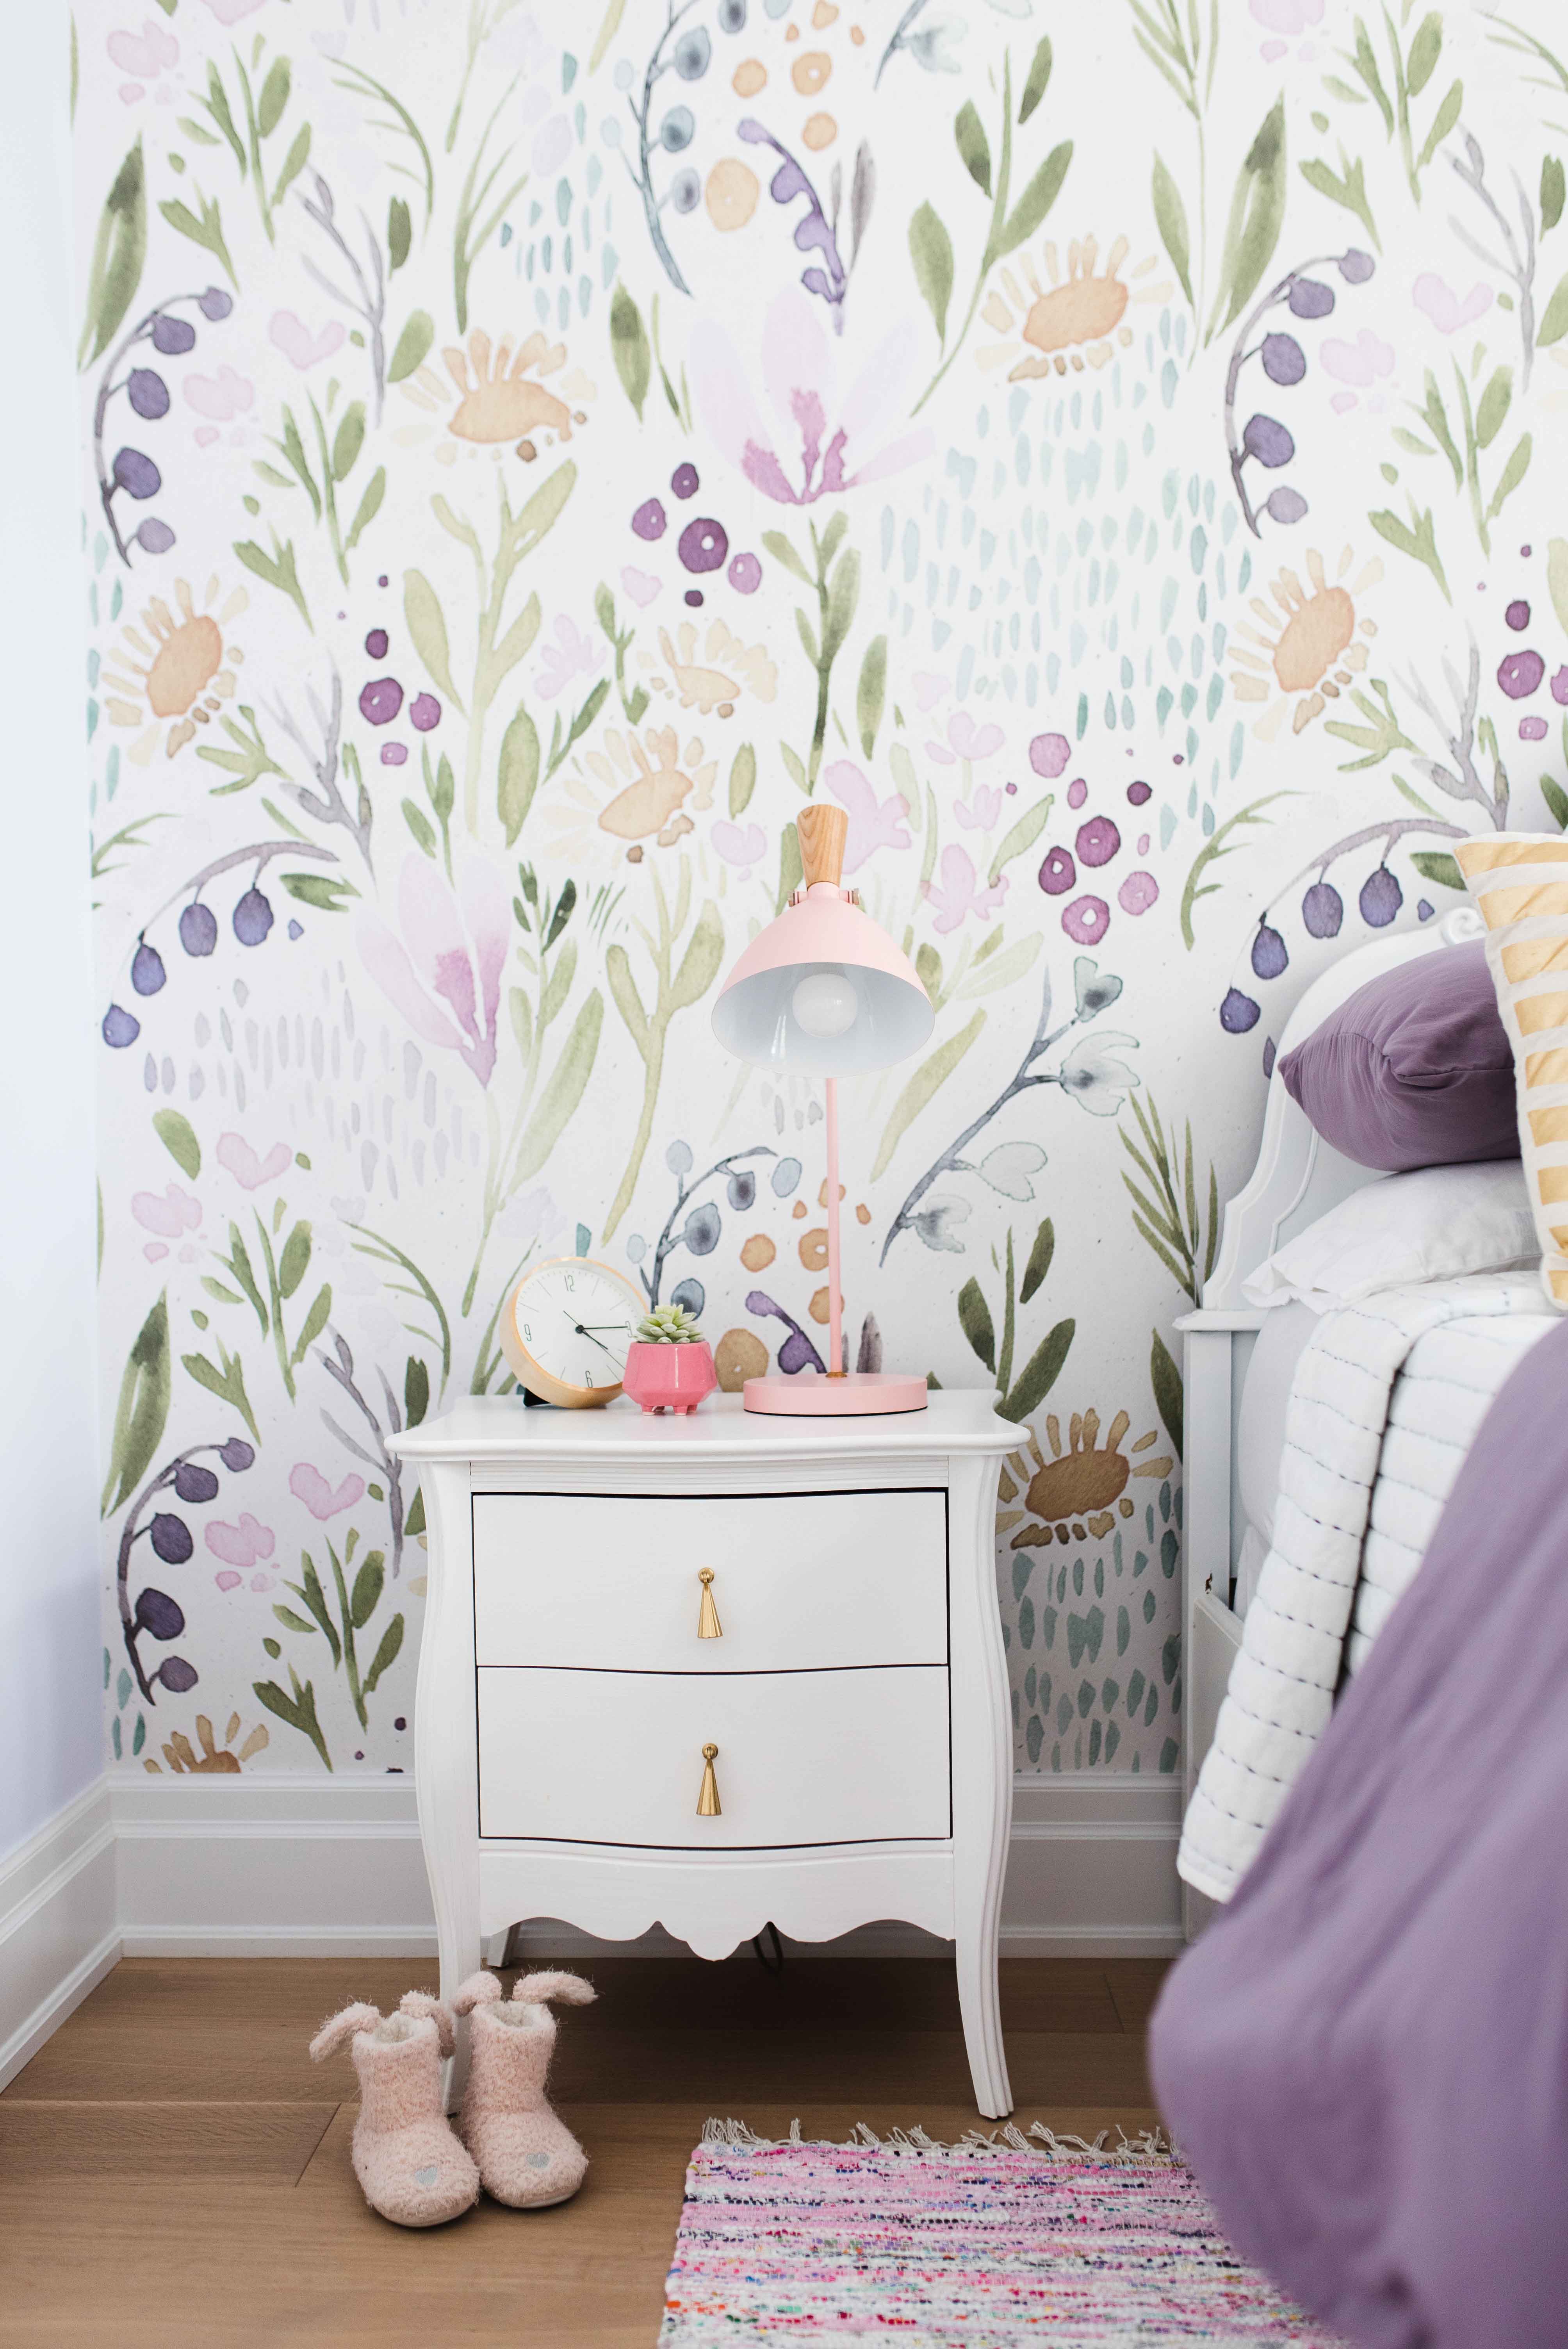
DIY
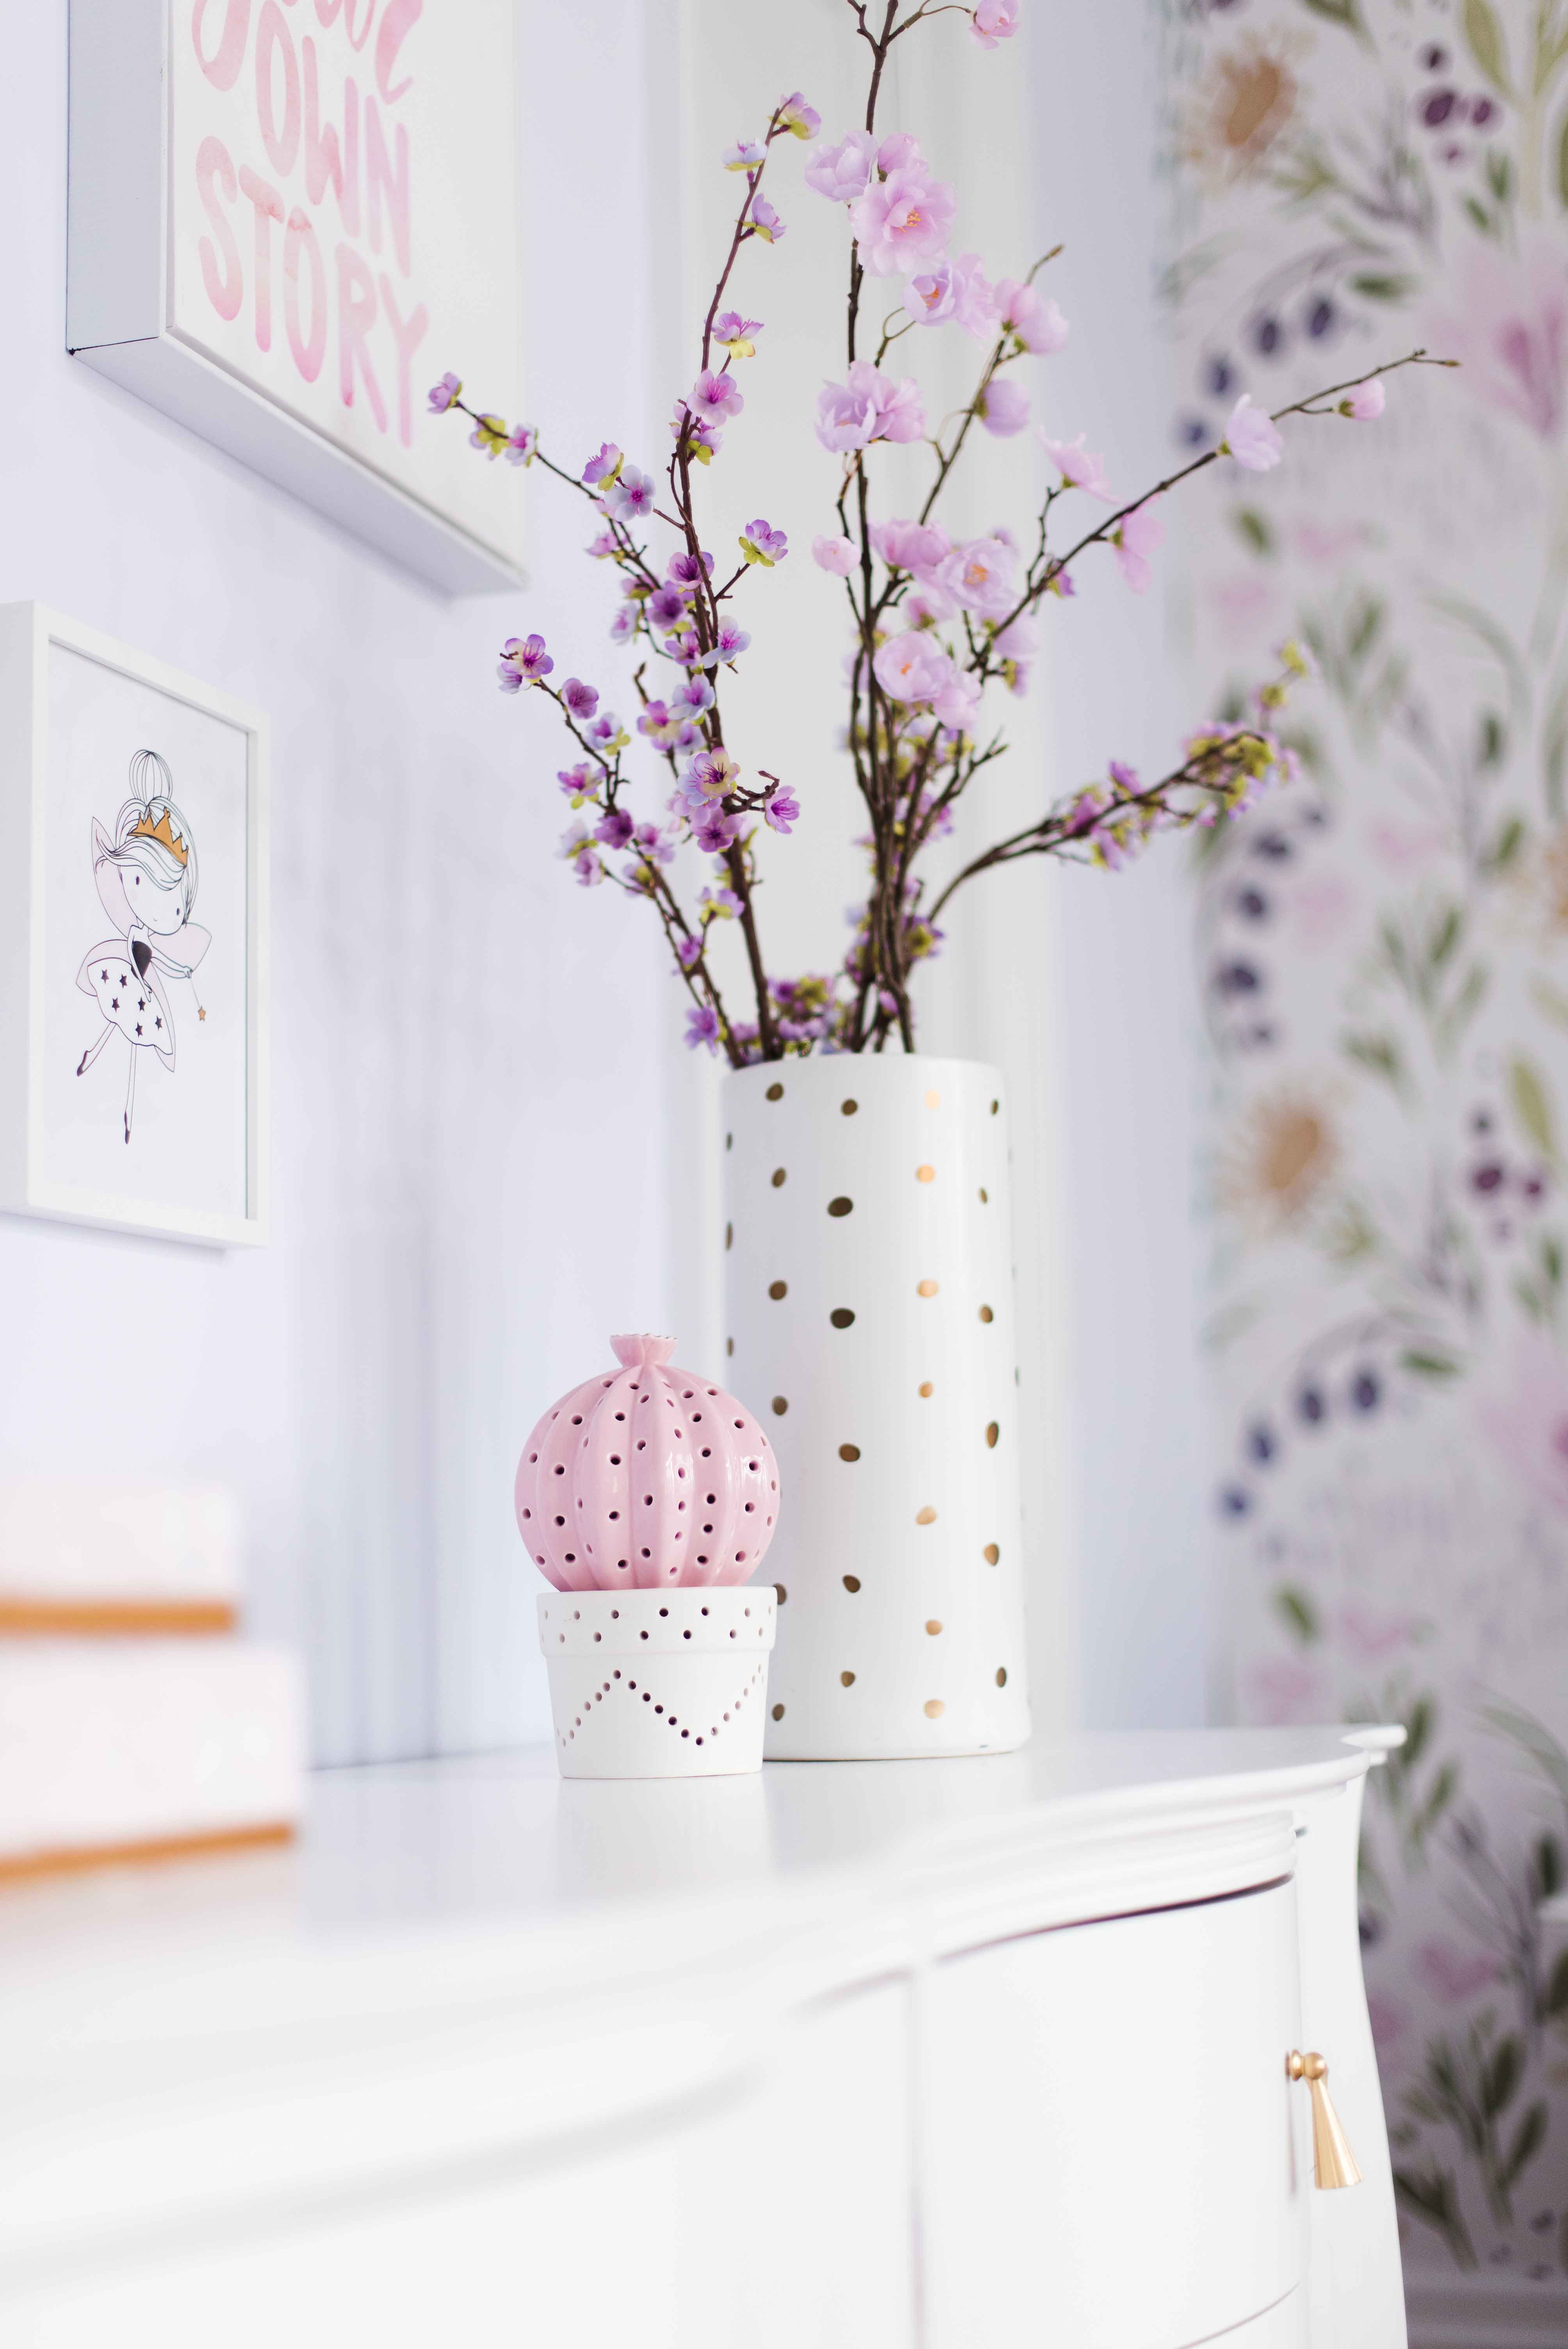
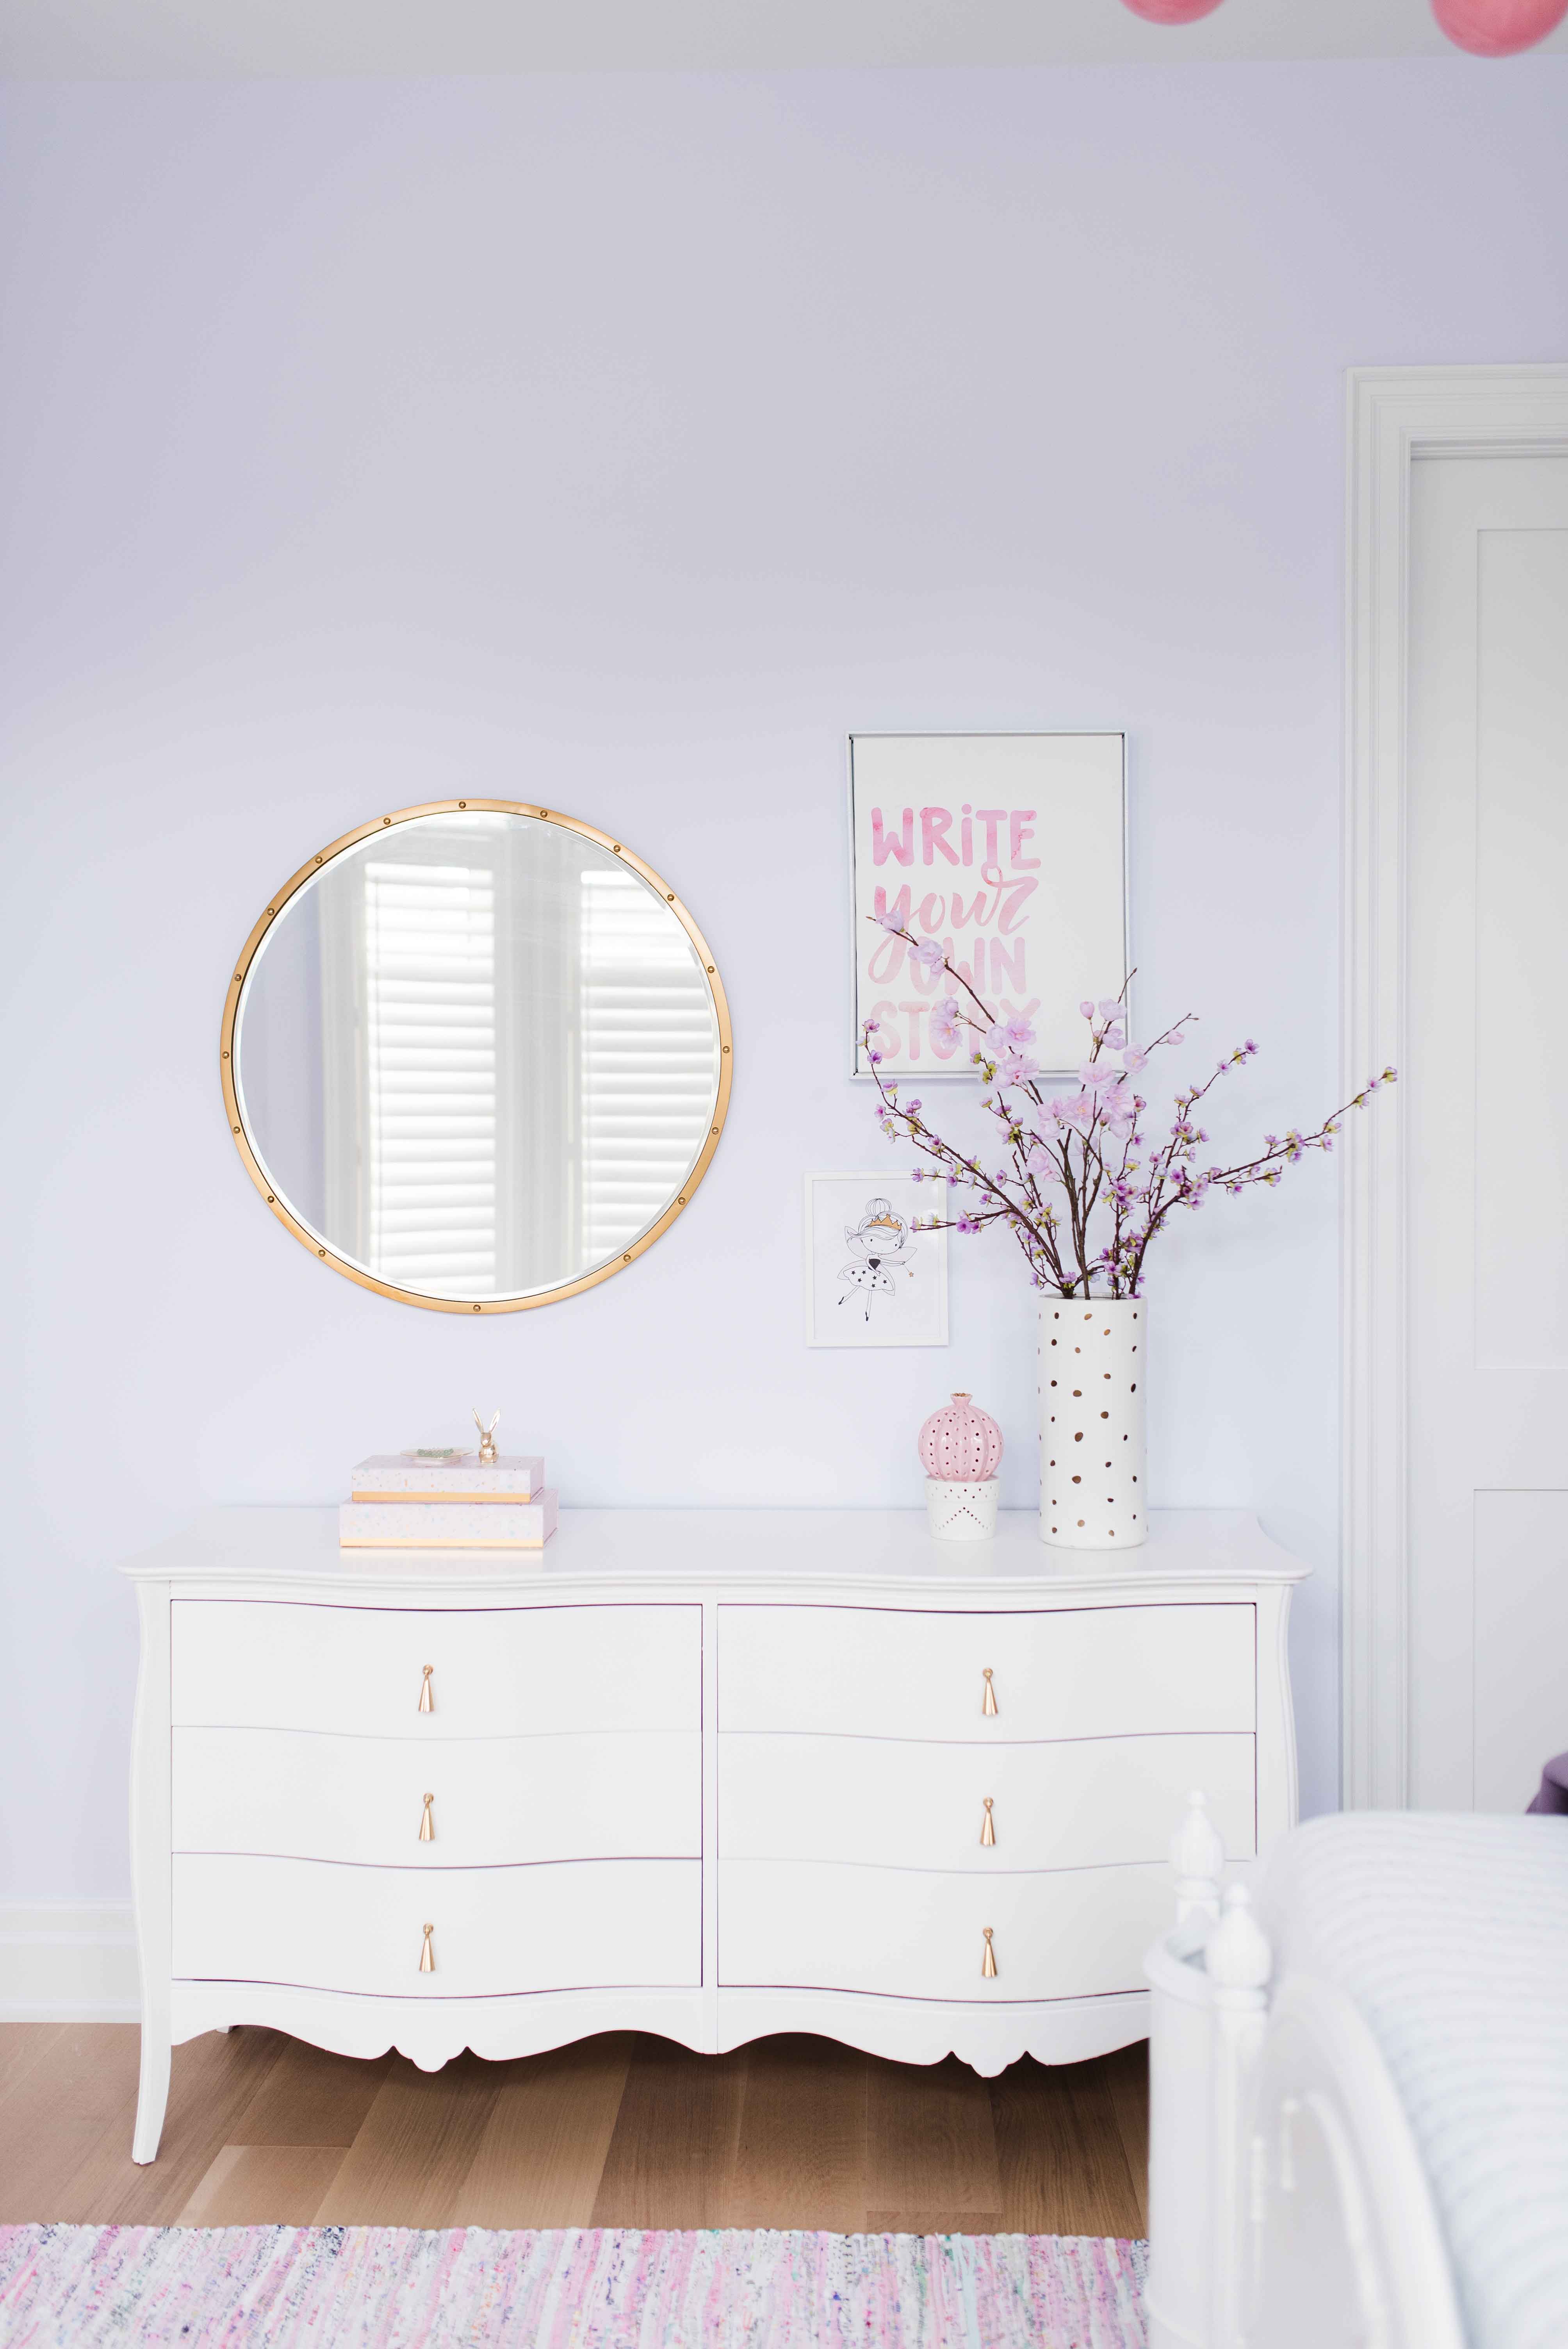
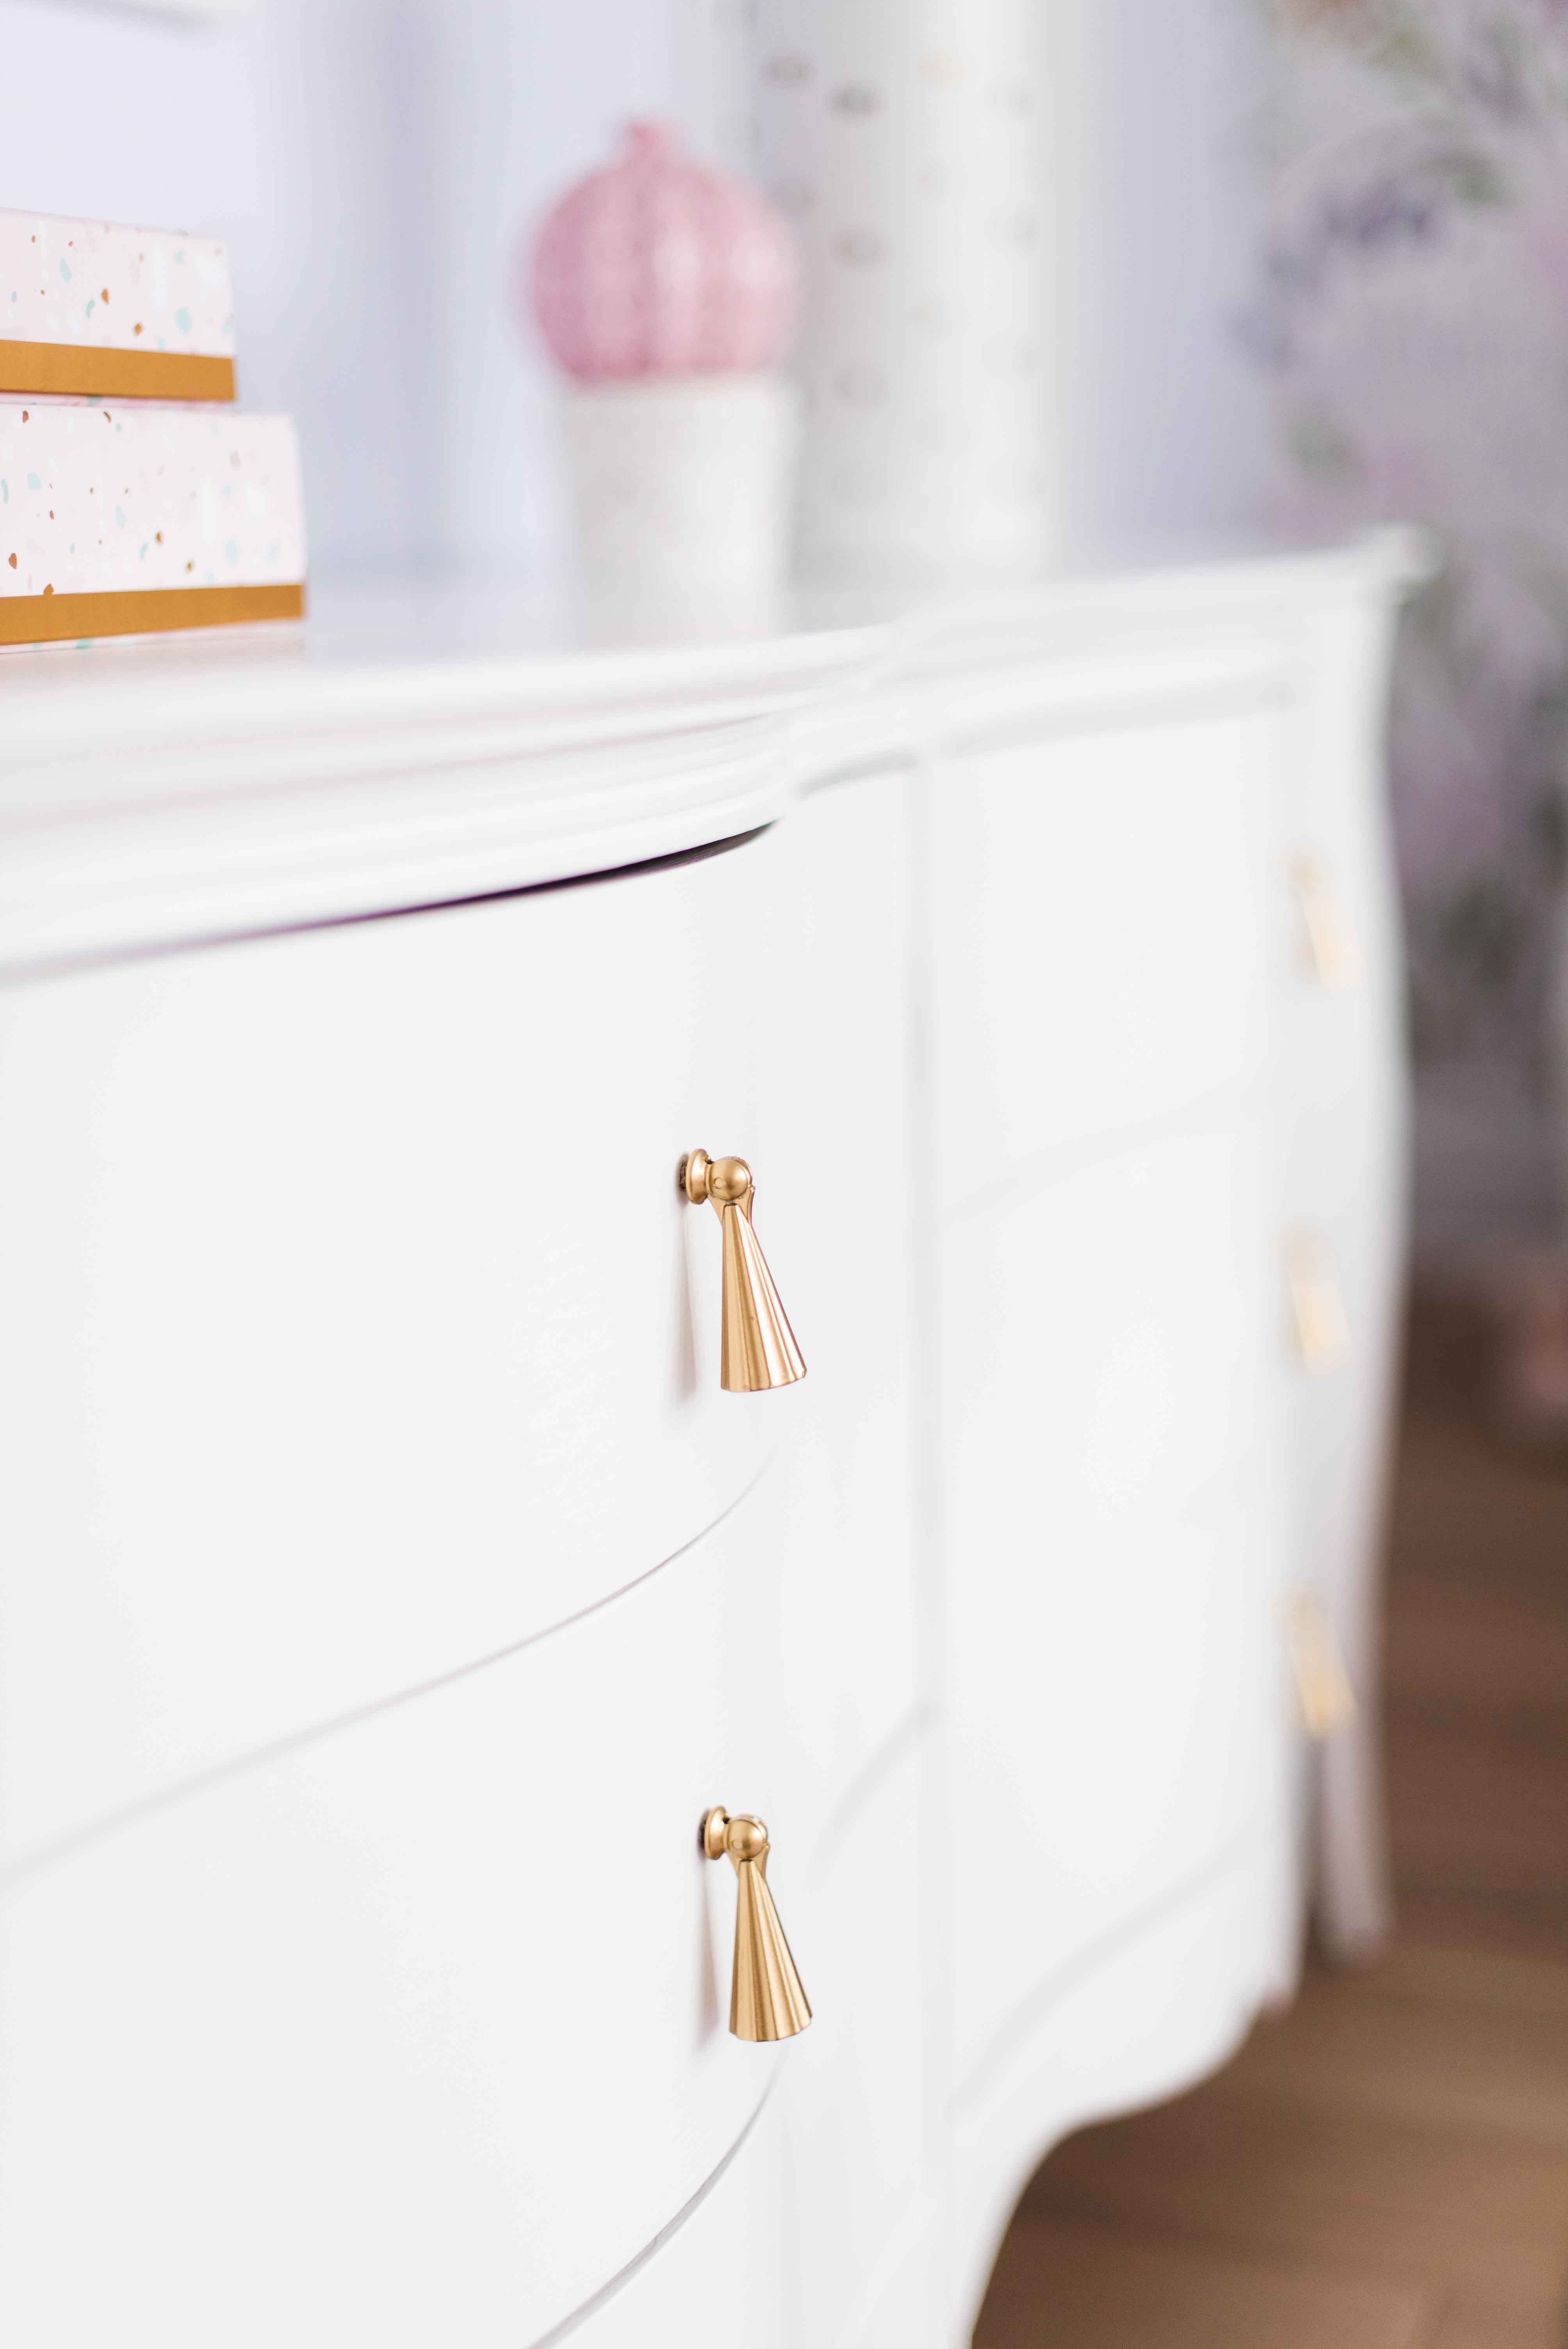
My budget for the room was running pretty low when I realized that the dresser from her previous room (which also used to be her change table) was just way too small for her growing collection of clothes and definitely not to scale for the space. I also needed night tables and knew that to purchase these pieces brand new was not an option. So back to FB Marketplace I went, and although I had pretty low expectations of finding exactly what I was looking for fast – I was completely blown away when I stumbled across this dresser and night table set that a home stager was getting rid of. They were in near-new condition, very clean, and priced at $225 for all three pieces. Needless to say I snatched them up immediately! The drawer pulls were even in the shape of tassels mimicking the tassel design on the bed – it was truly meant to be!
The only thing I doubted after placing the furniture in the room was the chrome finish of the pulls. With the brass chandelier, gold details in the table lamps and other hints of gold throughout the room, I knew that the furniture would have an even greater punch of glam if the drawer pulls were gold. It would have been so much easier to just buy gold tassel pulls, but again with my limited budget I decided to try my hand at transforming them from chrome to gold with just paint. I read many DIY tips on Pinterest and finally found this great tutorial by The Weathered Door which took me step-by-step through the process. I decided to try it out on one handle first and am so glad I did. Her method was fool-proof, but at one point I went with the instructions on the paint can instead of following her instructions, and sadly the paint bubbled and I had to sand it down and start all over again. But when I started again (and made sure to leave plenty of time between primer, paint, and clear coat to dry – they all turned out amazing.Other than the paint chipping a bit on the very top of the pulls where there’s a lot of friction, they are holding up amazing even with a three year old man-handling them every day!
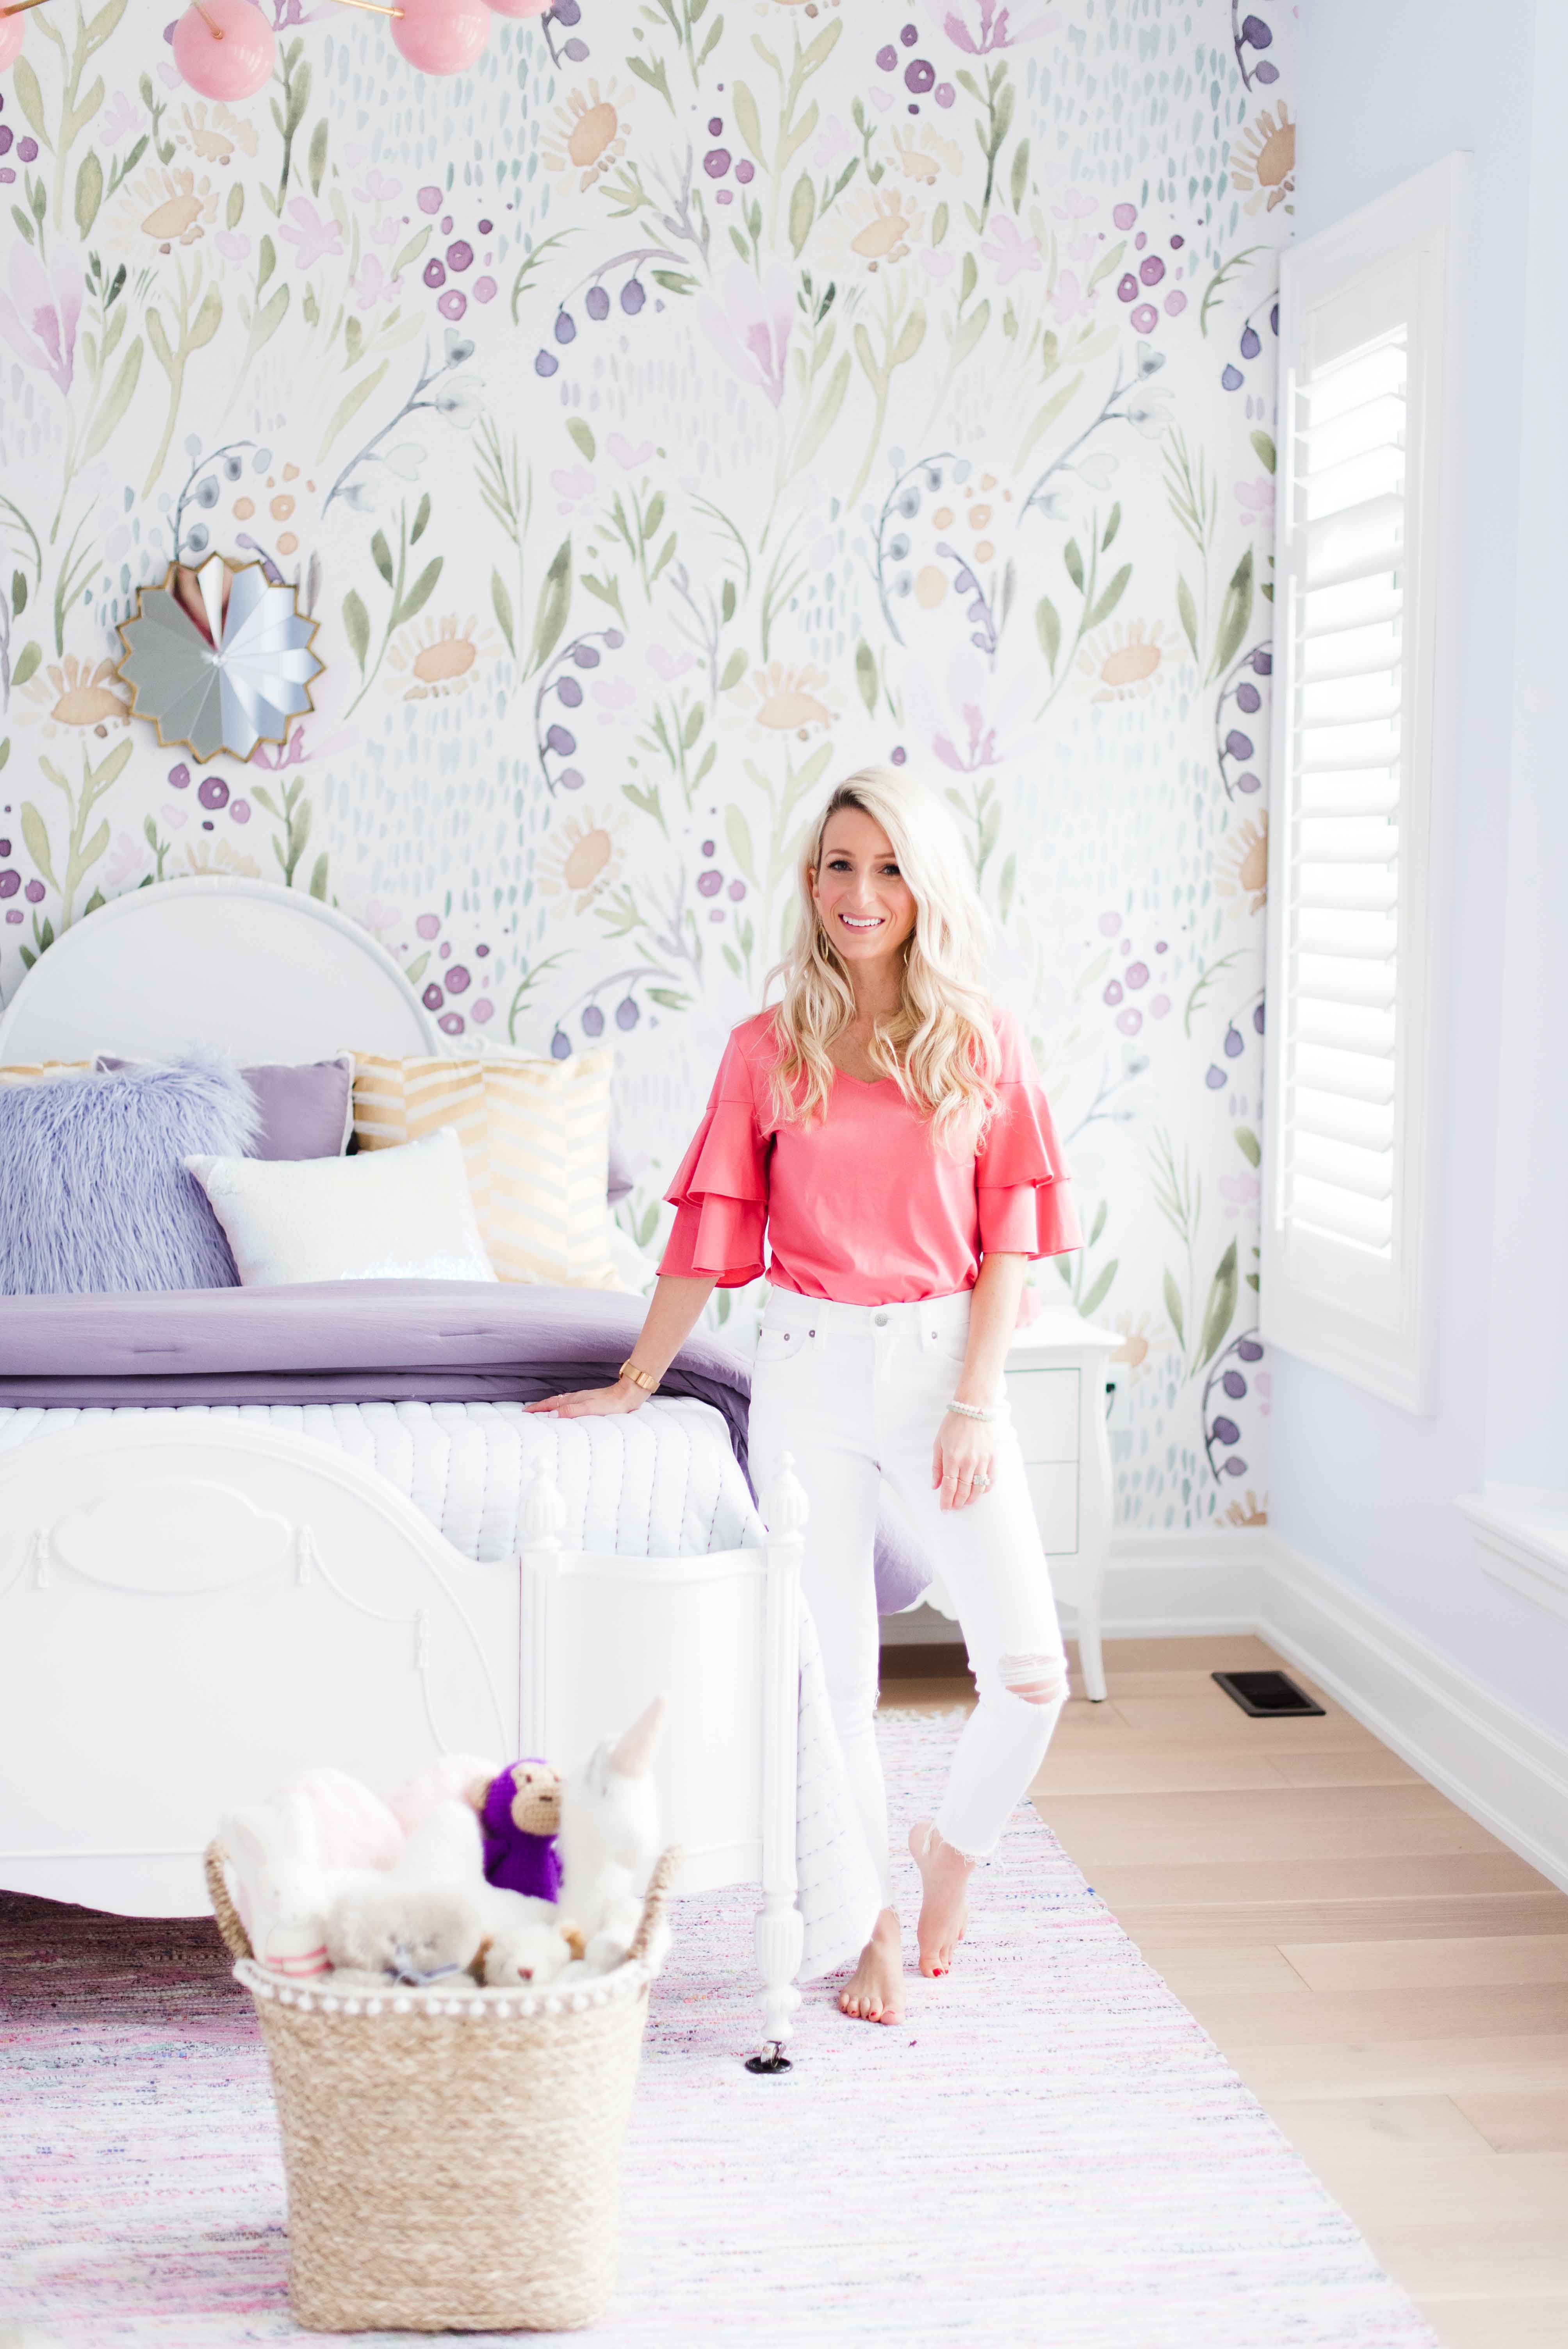
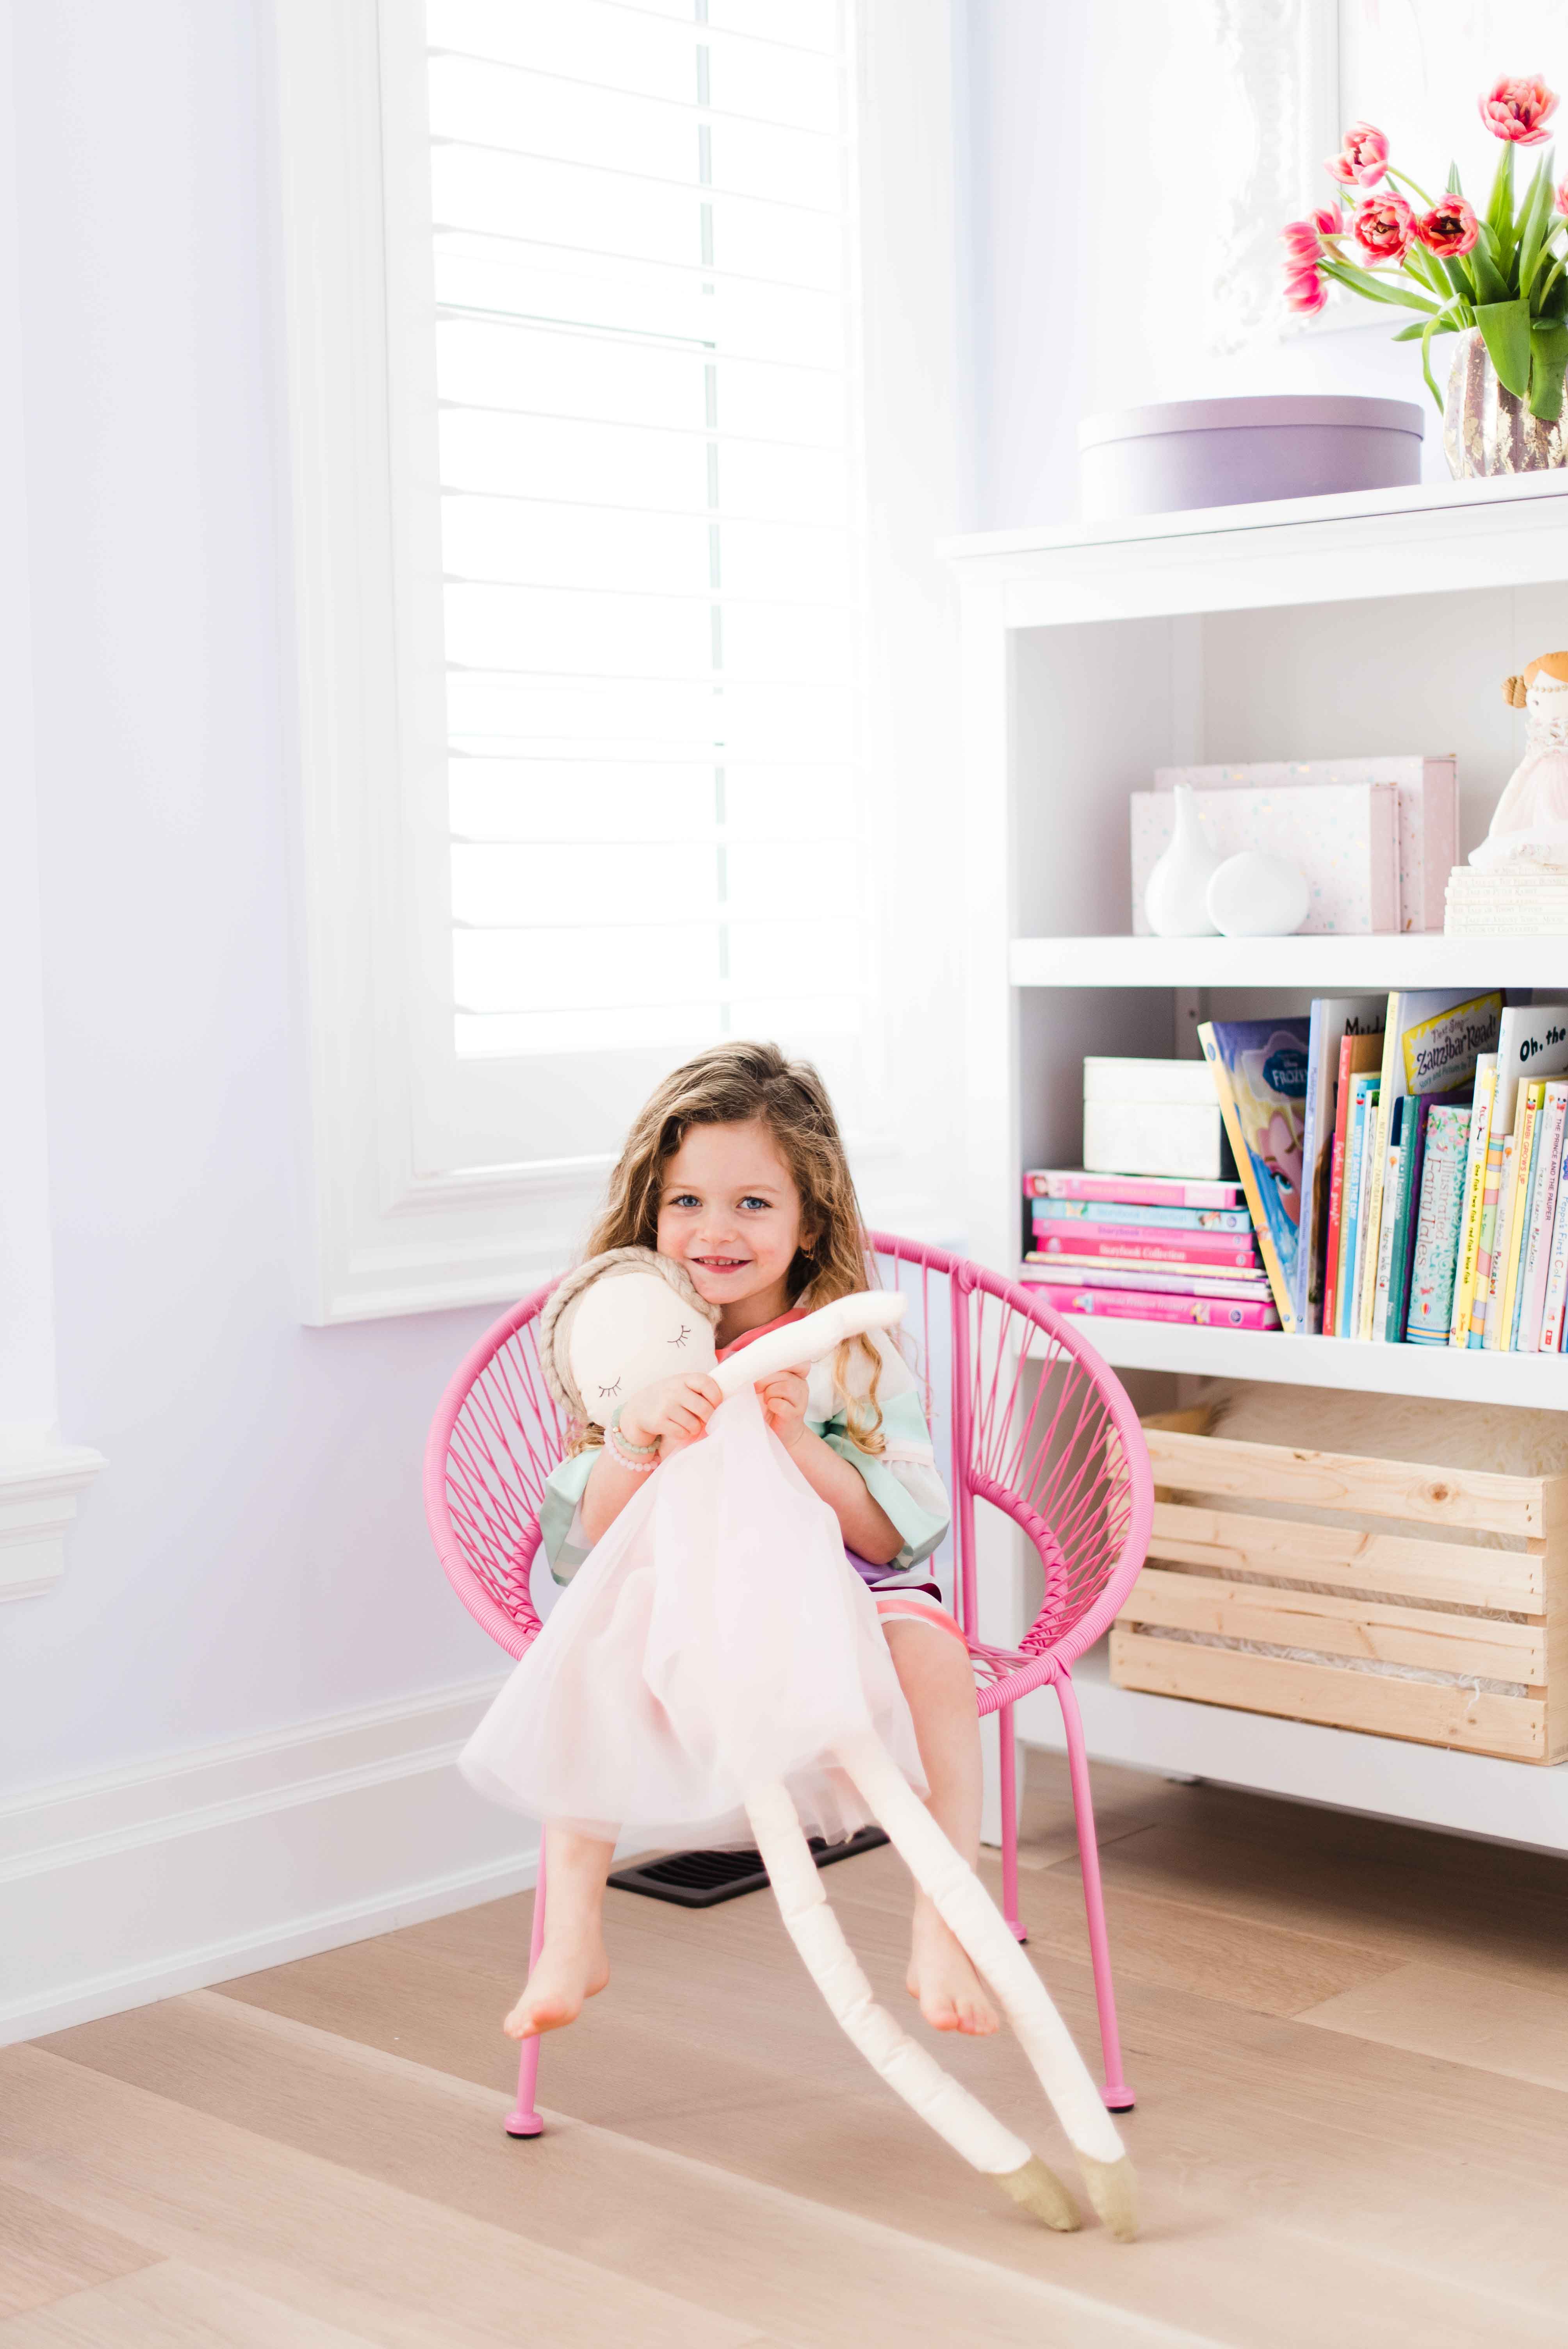
I have to say that out of all the rooms I’ve created over the past six years for my kids, this one is hands down my absolute favourite (See previous rooms HERE and HERE). I’ve even considered moving in myself because our master bedroom will definitely be the last on my list of rooms to complete. Anyways, I really hope you all love it as much as I do and I would be SO EXCITED to hear what you think in the comments below!
SOURCE LIST
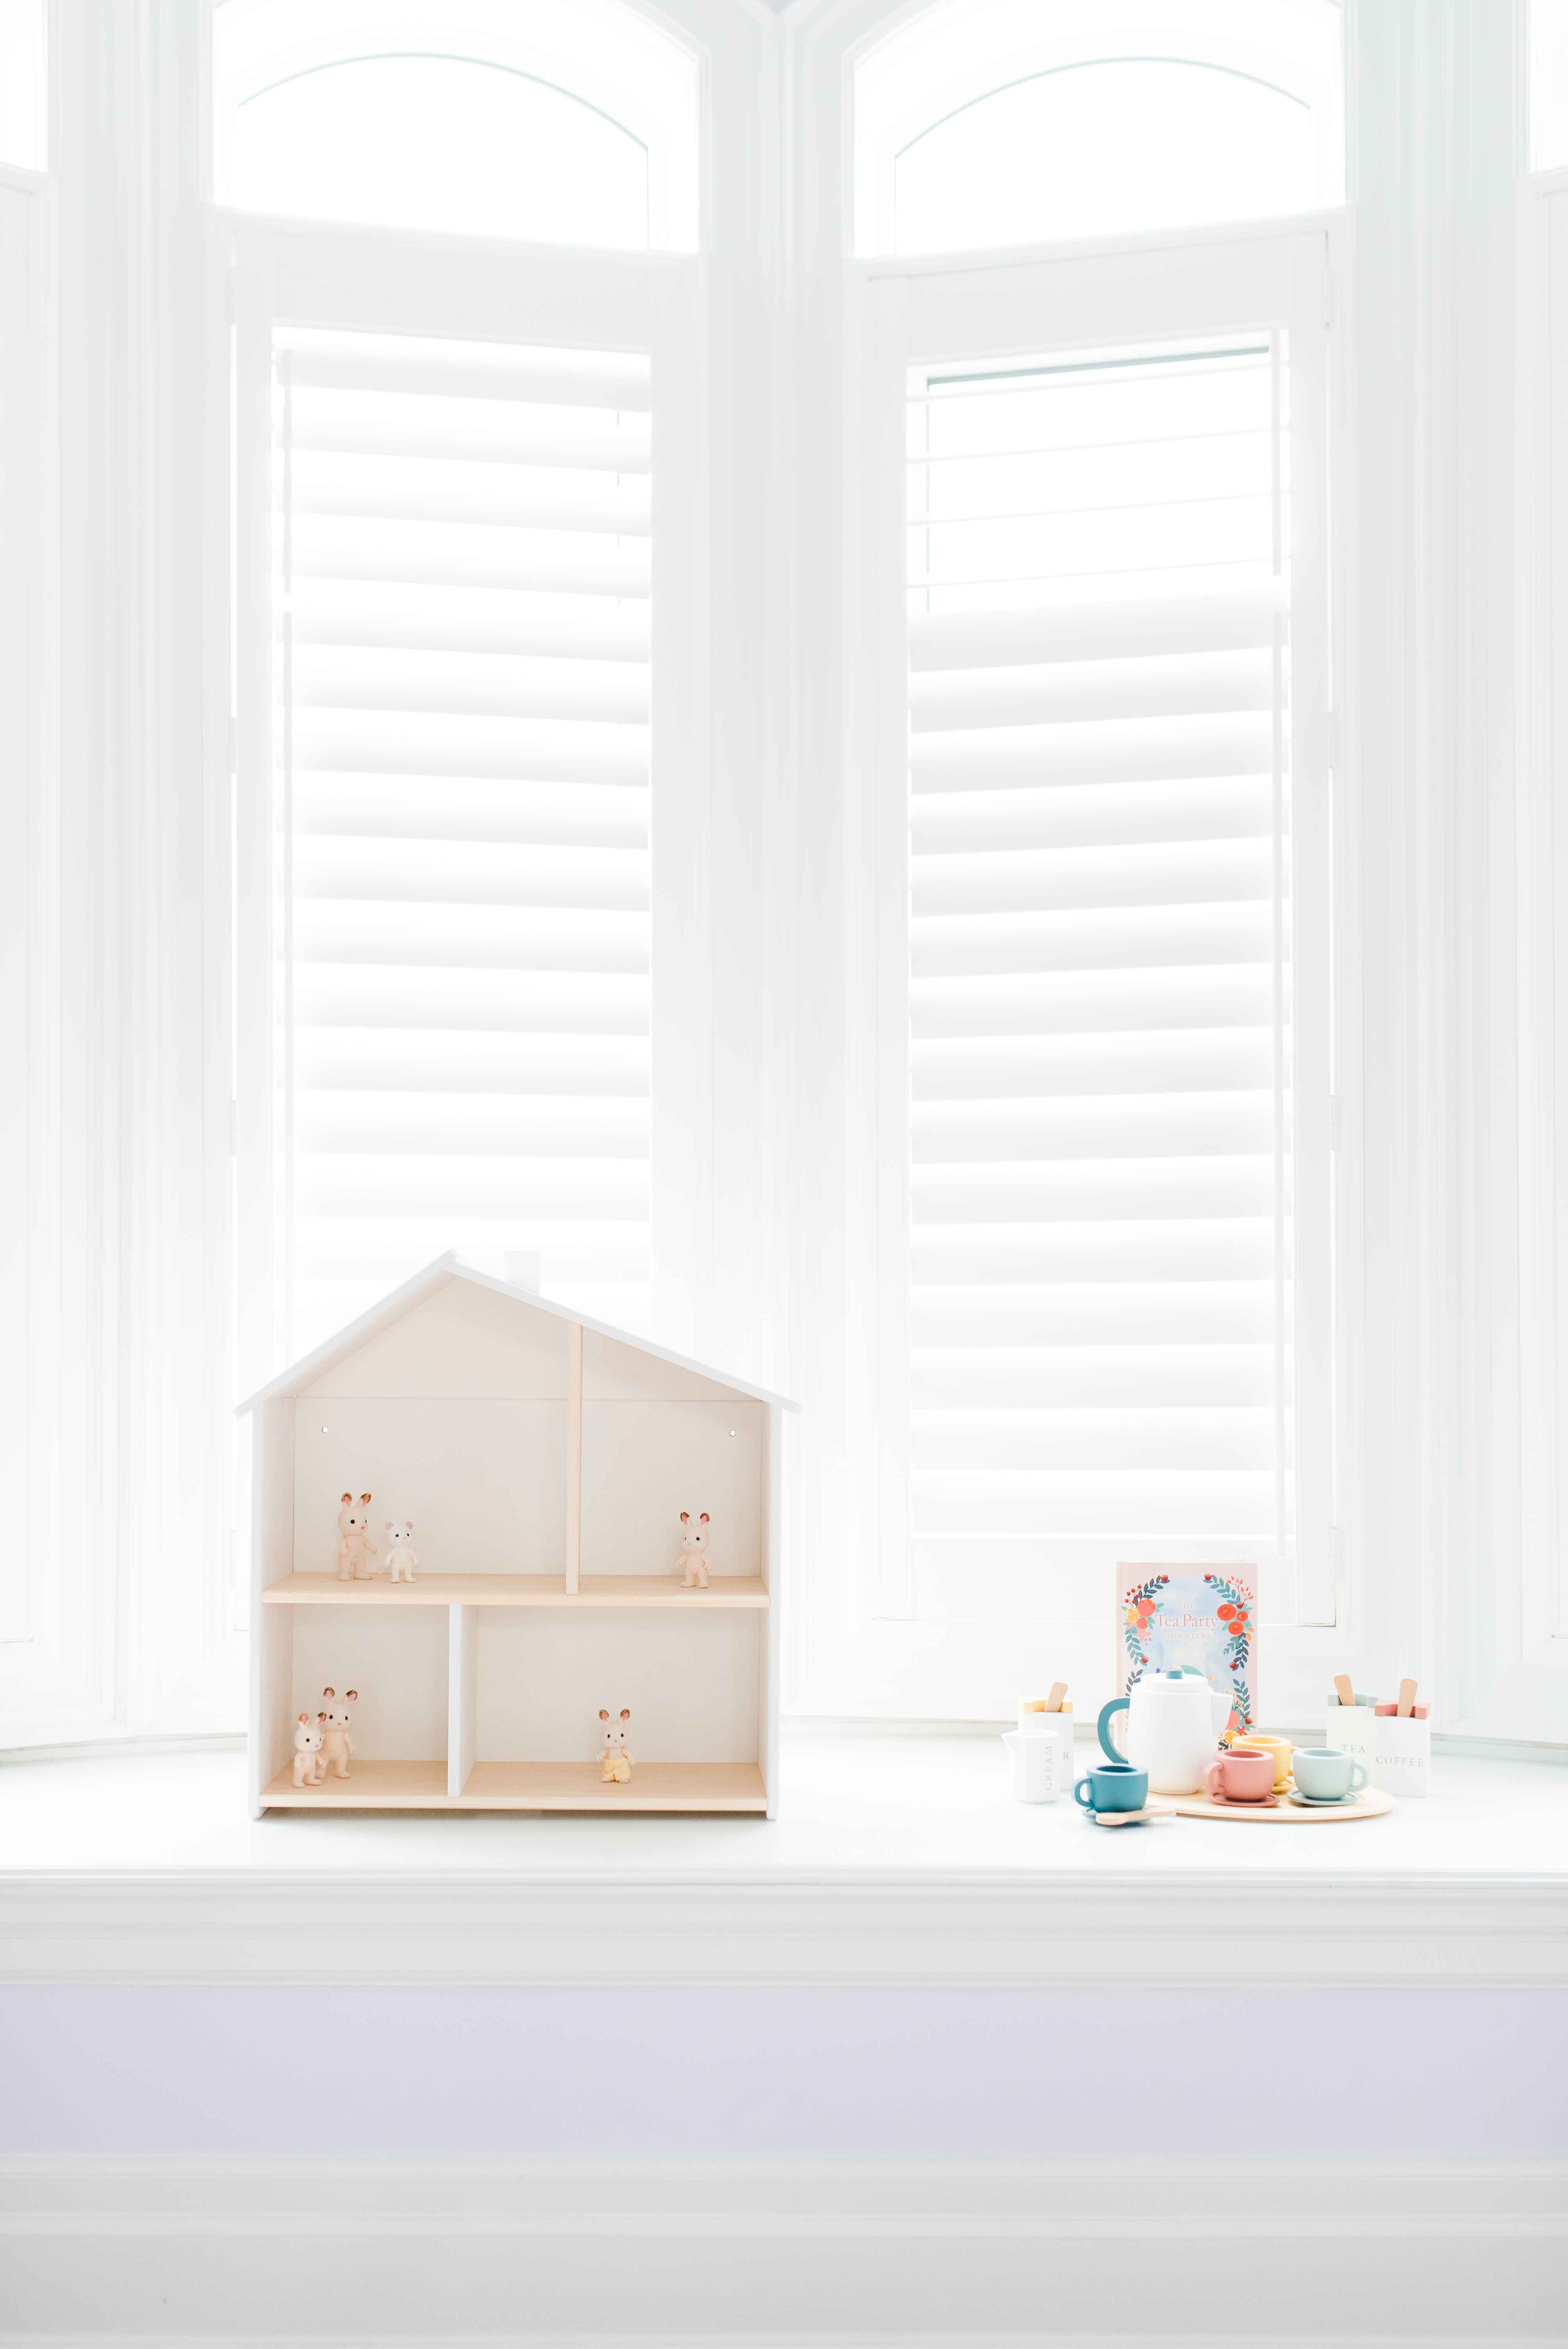
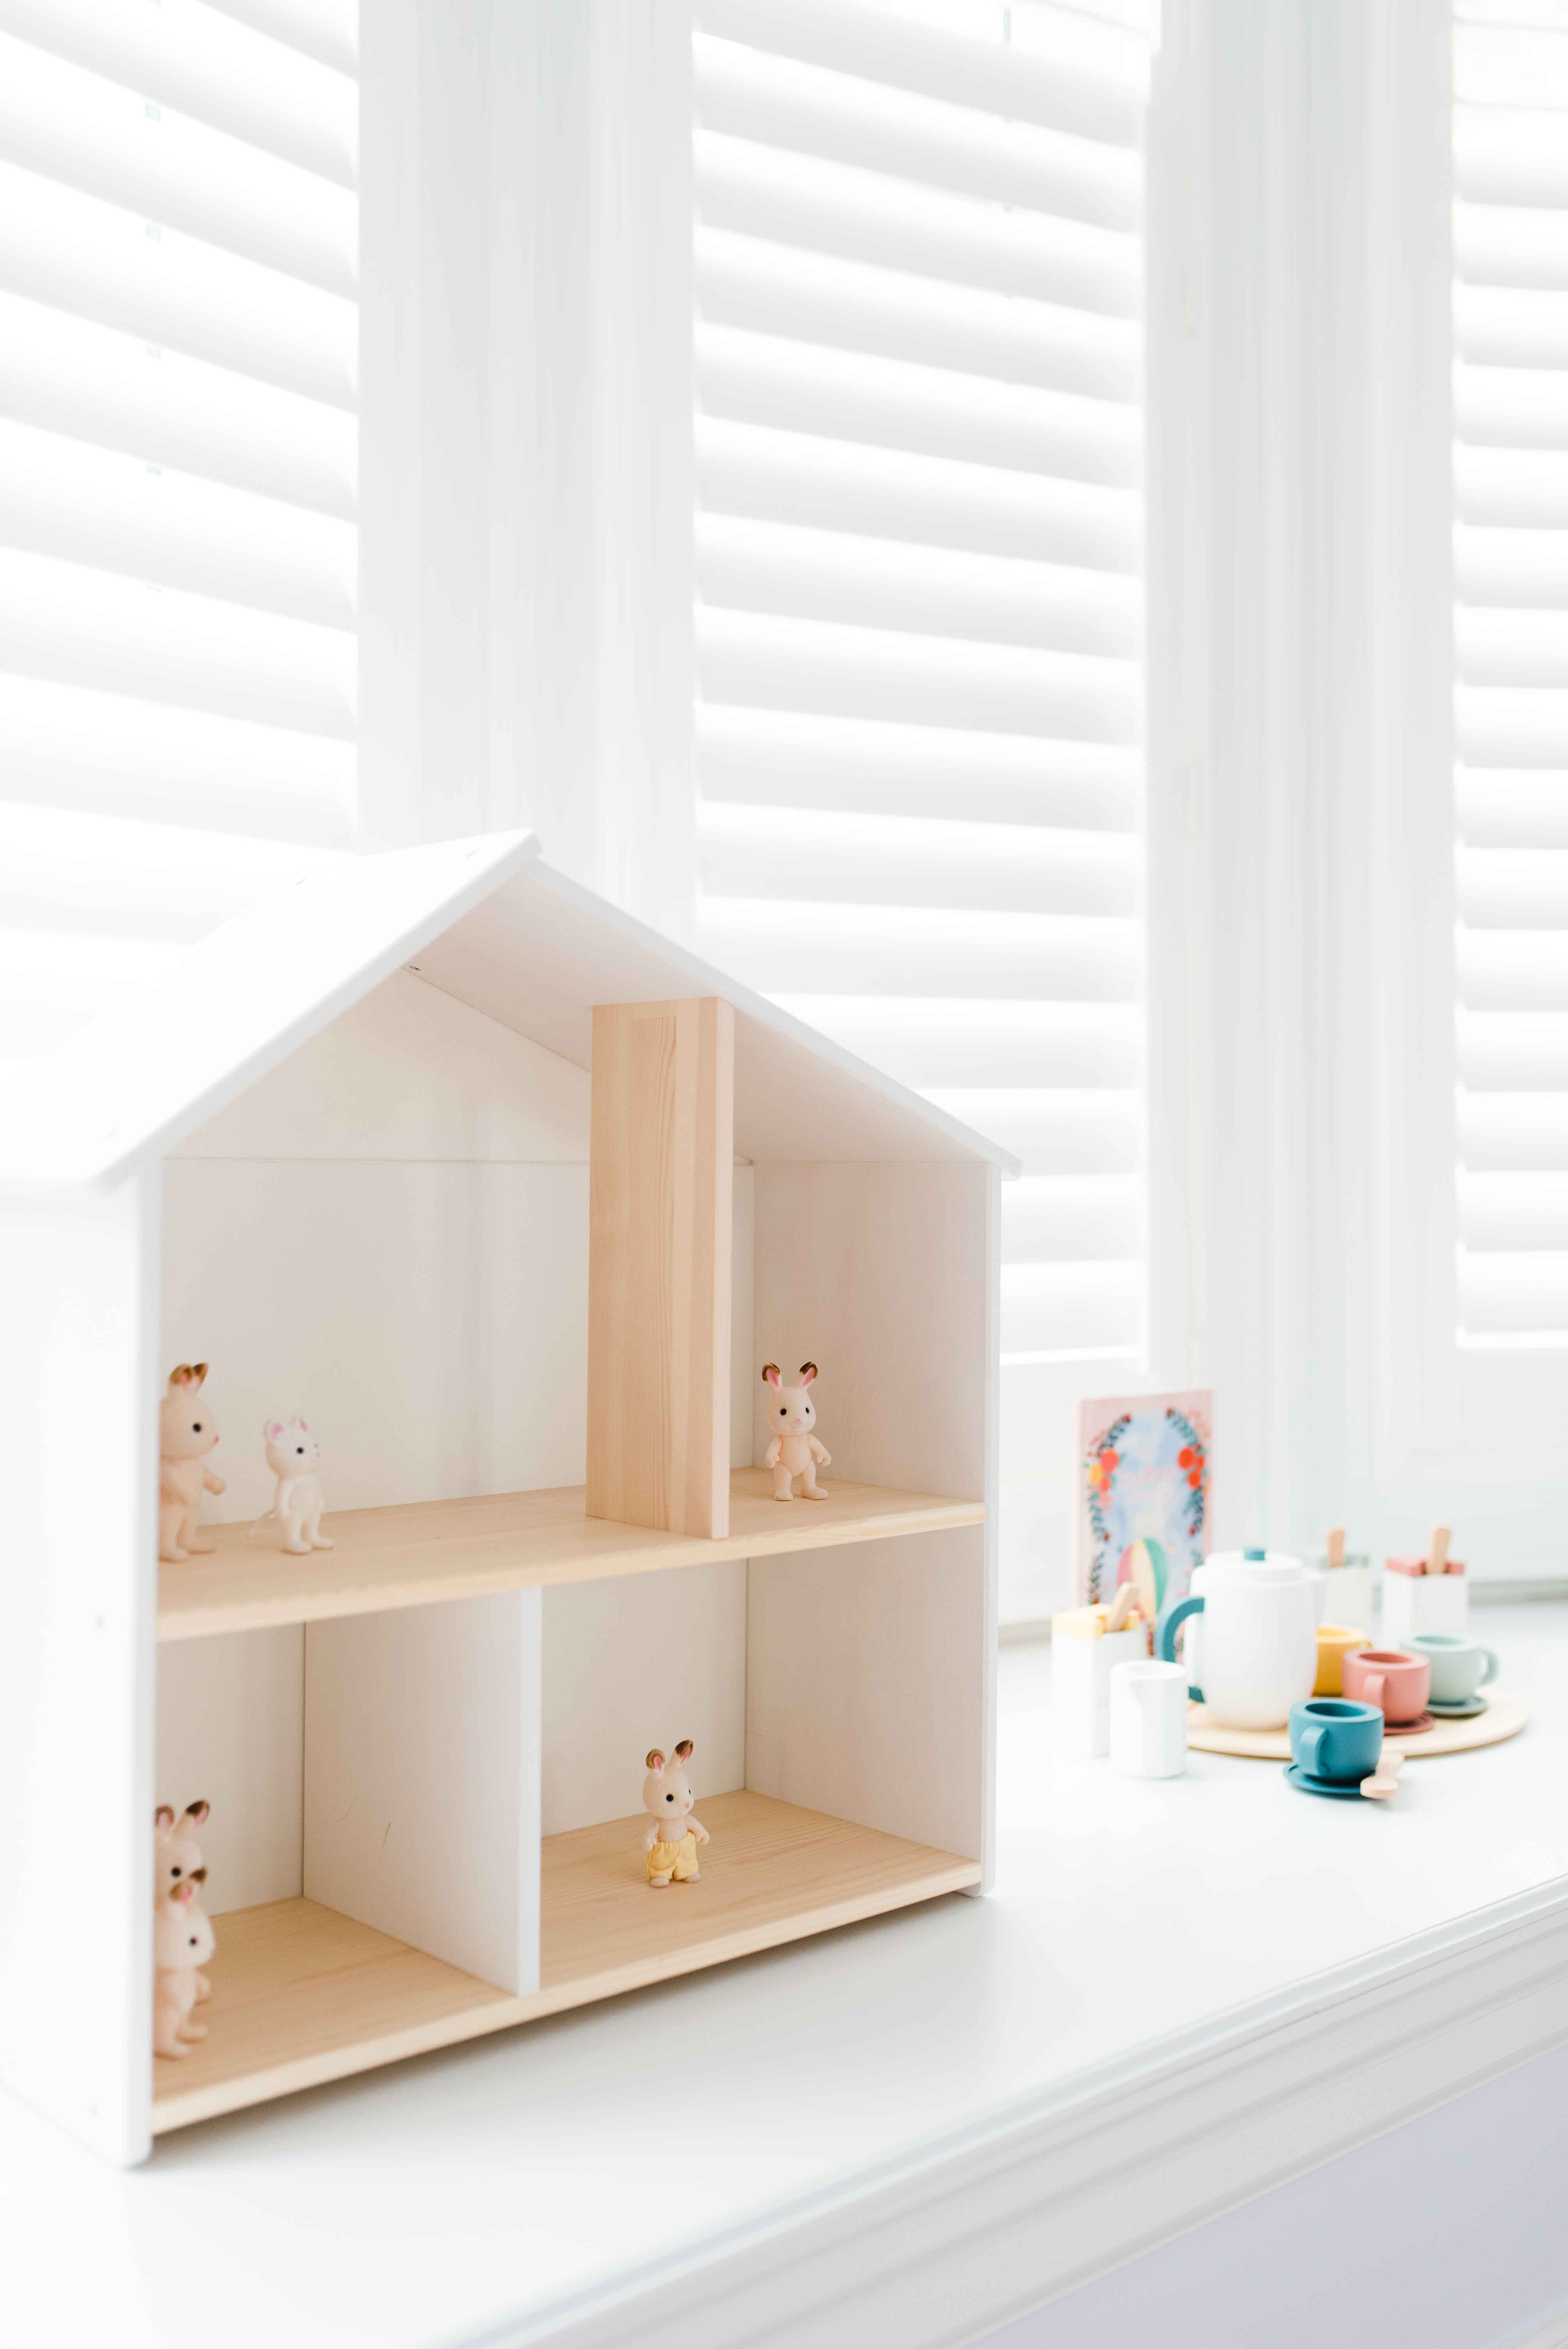
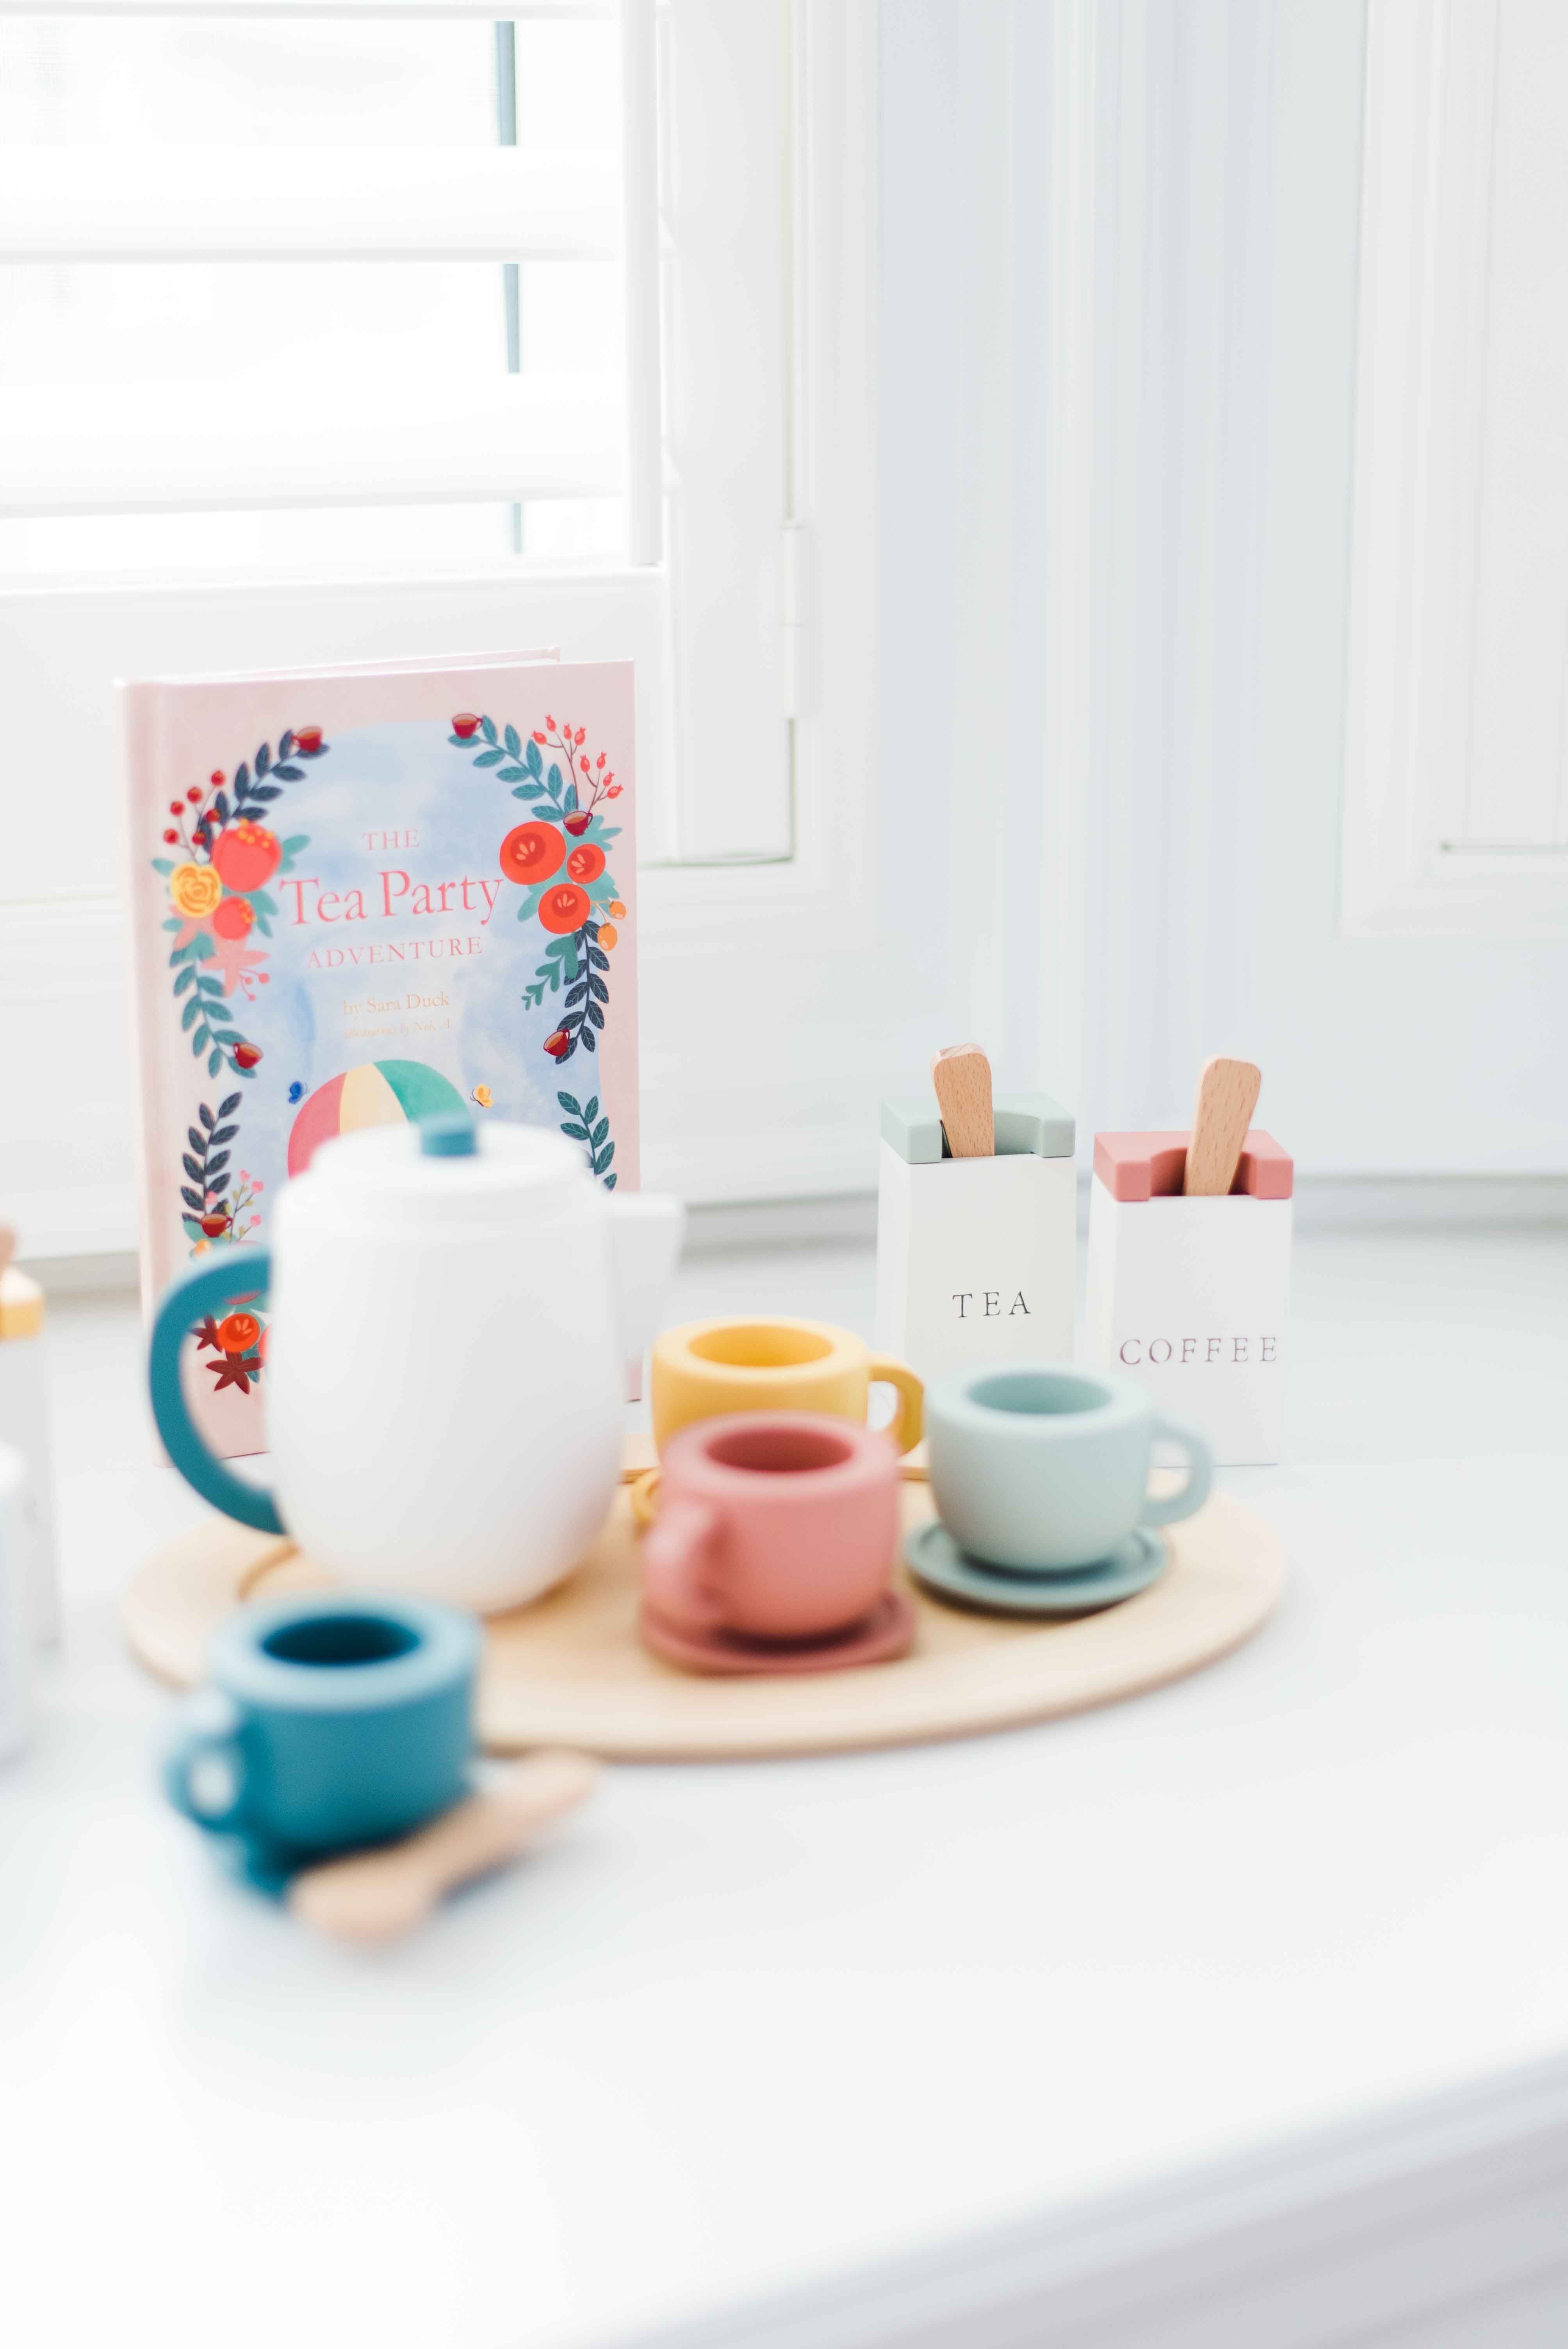
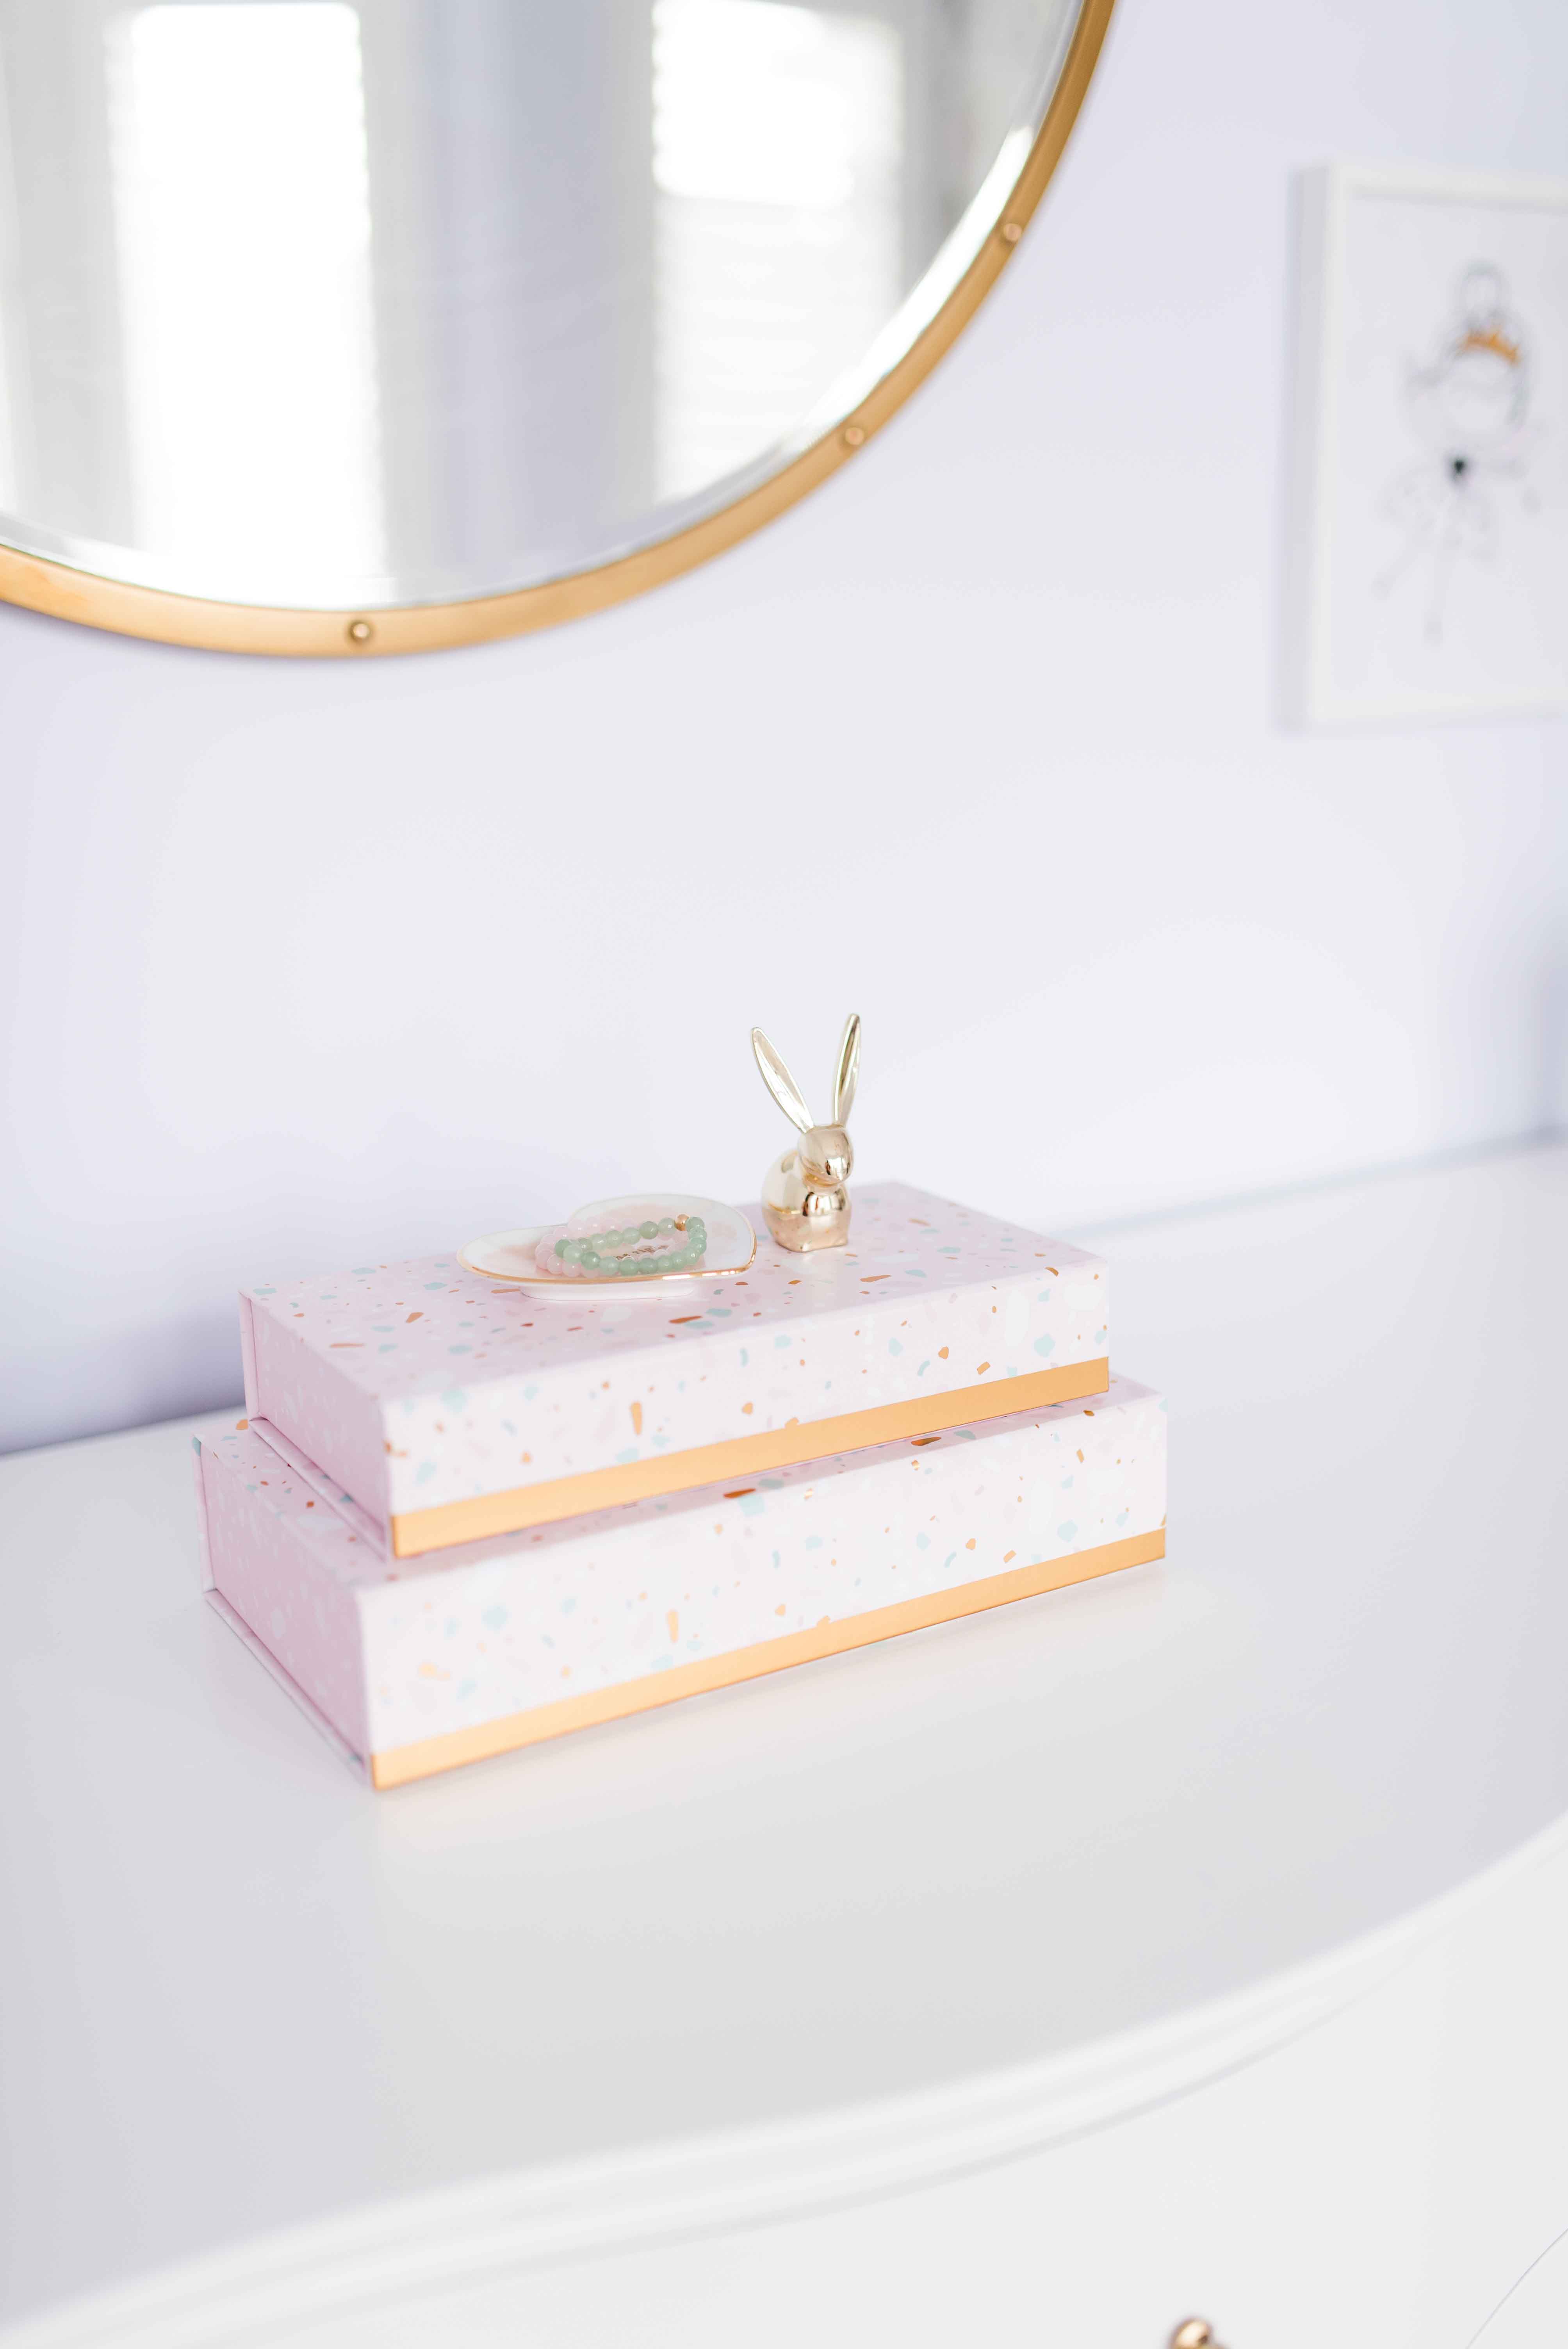
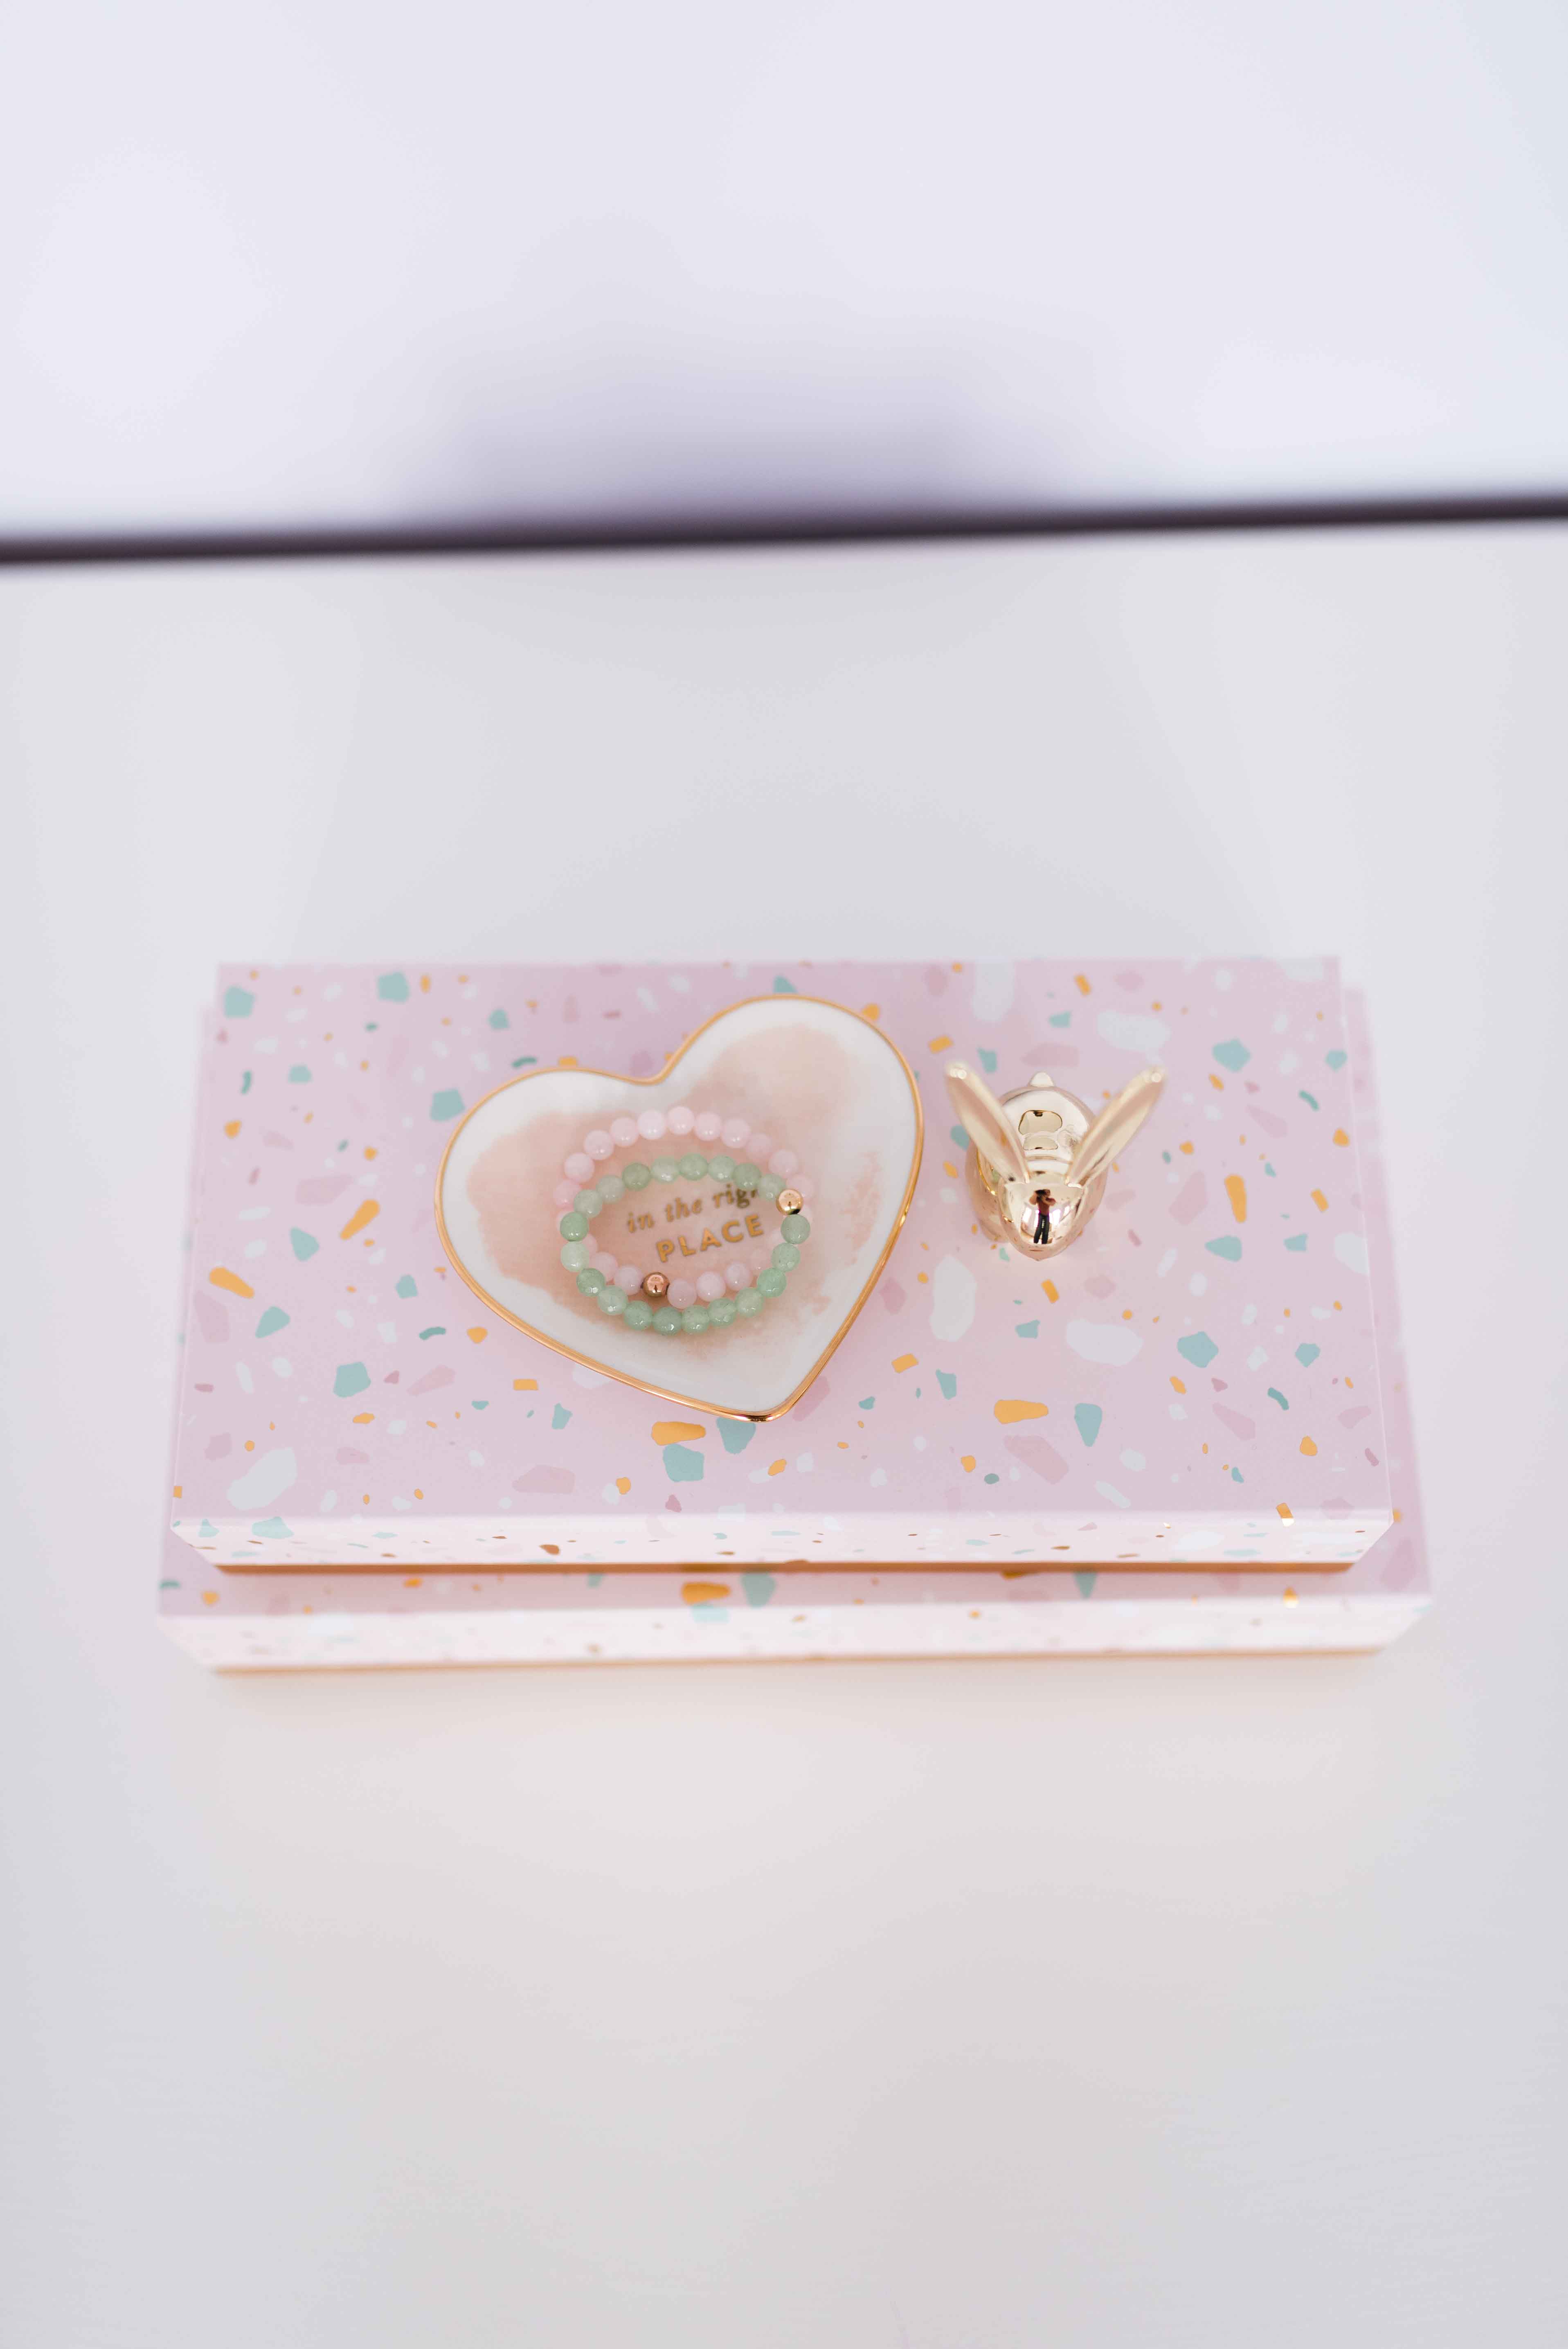
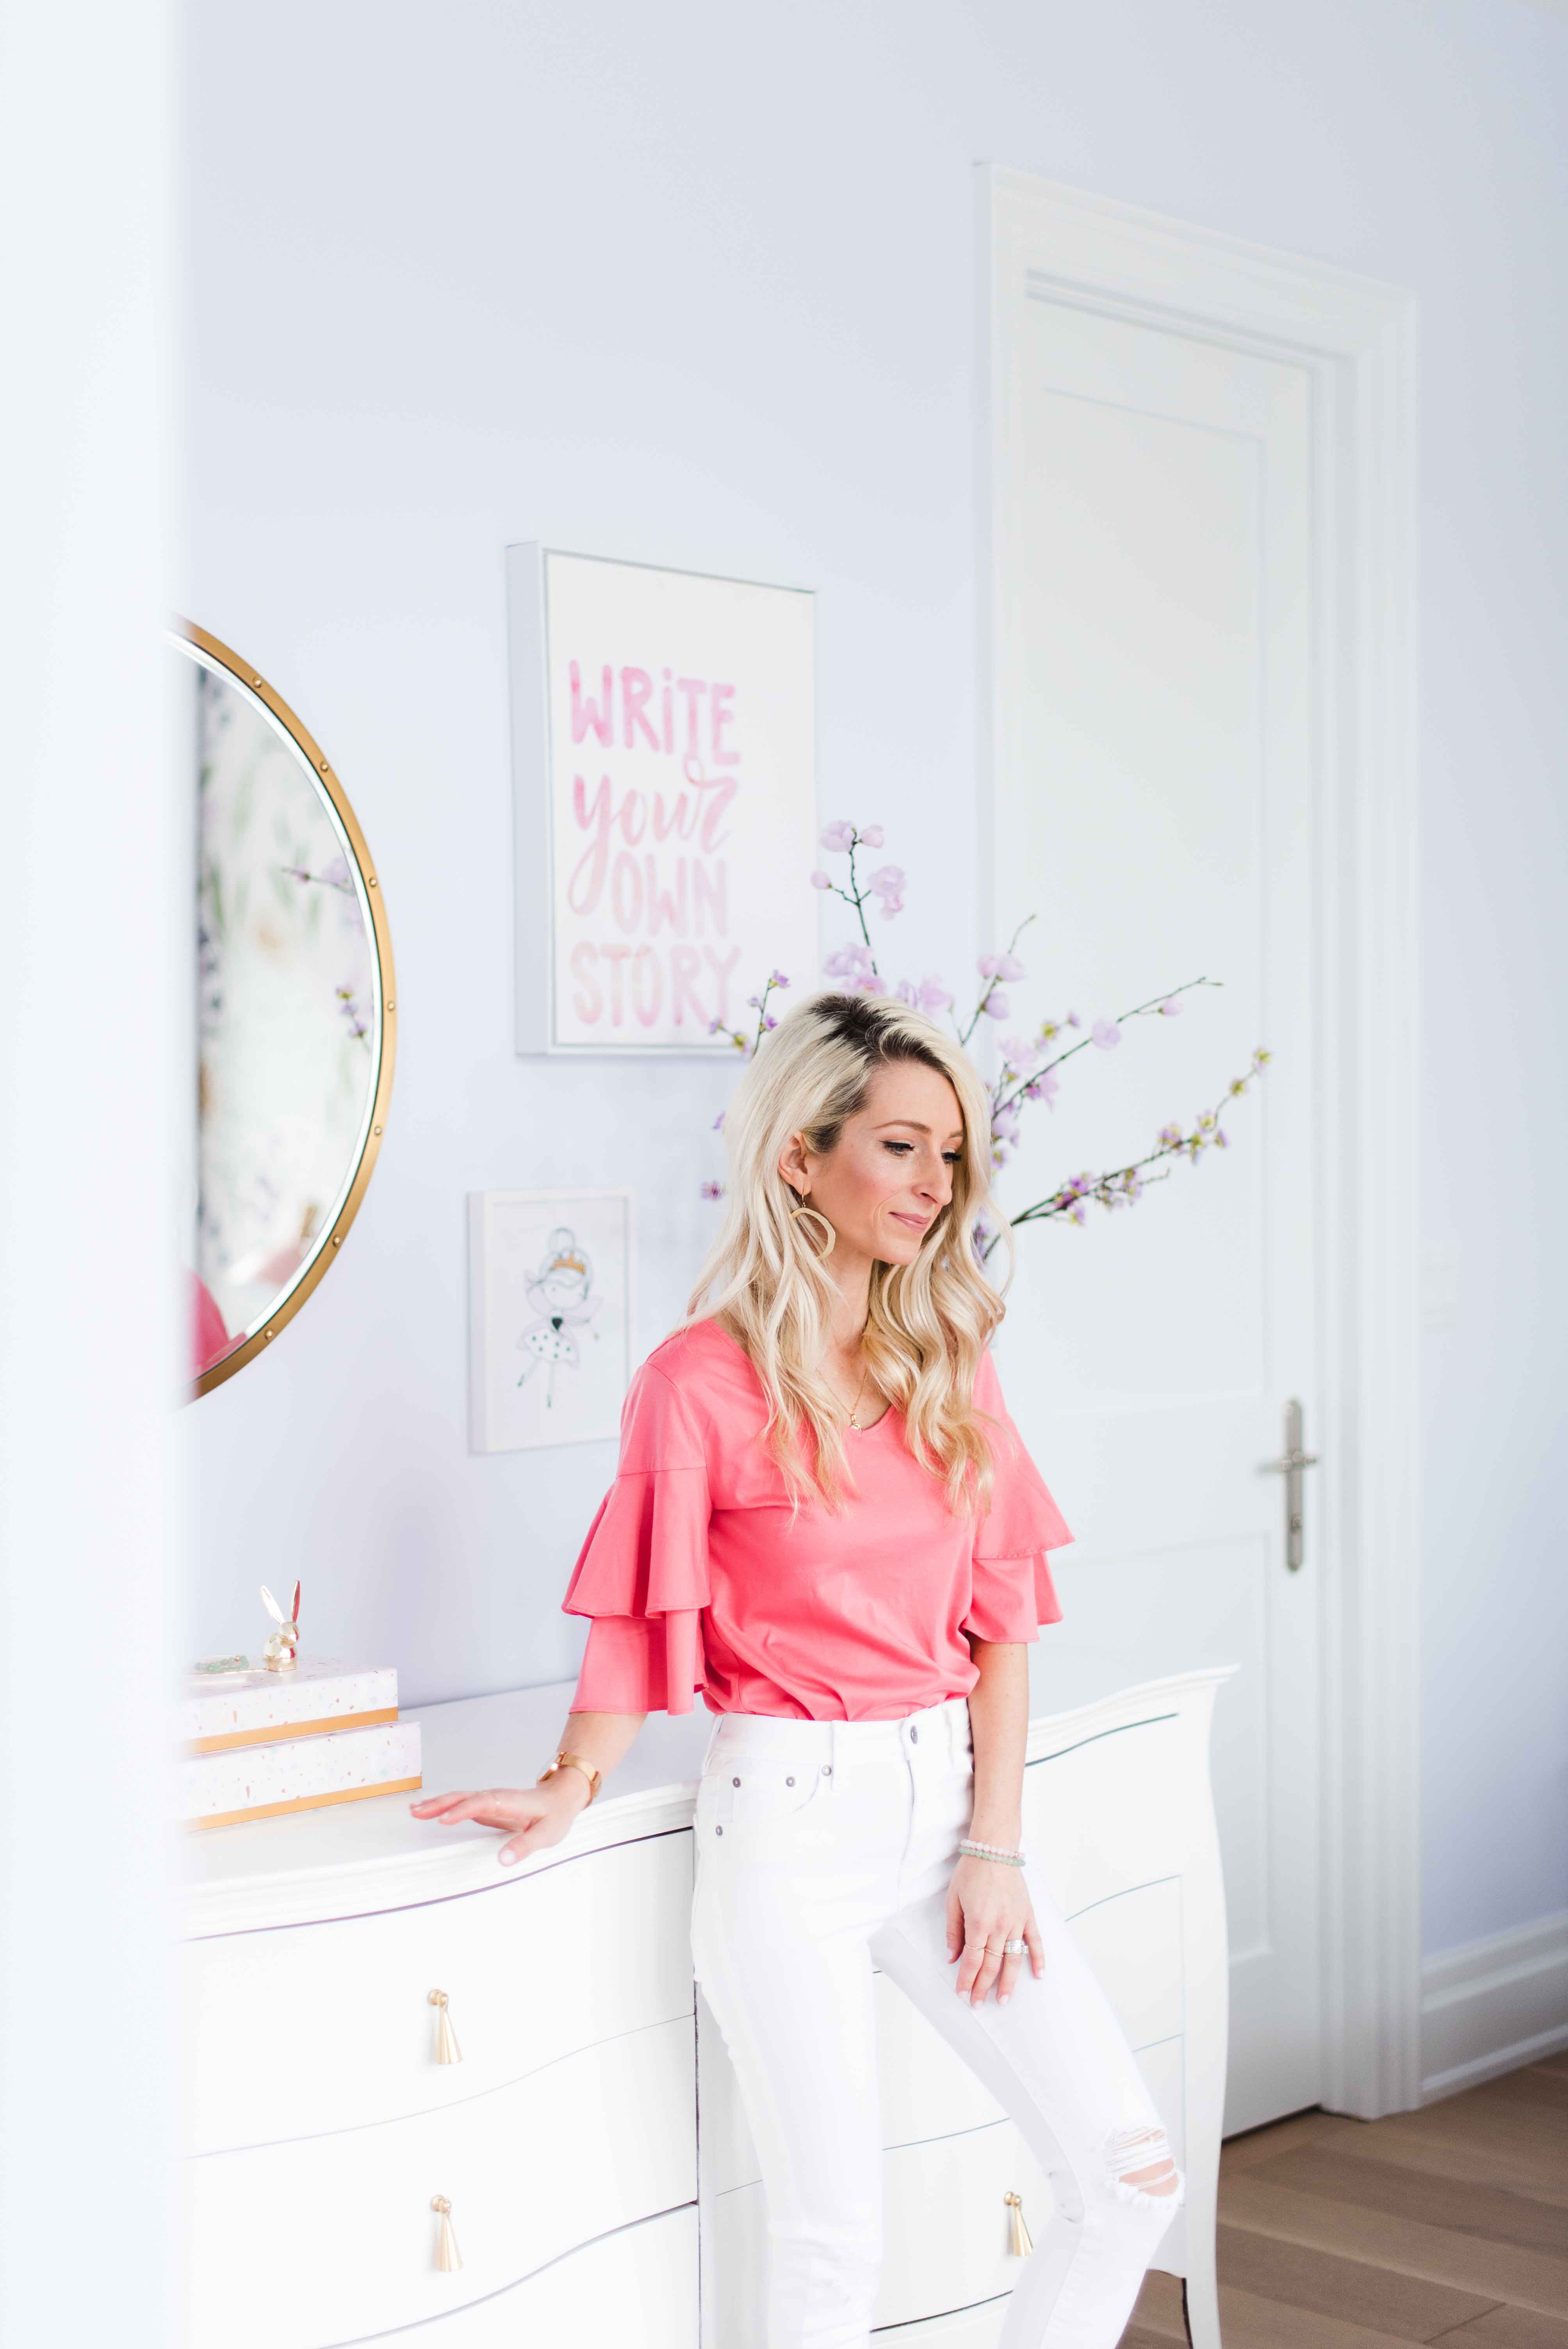
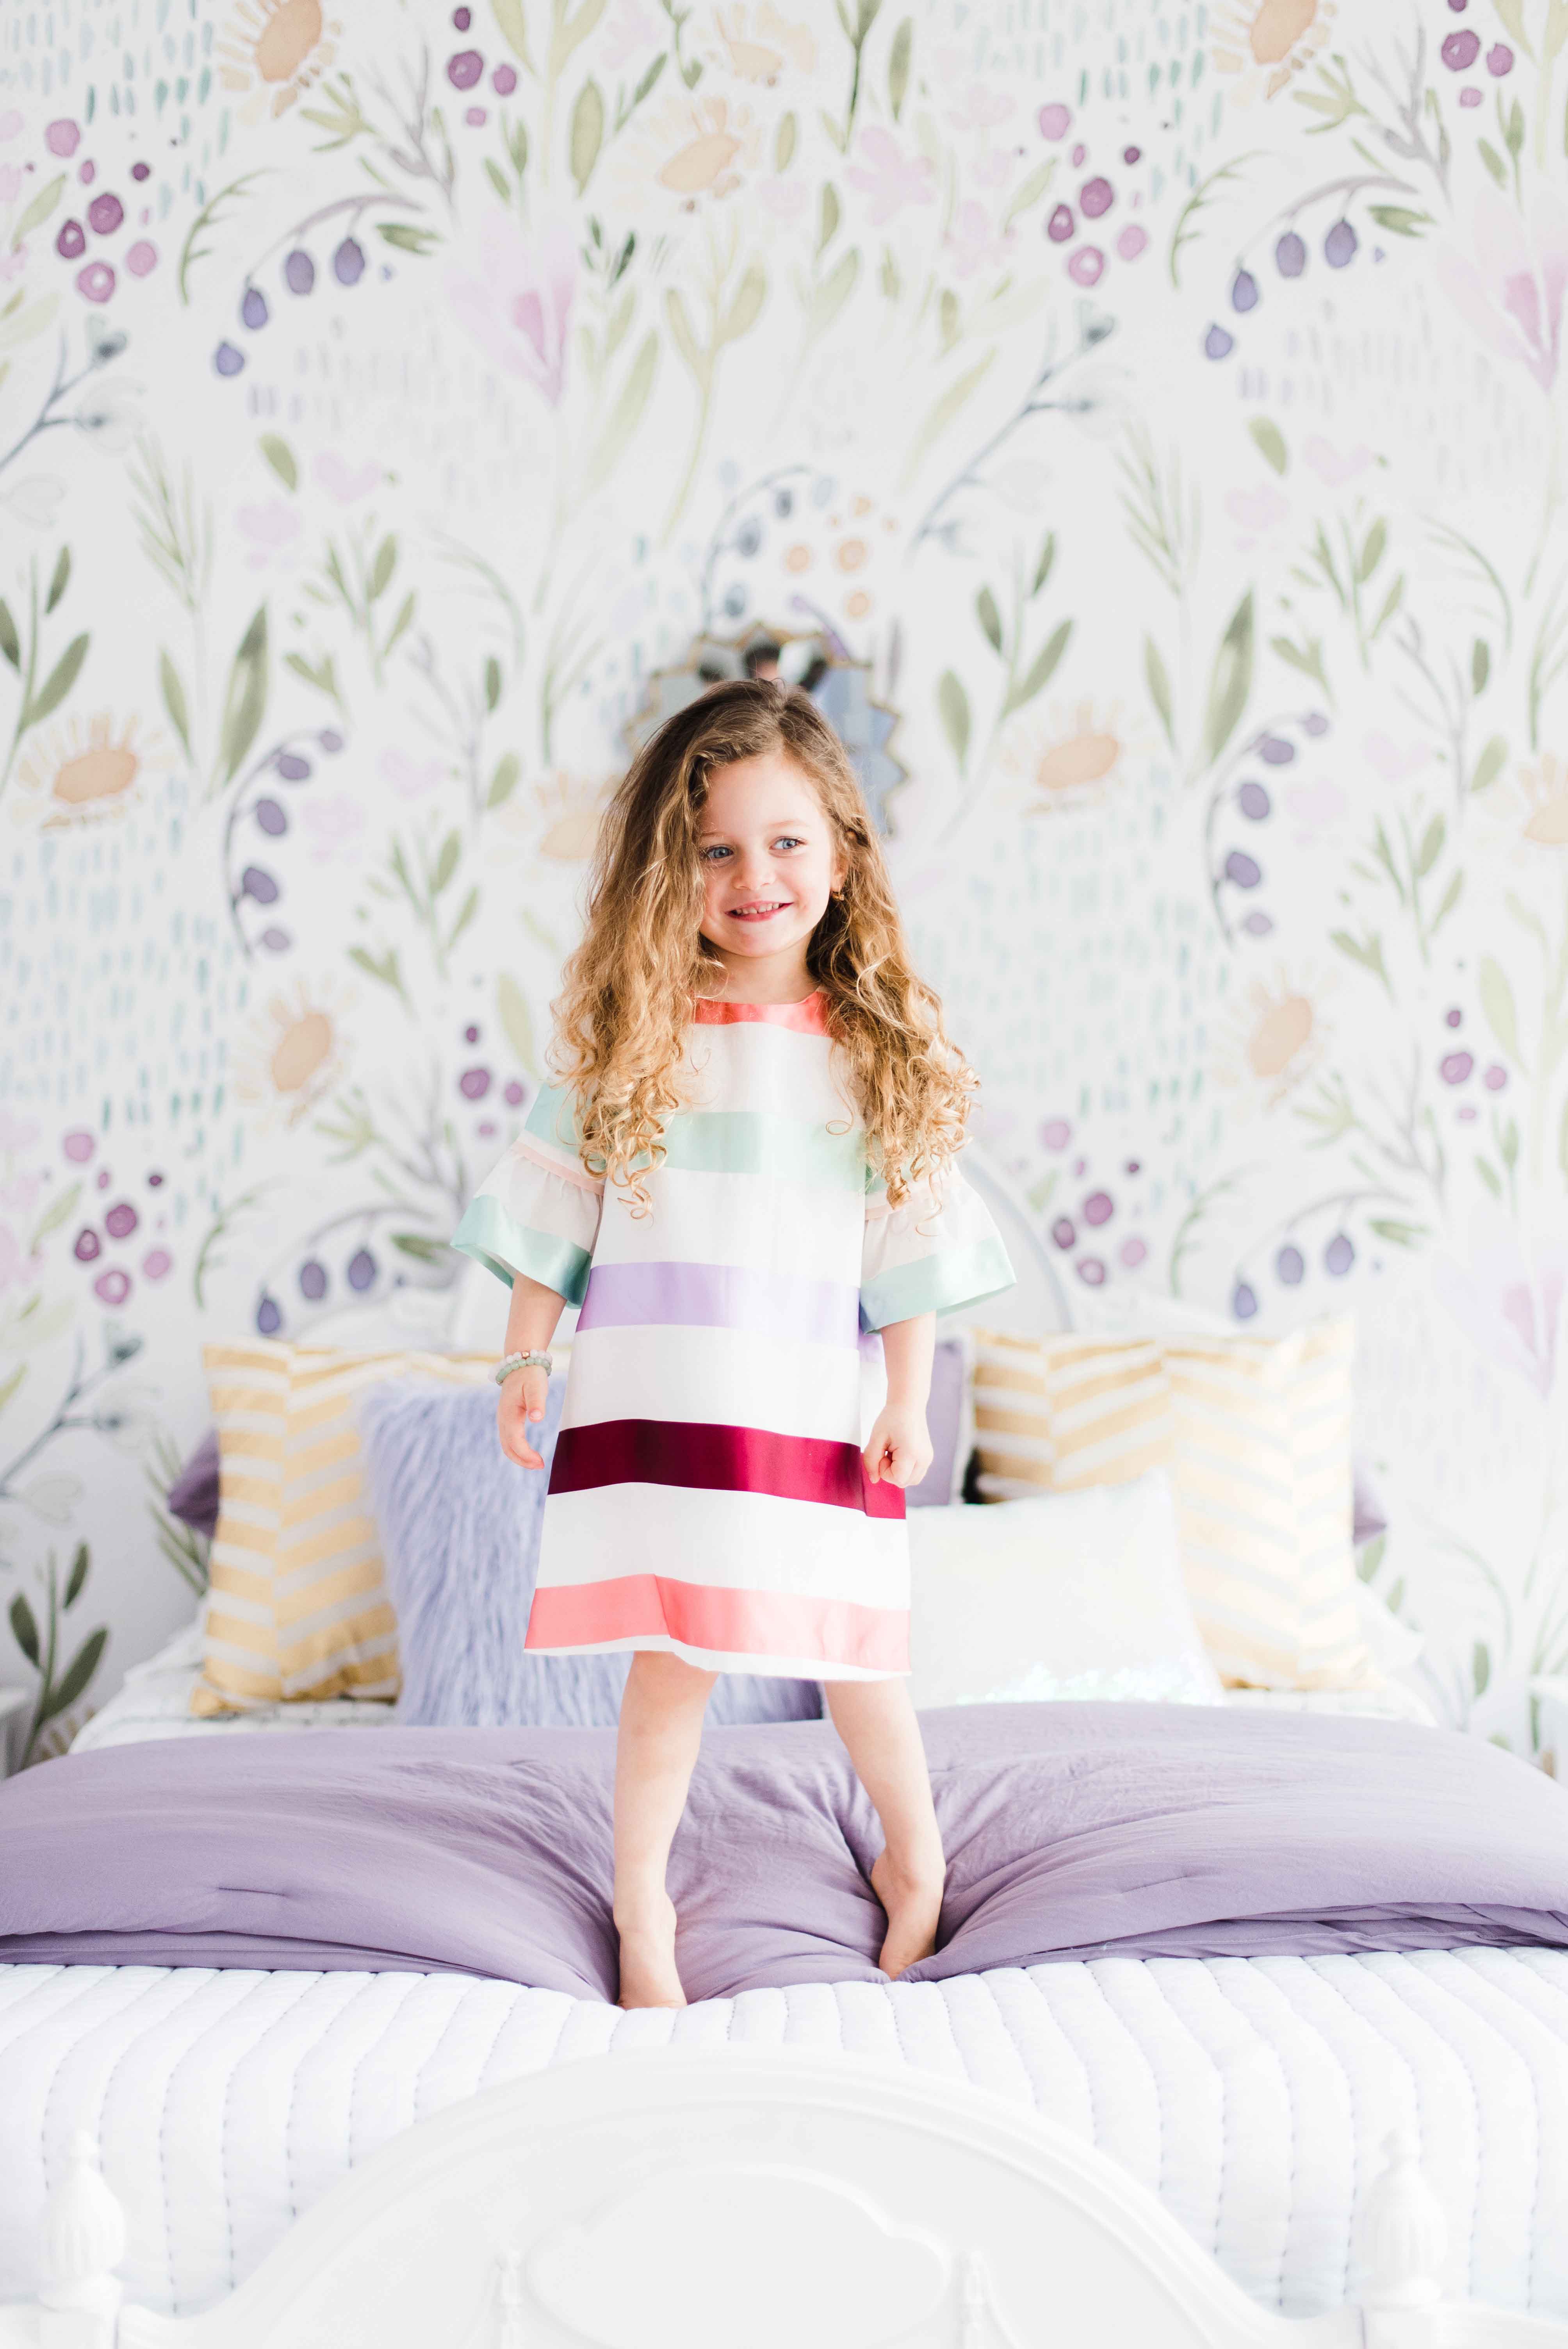
Gemma’s Dress: ℅ Poppys Collection | Mommy and me Bracelets: c/o Evie Atelier | Wallpaper: ℅ Rocky Mountain Decals | Wall Paint: Benjamin Moore White Heaven 2068-70 | Chandelier: ℅ Sazerac Stitches | Vintage Bed Painting: ℅ Splash of Charm | Mattress, Frame, Pillows: ℅ Casper | Dresser & Night Tables: FB Marketplace (similar here and here) | Rug: Wayfair | Mirror: Wayfair | Bedding, Chair, Table Lamps, Slogan Art, Decorative Boxes, Toy Basket, Picture Frame, Clock, Mini Faux Plants: Homesense | Bunny Ring Holder: Umbra | Tea Light: Structube | Faux Flowers: Michael’s (similar) | Kate Spade Heart Dish and Fairy Wall Print: ℅ William Ashley | Dollhouse: IKEA | Wooden Tea Set: Target (sold out, similar) | A Tea Party Adventure Book: c/o Sara Duck | Stuffed Dolls: Zara Home
*Thank you Rocky Mountain Decals, Sazerac Stitches, Splash of Charm, and Casper for partnering on this post. All opinions are always my own.
*Photos by Darby Mitchell Photograpahy

SErious bedroom envy! I lOve the colours and the attention to detail!
Thanks Kass!
Beautiful!
Thanks so much!!
So gorgeous!! I want you to do my nursery!! ;)
Thanks Emilia!! Haha
YOu did such an amazing job – i love EveRy detail and am now TEMPTED to try a removable wAlLpaper feature wall myself!
I really like your style! Just found you online.
Aww thanks so much!